One of the projects I was involved in a month ago had several Cisco UCS C460 M1 servers that required a bare metal Windows Server 2008 install so as I began the process of installing the operating system, I also took the opportunity to screenshot the process. With that being said, though there’s nothing really special about this post, its main purpose is to demonstrate what the process looks like with the Cisco UCS Server Configuration Utility.
I prefer to use the CIMC for the install instead of the console because I usually fire up a few instances for different servers which will allow me to do simultaneous installs:
Mount the Cisco UCS Server Configuration Utility ISO:
Reboot the server:
With the Cisco UCS Server Configuration Utility mounted, you’ll see it boot into the utility:
Accept the EULA as we always do:
As shown in the screenshot below, you can see a brief summary of the server information:
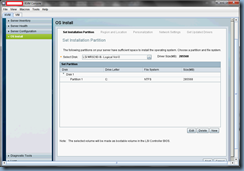
If you proceed to the OS Install menu and attempt to immediately start the installation of the operating system without configuring the hard disks’ RAID level, you’ll see something like this:
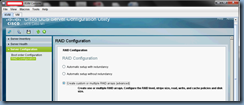
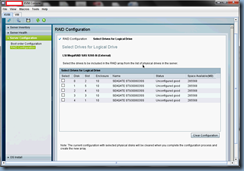
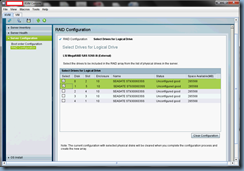
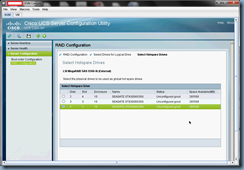
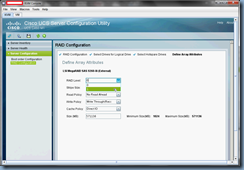
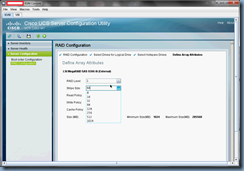
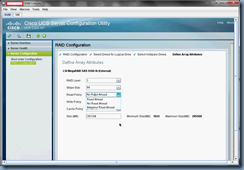
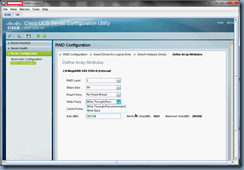
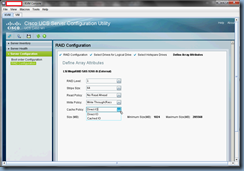
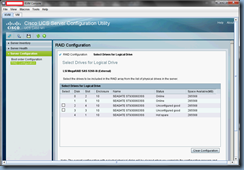
If that’s the case, then proceed to configure the disks’ RAID by navigating to Server Configuration –> RAID Configuration:
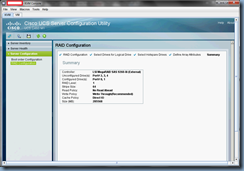
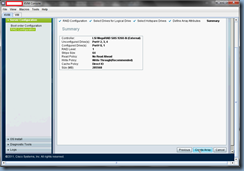
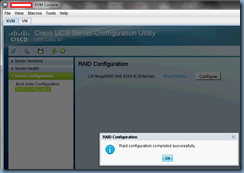
I won’t go into too much detail since the screenshots are pretty self explanatory so to summarize, I’m configuring 2 sets of RAID-1 and 1 hotspare:
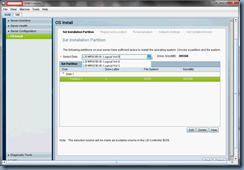
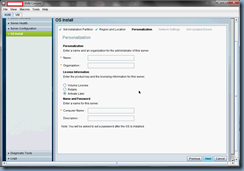
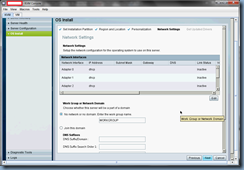
Now that the virtual disks have been created, we can proceed with the install:
Those who are familiar to HP SmartStart or Dell Server Administrator will see that Cisco’s utility is pretty much the same:
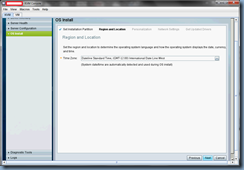
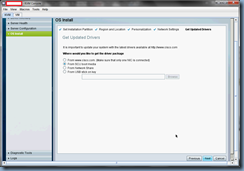
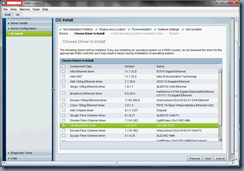
As shown in the following screenshot, you’ll get the following 4 options for the drivers you want to install:
- From www.cisco.com
- From SCU boot media
- From Network Share
- From USB stick on key
For the purpose of the example, I’m going to leave it at the default which is #2:
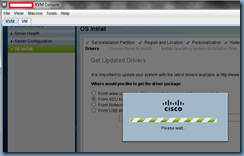
What I’ve noticed is that once the following screen takes a bit of time to process:
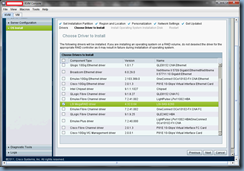
You’ll notice that the utility will auto select the RAID controller drivers for you and that’s because without loading these drivers, Windows won’t be able to detect the disk. Although you should try to select all the drivers you’ll need for the operating system (i.e. hba, NICs, etc), it’s ok to leave them out for now because you can always run this CD within Windows to install the missing drivers:
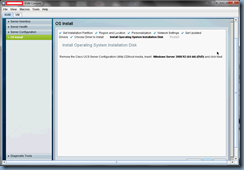
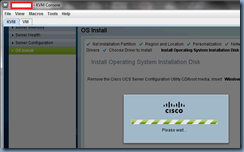
Once you click next, the drivers will get copied to the server and you’ll then be prompted for the Windows CD:
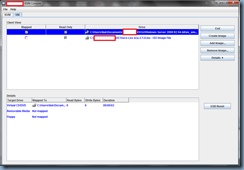
If you’re installing the operating system through the CIMC, unmap and remap the proper ISO and continue:
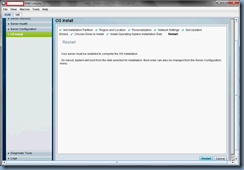
The utility will now copy the required files and then ask for a reboot to install the OS:
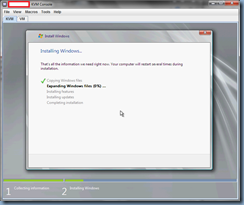
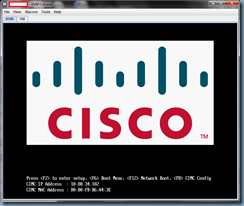
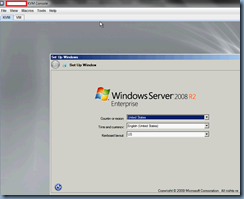
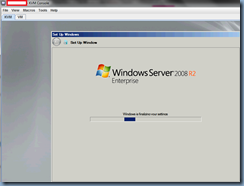
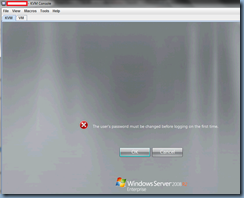
Once the server reboots, you’ll see the Windows installation begin:
… and we’re done.





5 Responses
Do you recall if there was a writable field where you can write a company Asset Tag.
From your screen shots (and thank you for the effort) I see the Serial # and Description fields are potential candidates.
bpearce@interthinx.com
Thank you very much, this was very helpful.
I was stuck with trying to load drivers downloaded from Cisco directly from the OS installation.
This sorted my problem.
Regards,
AS
hi,
i am having a dificulty installing win2012 on a ucs server 220 m4, i think you´re explanaition might work but i cant get through with mounting the image help please ASAP
This comment has been removed by the author.
Hi Joao, I have installed Windows 2012 on UCS460m1 server. You first download the new Cisco UCS Host Upgrade Utility form cisco website. then upgrade your server BIOS and Firmware after, there two check which you need to enable then you can install Windows 2012.
On the BIOS setup utility screen, click the Advanced tab.
Select PCI Configuration and press Enter.
On the PCI Configuration tab, select SR-IOV and press Enter.
In the pop-up menu, select Enabled and press Enter.
Press Escape to return to the Advanced tab.
Select ACPI Configuration and press Enter.
On the ACPI Configuration tab, select ACPI _OSC Enable and press Enter.
Regards,
Rizwan Khan