I’ve been recently reminded by an ex-colleague that I have only written a blog post demonstrating the deployment of a Lync Server 2013 Enterprise pool:
Deploying Lync Server 2013 Enterprise Pool to coexist with Lync Server 2010
https://blog.terenceluk.com/deploying-lync-server-2013-enterprise/
… but not the deployment of a Lync Server 2013 Standard pool and since I had to deploy one over this weekend, I thought I’d do a couple of screenshots so I can write one. Note that I won’t go into the depth for the prerequisites for the deployment as I had for the enterprise pool but the same requirements apply. Also note that I will be using Windows Server 2012 as the base operating system instead of Windows Server 2008 R2.
Install Prerequisites
Unlike Windows Server 2008 R2, you won’t need to download extra components such as .NET Framework 4.5 or PowerShell 3.0 because everything can be installed via the Add-WindowsFeature cmdlet in PowerShell. What you’ll need to have access to is the Windows Server 2012 installation binaries because the Add-WindowsFeature cmdlet will include a switch that specifies the sourcessxs folder. Execute the following cmdlet from Windows PowerShell to install the prerequisites:
Add-WindowsFeature RSAT-ADDS,NET-Framework-45-Core, NET-WCF-HTTP-Activation45,Windows-Identity-Foundation,Web-Static-Content,Web-Default-Doc,Web-Http-Errors,Web-ASP-NET,Web-ASP-NET45,Web-Net-Ext,Web-ISAPI-Ext,Web-ISAPI-Filter,Web-Http-Logging,Web-Log-Libraries,Web-Http-Tracing,Web-Windows-Auth,Web-Filtering,Web-Stat-Compression,Web-Dyn-Compression,Web-Mgmt-Console,Web-Scripting-Tools,Web-Client-Auth,server-media-foundation,MSMQ-Server,MSMQ-Directory -Source D:sourcessxs
Restart the server when the features have been installed.
Install Lync Server 2013 Core Components
Launching the Setup.exe executable for the Lync Server 2013 binaries will automatically install Microsoft Visual C++ 2012 x64 Minimum Runtime – 11.0.50727 Package so don’t bother downloading it:
Install the Microsoft Visual C++ 2012 x64 Minimum Runtime – 11.0.50727 Package:
The setup wizard will be presented to you once the Microsoft Visual C++ 2012 x64 Minimum Runtime – 11.0.50727 Package is installed:
Proceed by through through the installation wizard:
Preparing Active Directory
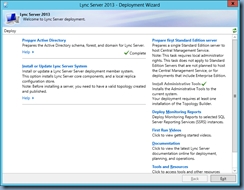
Other than the 2013 text, everything looks pretty much the same as the 2010 install so proceed with clicking on the Prepare Active Directory link:
Prepare Schema:
Continue by clicking on the Run button under Prepare Schema to extend the Active Directory schema for Lync Server 2013:
Prepare Forest:
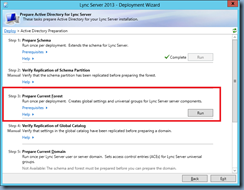
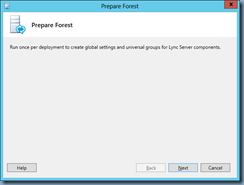
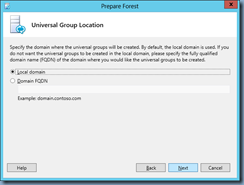
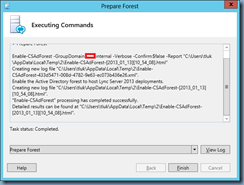
Once the schema has been prepped verify that the schema has been replicated and then proceed with preparing the forest:
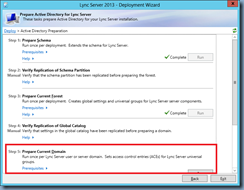
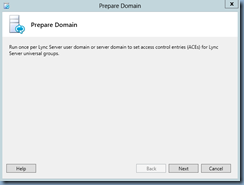
Prepare Domain:
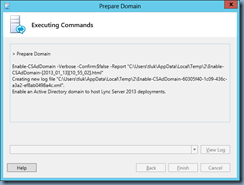
Once the forest has been prepped verify the global catalog has been replicated and then proceed with preparing the domain:
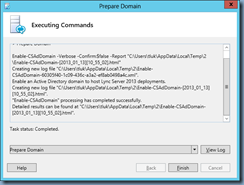
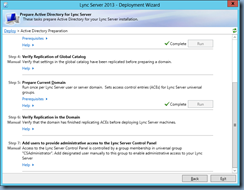
With the domain prep completed, you can proceed with adding users or groups to the Lync administrative groups:
Prepare Standard Edition Sever
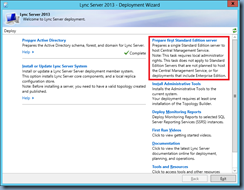
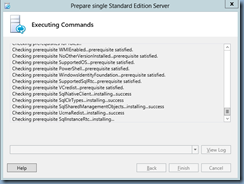
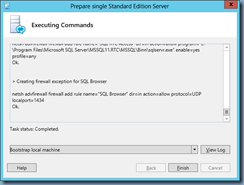
Prior to defining your Standard Edition Server in the Lync Server 2013 topology, you should prepare the server for the role by clicking on Prepare first Standard Edition server:
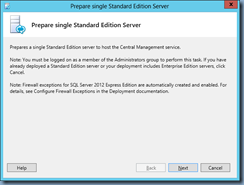
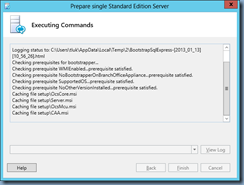
Proceed through the steps presented by the wizard:
Create the Lync 2013 Share
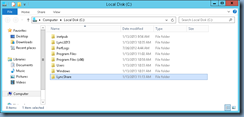
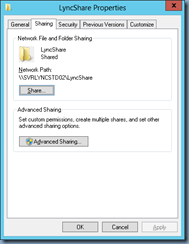
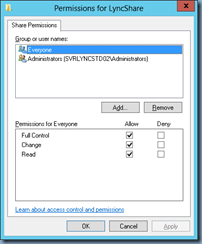
Prior to proceeding to launching the Topology Builder, decide on where you would like the Lync share to be hosted. For the purpose of this example, we’ll be hosting it on the Standard Edition server with a folder named LyncShare:
Notice how the share has been created with Everyone set to read/write for the share permissions:
Build new Lync Server 2013 Topology
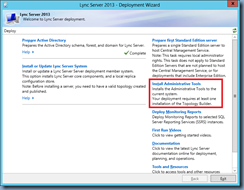
Install Lync Server 2013 Administrative Tools (Topology Builder):
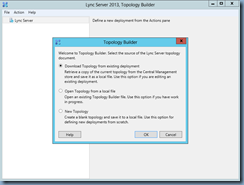
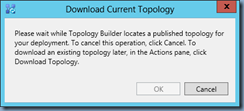
Launch the Topology Builder and download the existing topology if you have an existing Lync Server 2010 deployment:
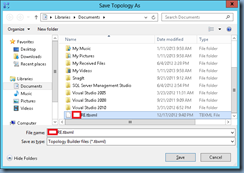
Save the downloaded topology as you usually do in Lync Server 2010:
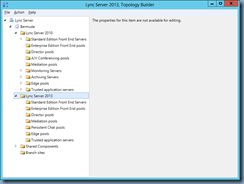
Once the Topology Builder is launched, proceed with expanding the nodes on the left and you will notice the familiar layout of Lync Server 2010:
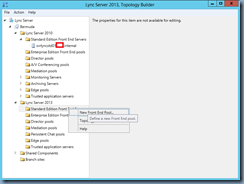
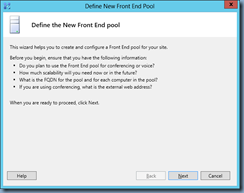
Right click Standard Edition Front End Servers node under Lync Server 2013 to deploy a standard server:
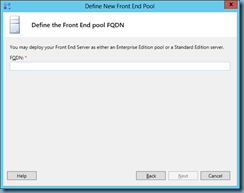
Enter the FQDN for your new Lync Server 2013 standard server (make sure it’s in the FQDN format):
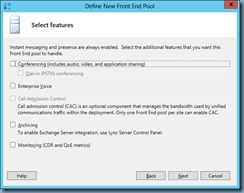
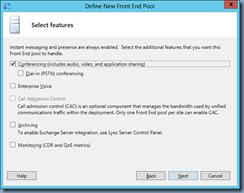
Select the features you would like to enable:
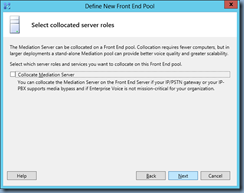
Enable collocating the mediation server role if that’s the design:
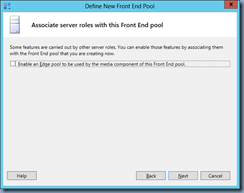
Decide on whether you want to enable your Edge pool to be used by this server:
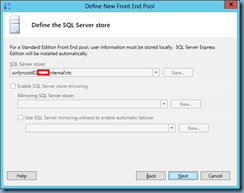
User information is stored locally on SQL Server Express for Standard Edition servers so proceed by clicking on Next:
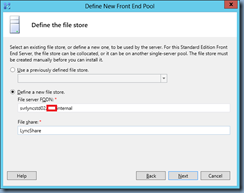
Specify the file server FQDN for the file share we created earlier:
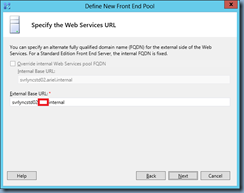
Fill in the External Base URL if you know it now or you can leave it as the default then change it later:
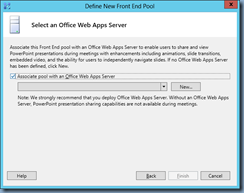
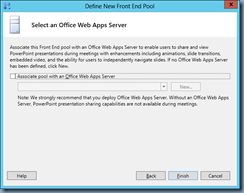
I haven’t actually created a Office Web Apps Server yet so we’ll proceed without associating this standard server with one:
Clicking on the Finish button will complete the creation of the new server:
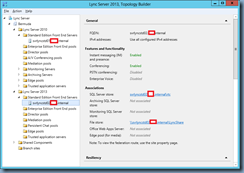
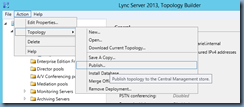
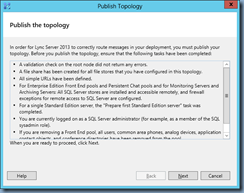
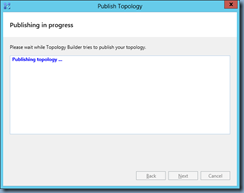
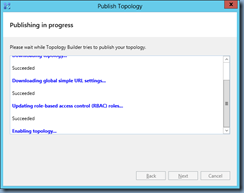
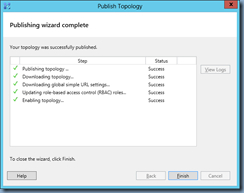
Proceed with publishing the new topology:
Deploying the Standard Edition Server
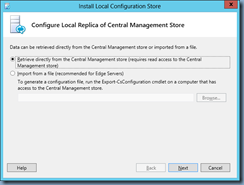
Install Local Configuration Store:
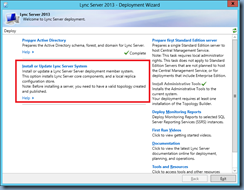
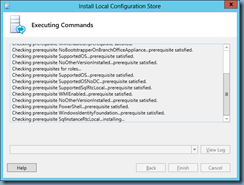
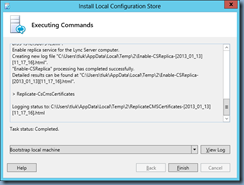
With the Central Management Store populated with the new topology, proceed by launching the Lync Server 2013 – Deployment Wizard on the front end server, click on the Install or Update Lync Server System link:
Setup Lync Server Components:
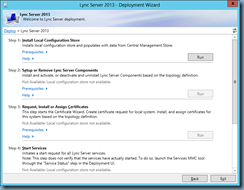
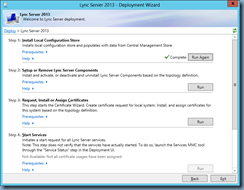
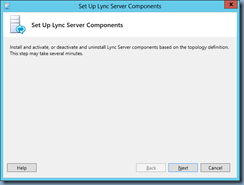
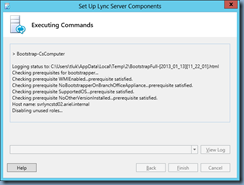
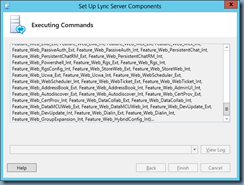
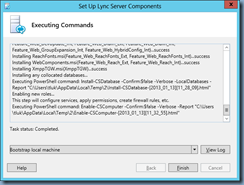
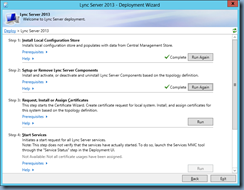
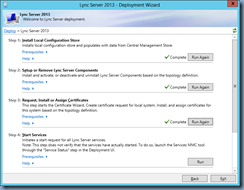
Once the local configuration store has been installed, proceed with installing the Lync Server Components:
Request, Install and Assign Certificates:
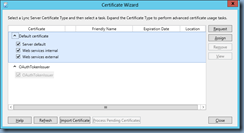
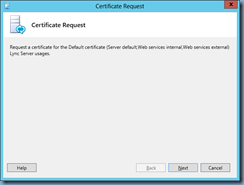
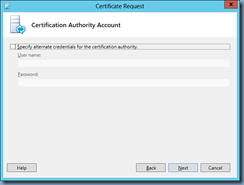
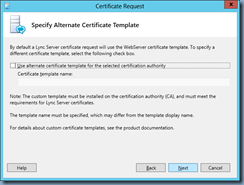
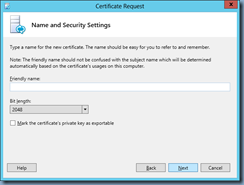
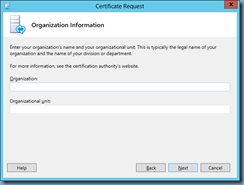
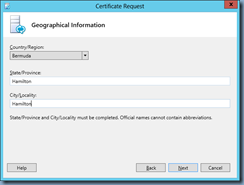
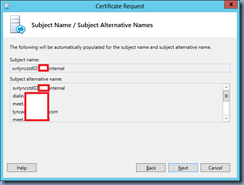
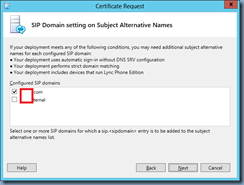
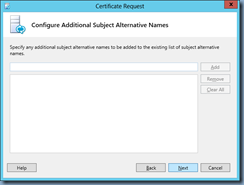
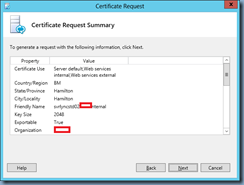
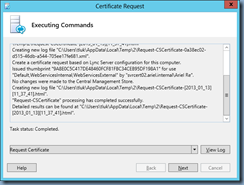
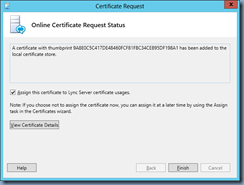
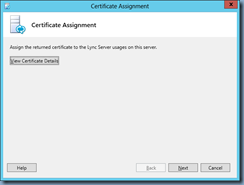
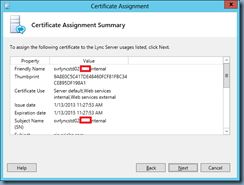
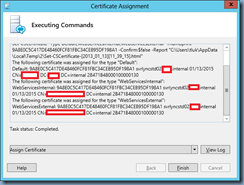
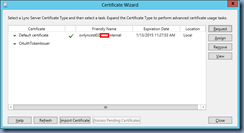
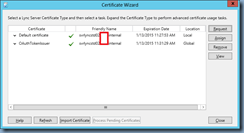
Once the Lync Server components have been installed, proceed with requesting, installing and assigning certificates for the:
Default certificate:
- Server default
- Web services internal
- Web services external
OAuthTokenIssuer
- OAuthTokenIssuer
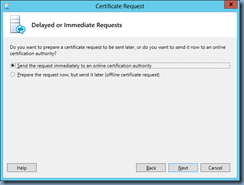
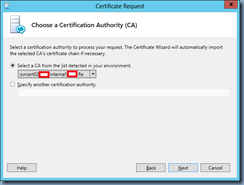
**Note that you can either create the certificate as exportable or not. I prefer to have an exportable certificate so I could back it up.
Complete the same procedure for OAuthTokenIssuer.
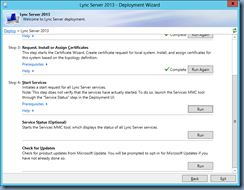
Start Services:
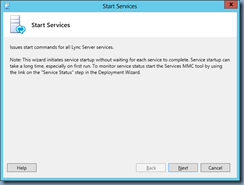
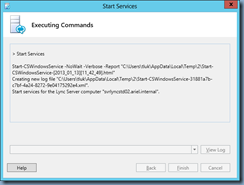
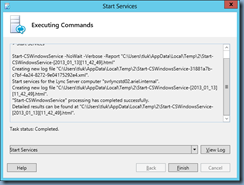
With the certificates issued and assigned, proceed with starting the services:
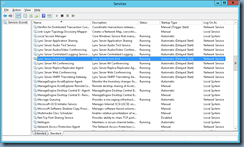
Check Service Status:
Every though the last step Service Status is listed as option, it’s always best to perform it anyways to ensure that all the services are listed as Started:
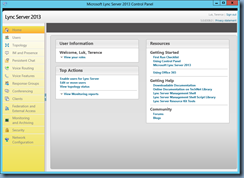
Launch Lync Server 2013 Control Panel:
Continue by associating your new Lync Server 2013 pool with the legacy Edge server (or else federation won’t work), then migrate a user over and being testing the pool’s functionalities ensuring that a migrated users can log in with their Lync Server 2010 client from the internal network or from external through the Edge server.




One Response
good blog really,please can you tell me your opinion in my blog
https://flashdrive-repair.blogspot.com