One of the blog posts I’ve been meaning to write but never got to over the past few months is for the tests I’ve done earlier in the year when I came across a video from Alex Ziskind clustering a stack of Mac Minis for AI training and modeling. I’ve used Macs in the past but still prefer Windows so I had no intention or appetite to spend the money to build such a cluster but thought I can at least try to run LLMs on my personal Lenovo T490 with an i7-8565U 4 core CPU @ 1.80GHz with 32GBs of memory to get an idea of how the setup and configuration would look like.
Those who have been following the trends this past year would have heard of Ollama, which is a AI model runner that allows you to run LLMs directly on a local desktop, laptop, or server for free. The catalogue of LLMs you can run with Ollama covers pretty much every model you can think of from DeepSeek, Qwen, Llama, and many more. I know I’m a bit late in writing this post but better late than never, right? This will be the first of a series of post that I will be writing to demonstrate getting your local device (in my case a Lenovo Windows laptop) to run LLMs, then front it with a Open WebUI, and then finally using that UI to access models hosted in Azure.
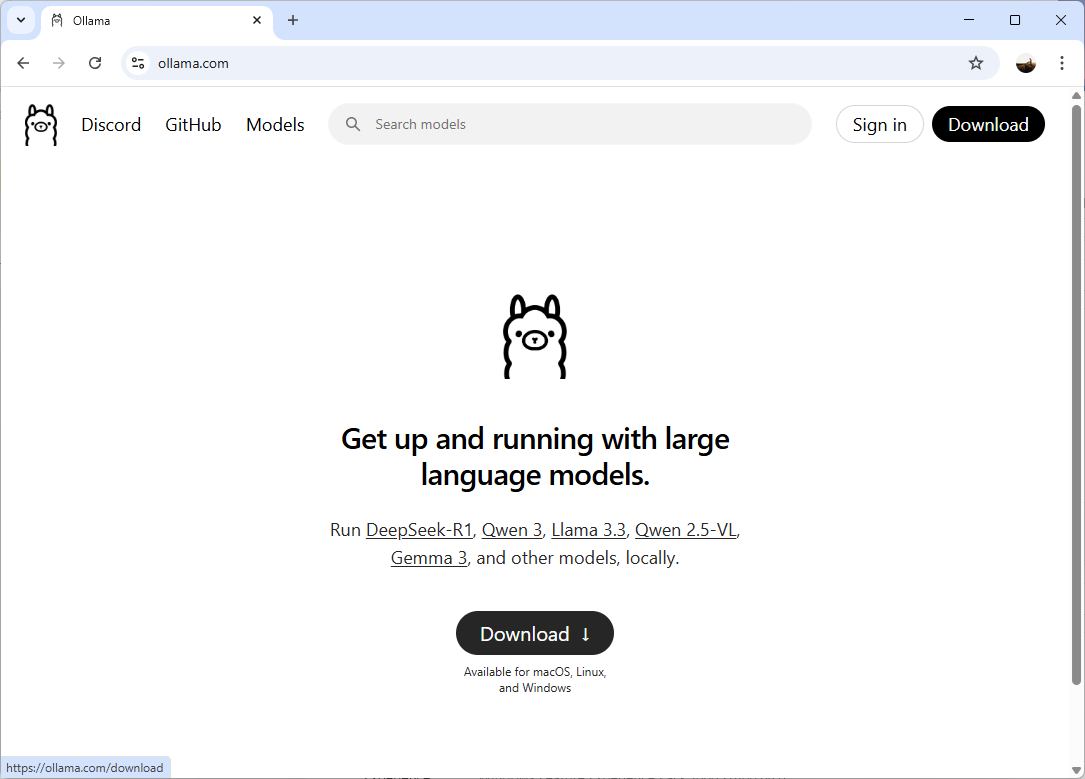
Begin by downloading Ollama from the following URL: https://ollama.com/
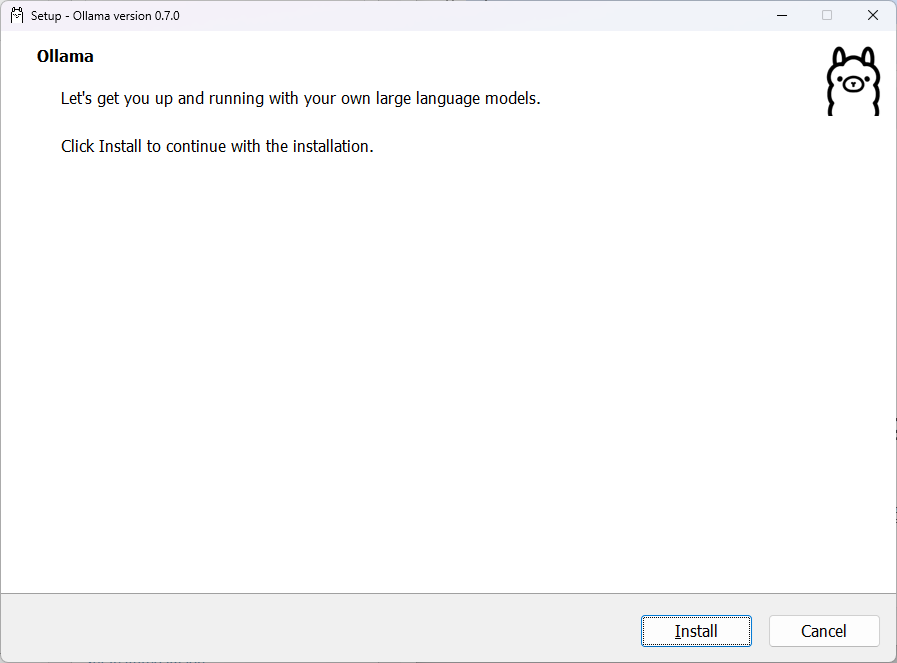
Run the 1GB install file:
![]()
Proceed with the install and you’ll notice it won’t ask for any input:

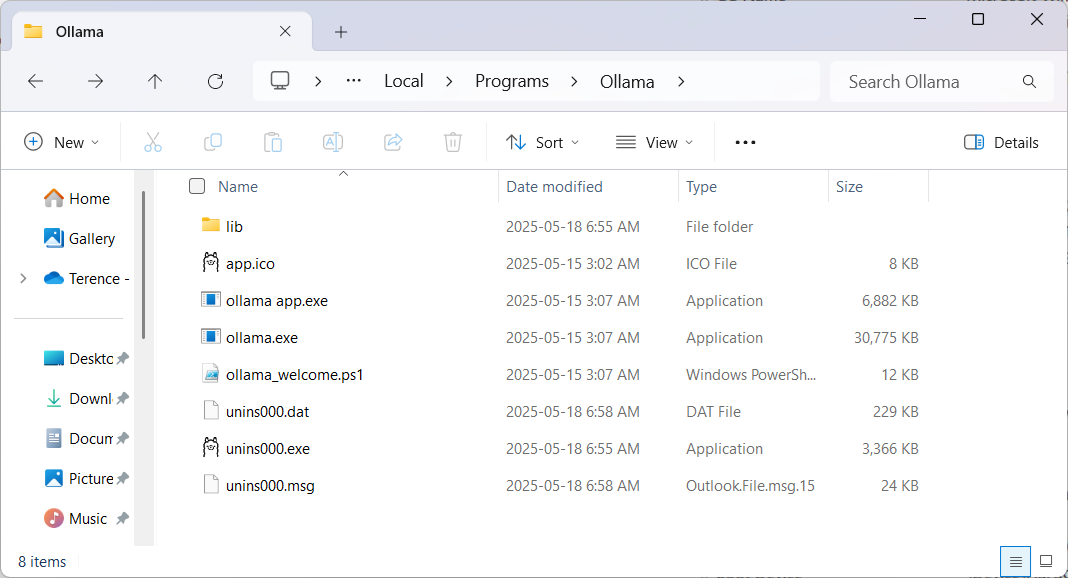
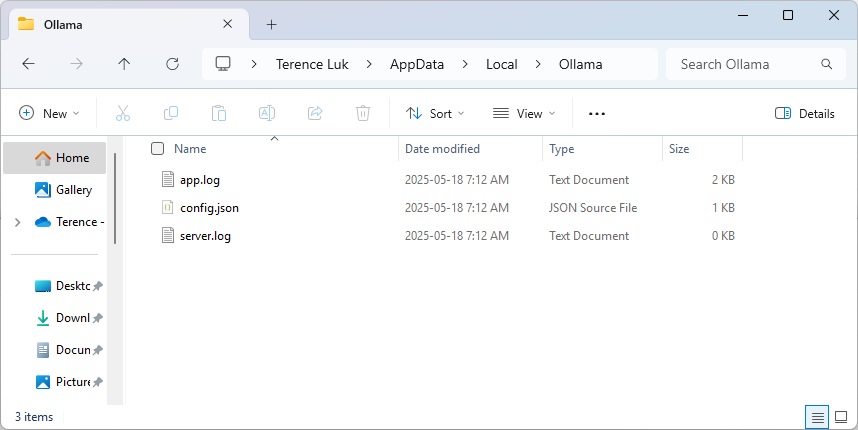
I’ve noticed that regardless of whether I run the installation as an administrator or not, the process by default will create and install into the logged in user’s profile folder on Windows. These folders are:
C:\users\<loginName>\AppData\Local\Programs\Ollama
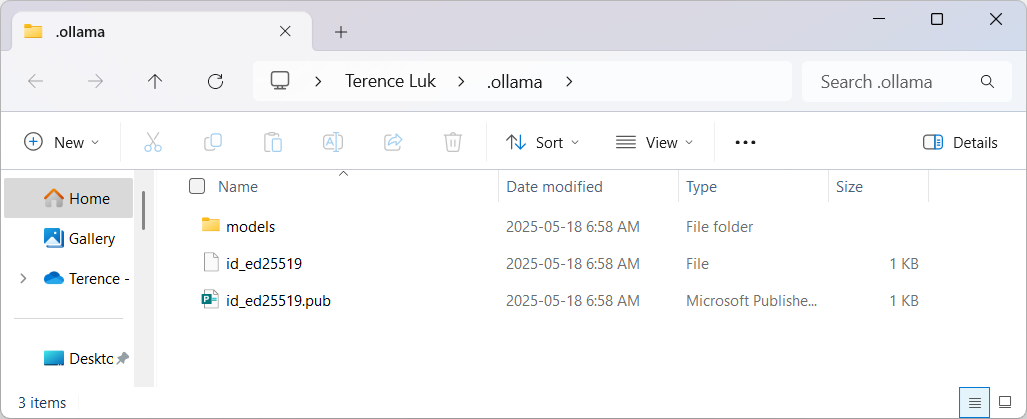
C:\users\<loginName>\.ollama
C:\users\<loginName>\AppData\Local\Ollama
With Ollama installed, we should now see this small Ollama icon in the system try that indicates it is running locally:
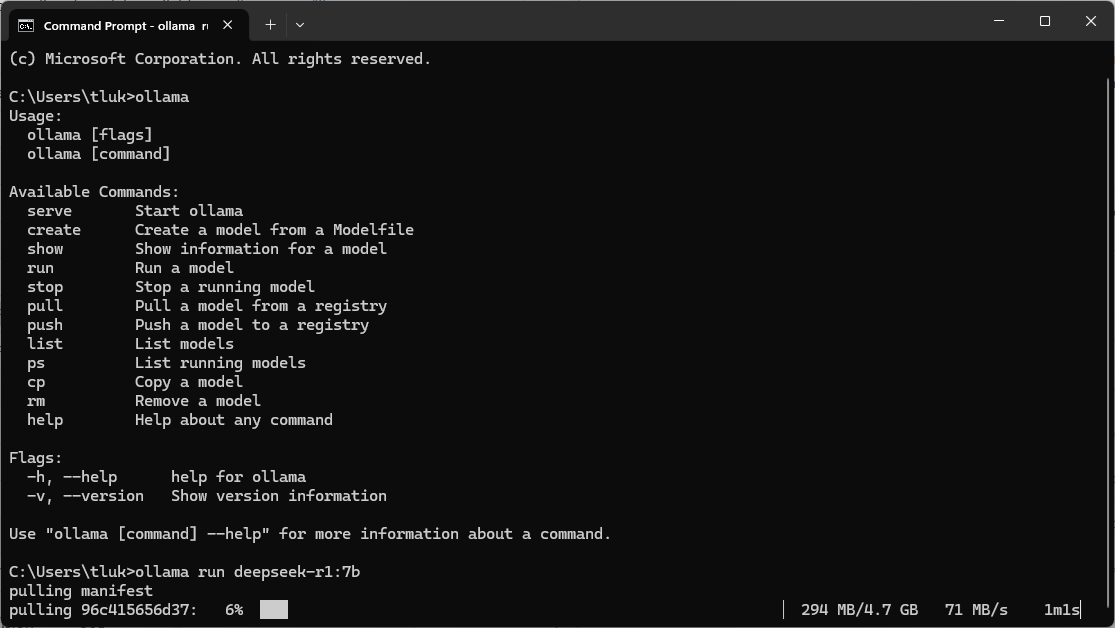
Proceed to launch the command prompt and type in ollama to see the list of commands available:

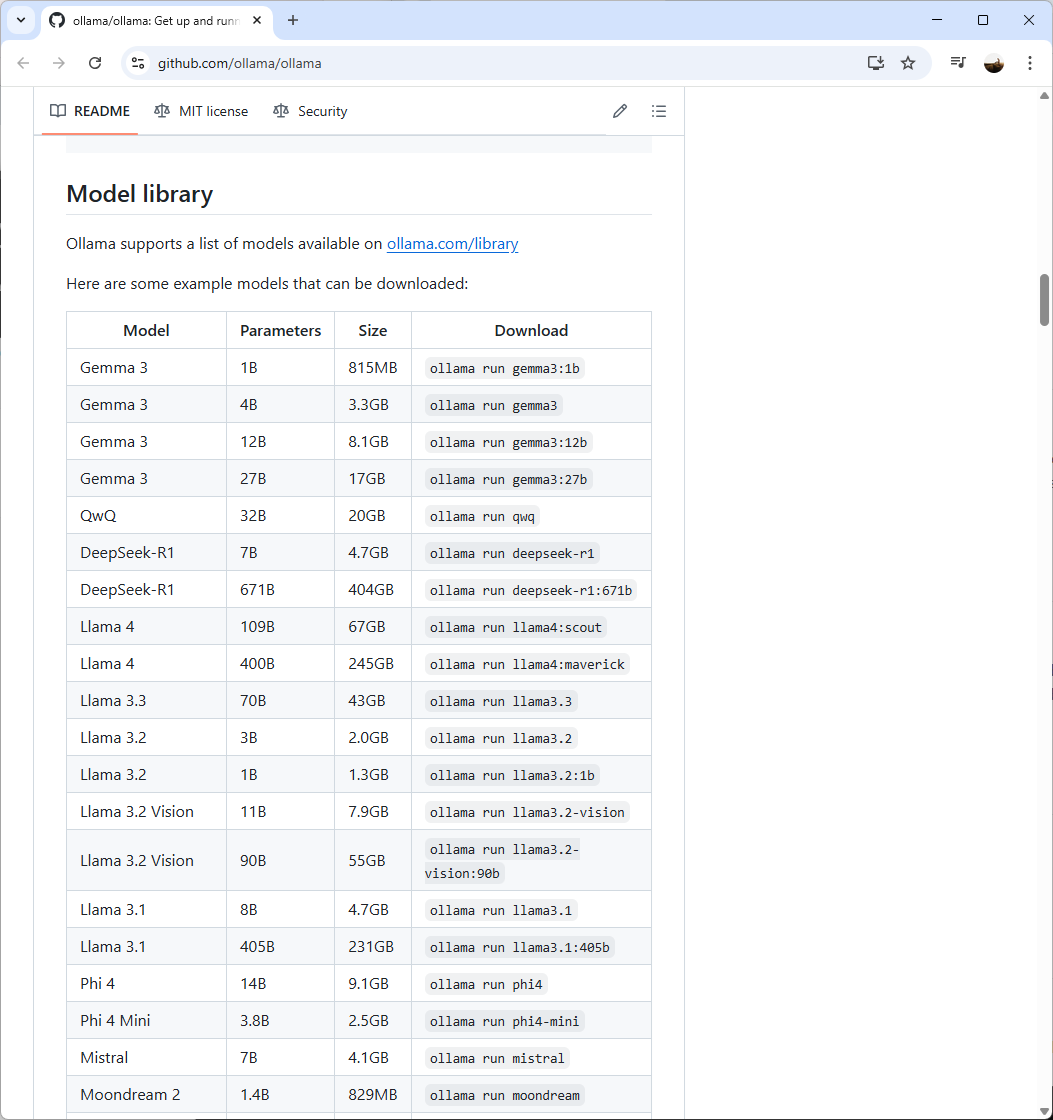
The next step is to retrieve the model you’d like to run locally by either navigating to the GitHub page for Ollama (https://github.com/ollama/ollama)
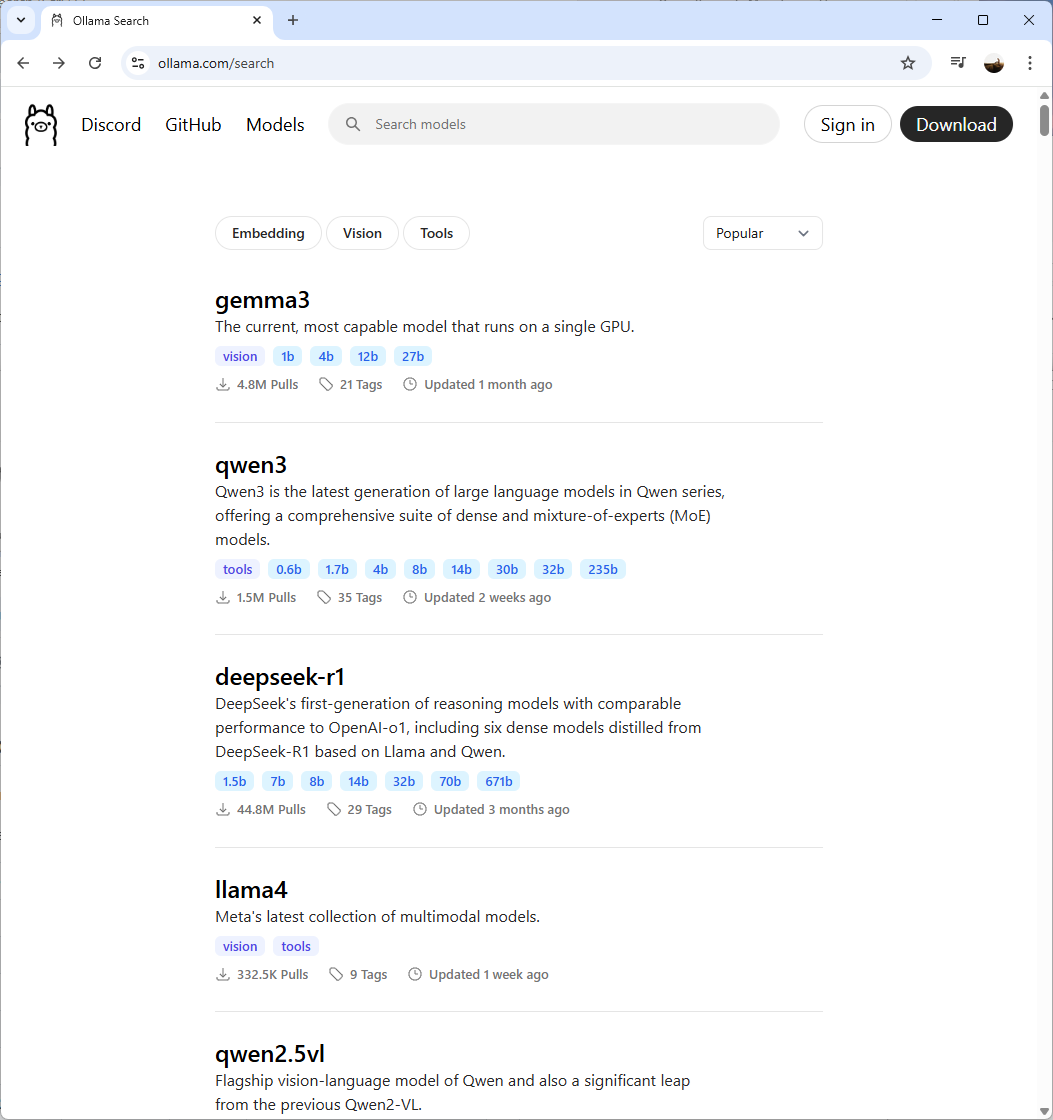
Or website of Ollama (https://ollama.com/search) and select from the list of models available:
A few items to note is that you’ll need to be cognizant of how large a model is before you download it as modern hard drives have quite a bit of capacity but these models can quickly consume or exceed its capacity. Another consider, which is more obvious, is the compute and memory required to run these models. The general guideline as documented in the GitHub page is a follows:
You should have at least 8 GB of RAM available to run the 7B models, 16 GB to run the 13B models, and 32 GB to run the 33B models.
For the purpose of this example, I’m going to go with DeepSeek R1 7B that will consume 4.7GB of storage and recommended to have at least 8GB of RAM available.
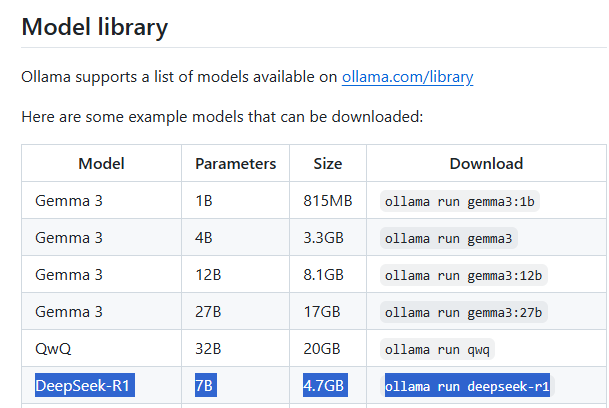
To obtain a detailed list of available DeepSeek-R1 model versions, navigate to the Ollama library at: https://ollama.com/library/deepseek-r1

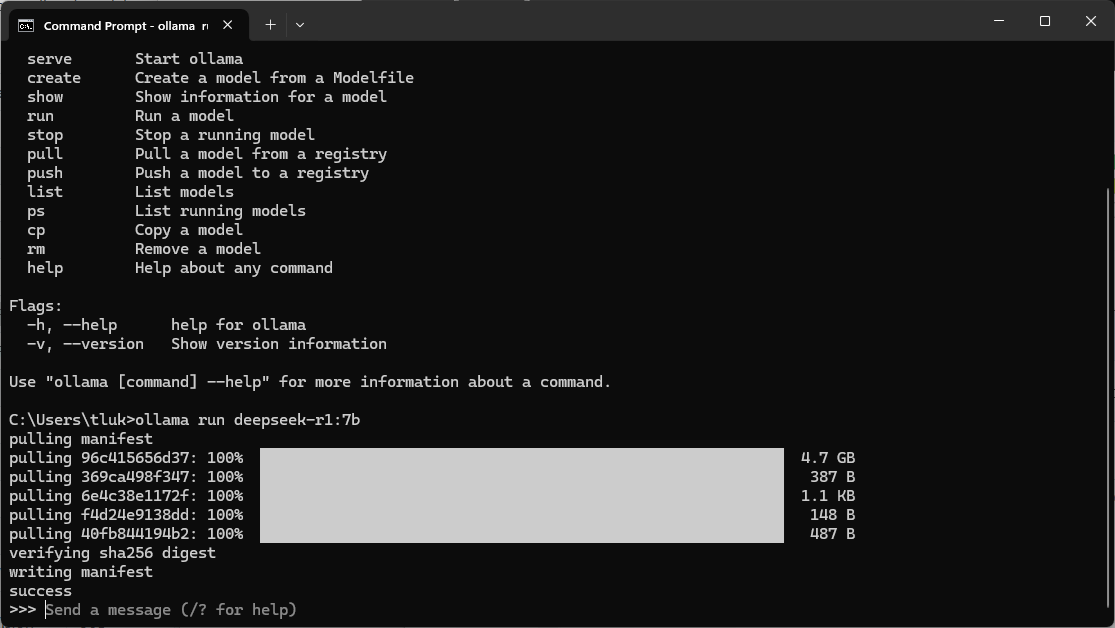
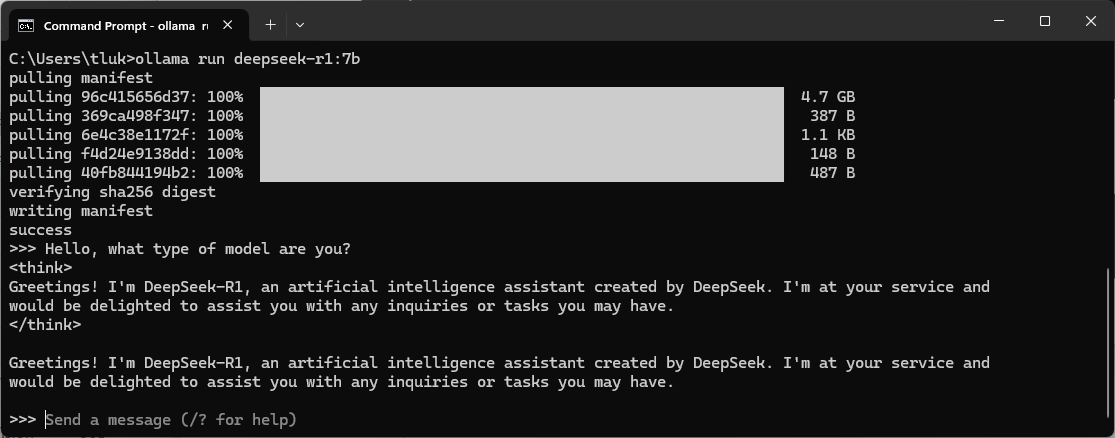
Then run the command ollama run deepseek-r1:7b to download and run the model:
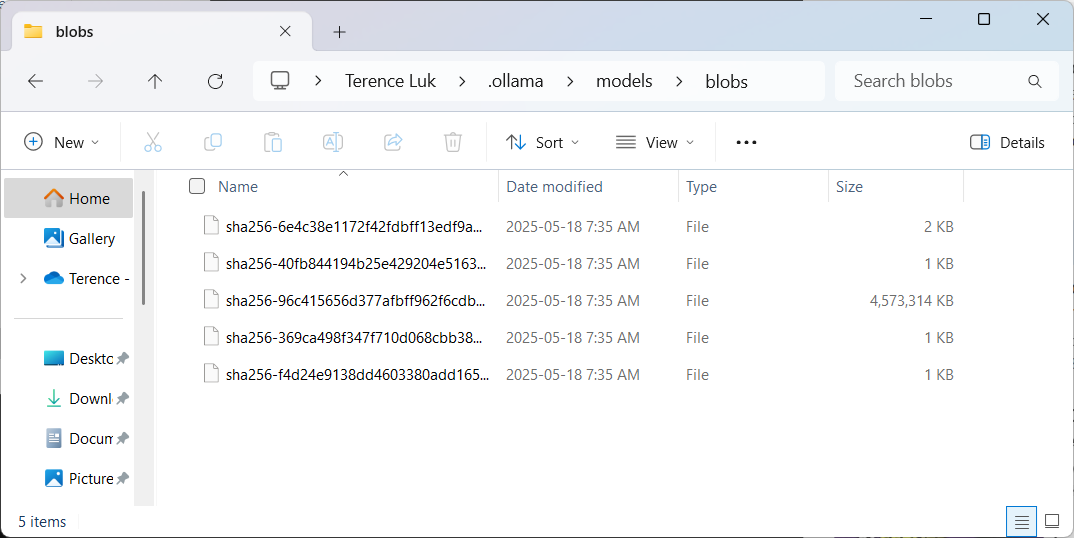
Once the model has been downloaded, you should see a new file created in the folder C:\users\<loginName>\.ollama\models\blobs where the downloaded DeepSeek LLM reside:
With the model downloaded and running, we can now send a message to it directly in the command prompt:
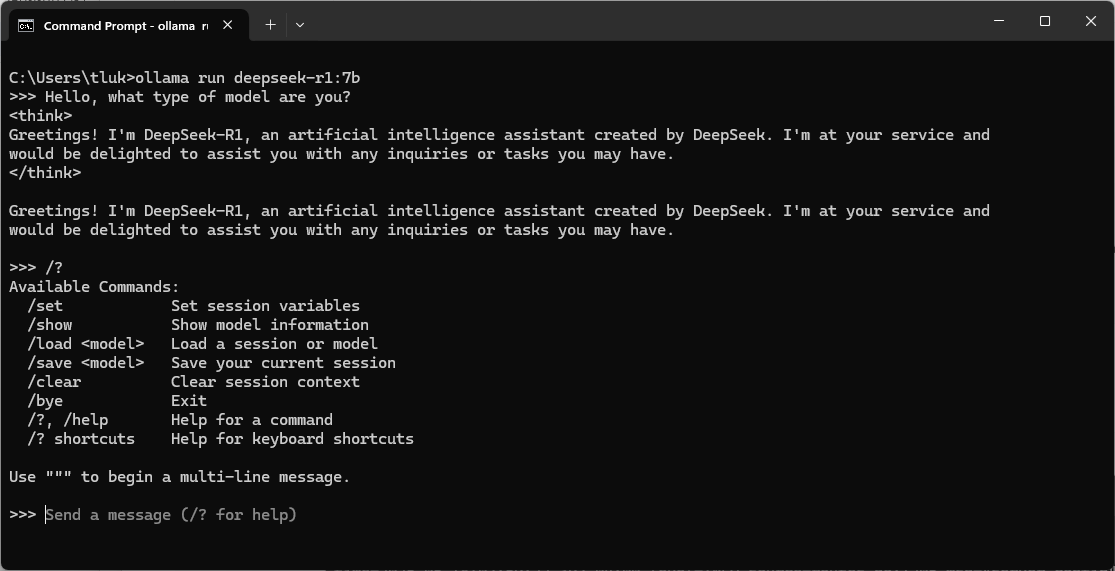
While in the prompt, you can also type /? to list various different types of commands that are available while in the prompt:
Then typing /? shortcuts will list the various different key combination shortcuts that are available:
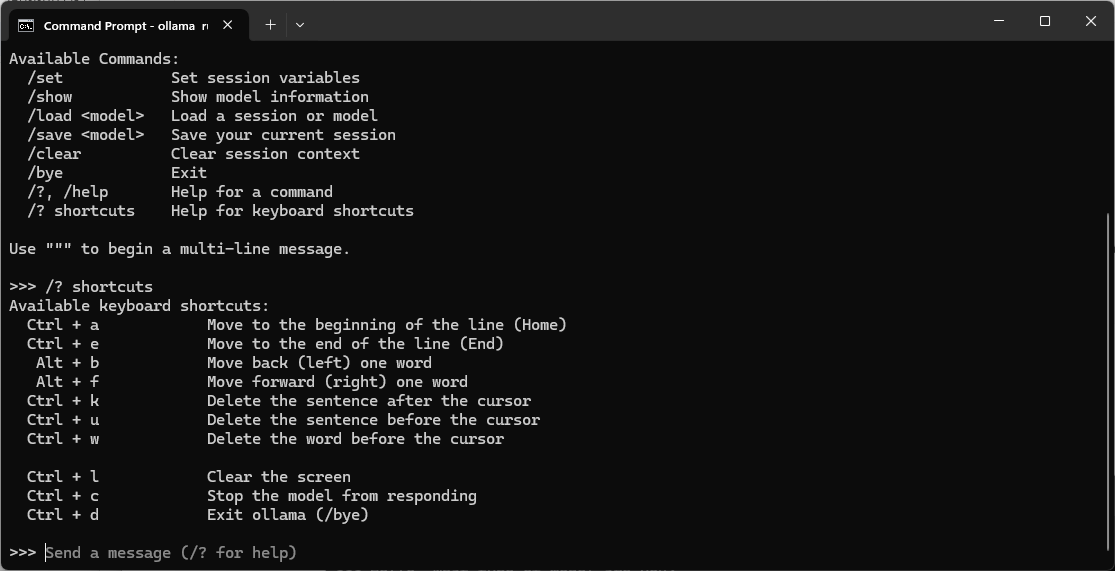
To exit the DeepSeek prompt, you can simply type /bye or Ctrl + d.
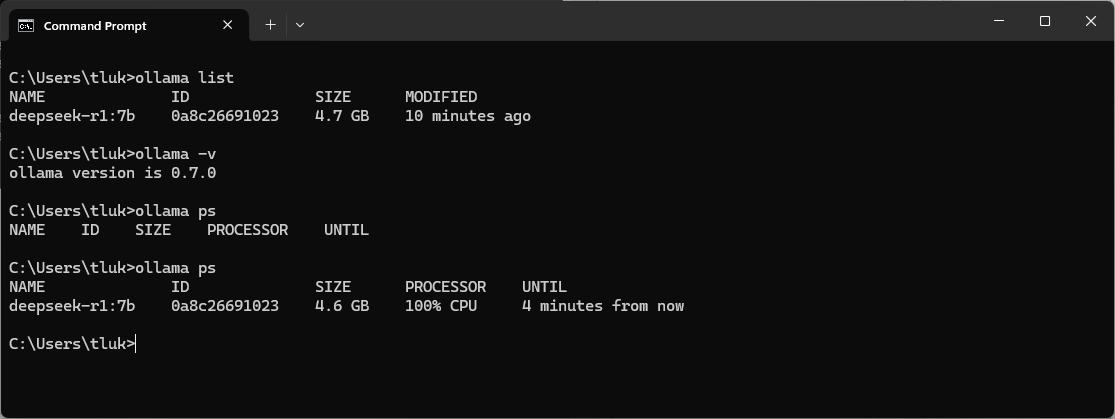
A few useful commands to listed earlier by simply typing ollama are:
ollama list – Lists the models that have been downloaded and ready to be ran
ollama -v – Provides the installed Ollama version
ollama ps – Lists running models (note the first ollama ps I executed did not have any running models while the second execution does because I started it in another prompt)
The last command is the ollama serve you can run the Ollama service in the console if it isn’t already running in the system tray. If you attempt to run this command when the service is already running and present in the system tray then you’ll get this port conflict error:
PS C:\Users\tluk> ollama serve
Error: listen tcp 127.0.0.1:11434: bind: Only one usage of each socket address (protocol/network address/port) is normally permitted.
PS C:\Users\tluk>

Quitting the Ollama system tray icon:
Then executing the ollama serve command will display the following:
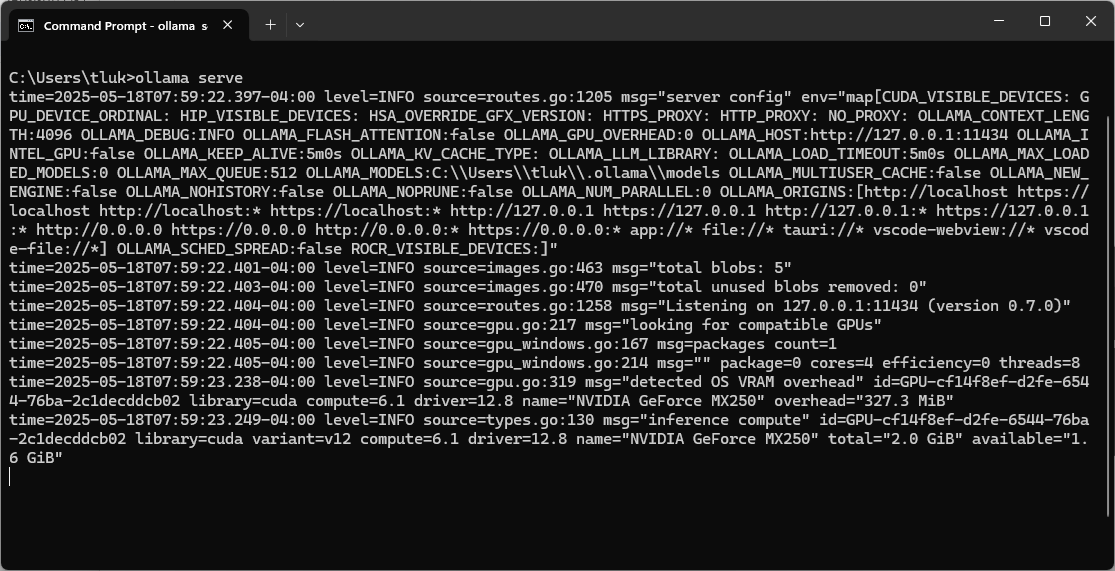
Other than interacting directly with Ollama serving the model in the console, you can also programmatically call its API via the IP and port is is listening on. I won’t be demonstrating that in this post but may write a follow up.
I hope this provides a good walkthrough of the Ollama setup process and how easy it is to run the vast amounts of models available. The performance on my Lenovo laptop with a NVIDIA GeForce MX250 isn’t the best but surprisingly capable if I ask a question and walk away to make a cup of coffee. It’s also very cool to see the DeepSeek R1 model reason with itself before attempting to generate an answer. It wasn’t extremely fast but the output text felt as if it was going at a pace of a regular person thinking and speaking their thoughts:
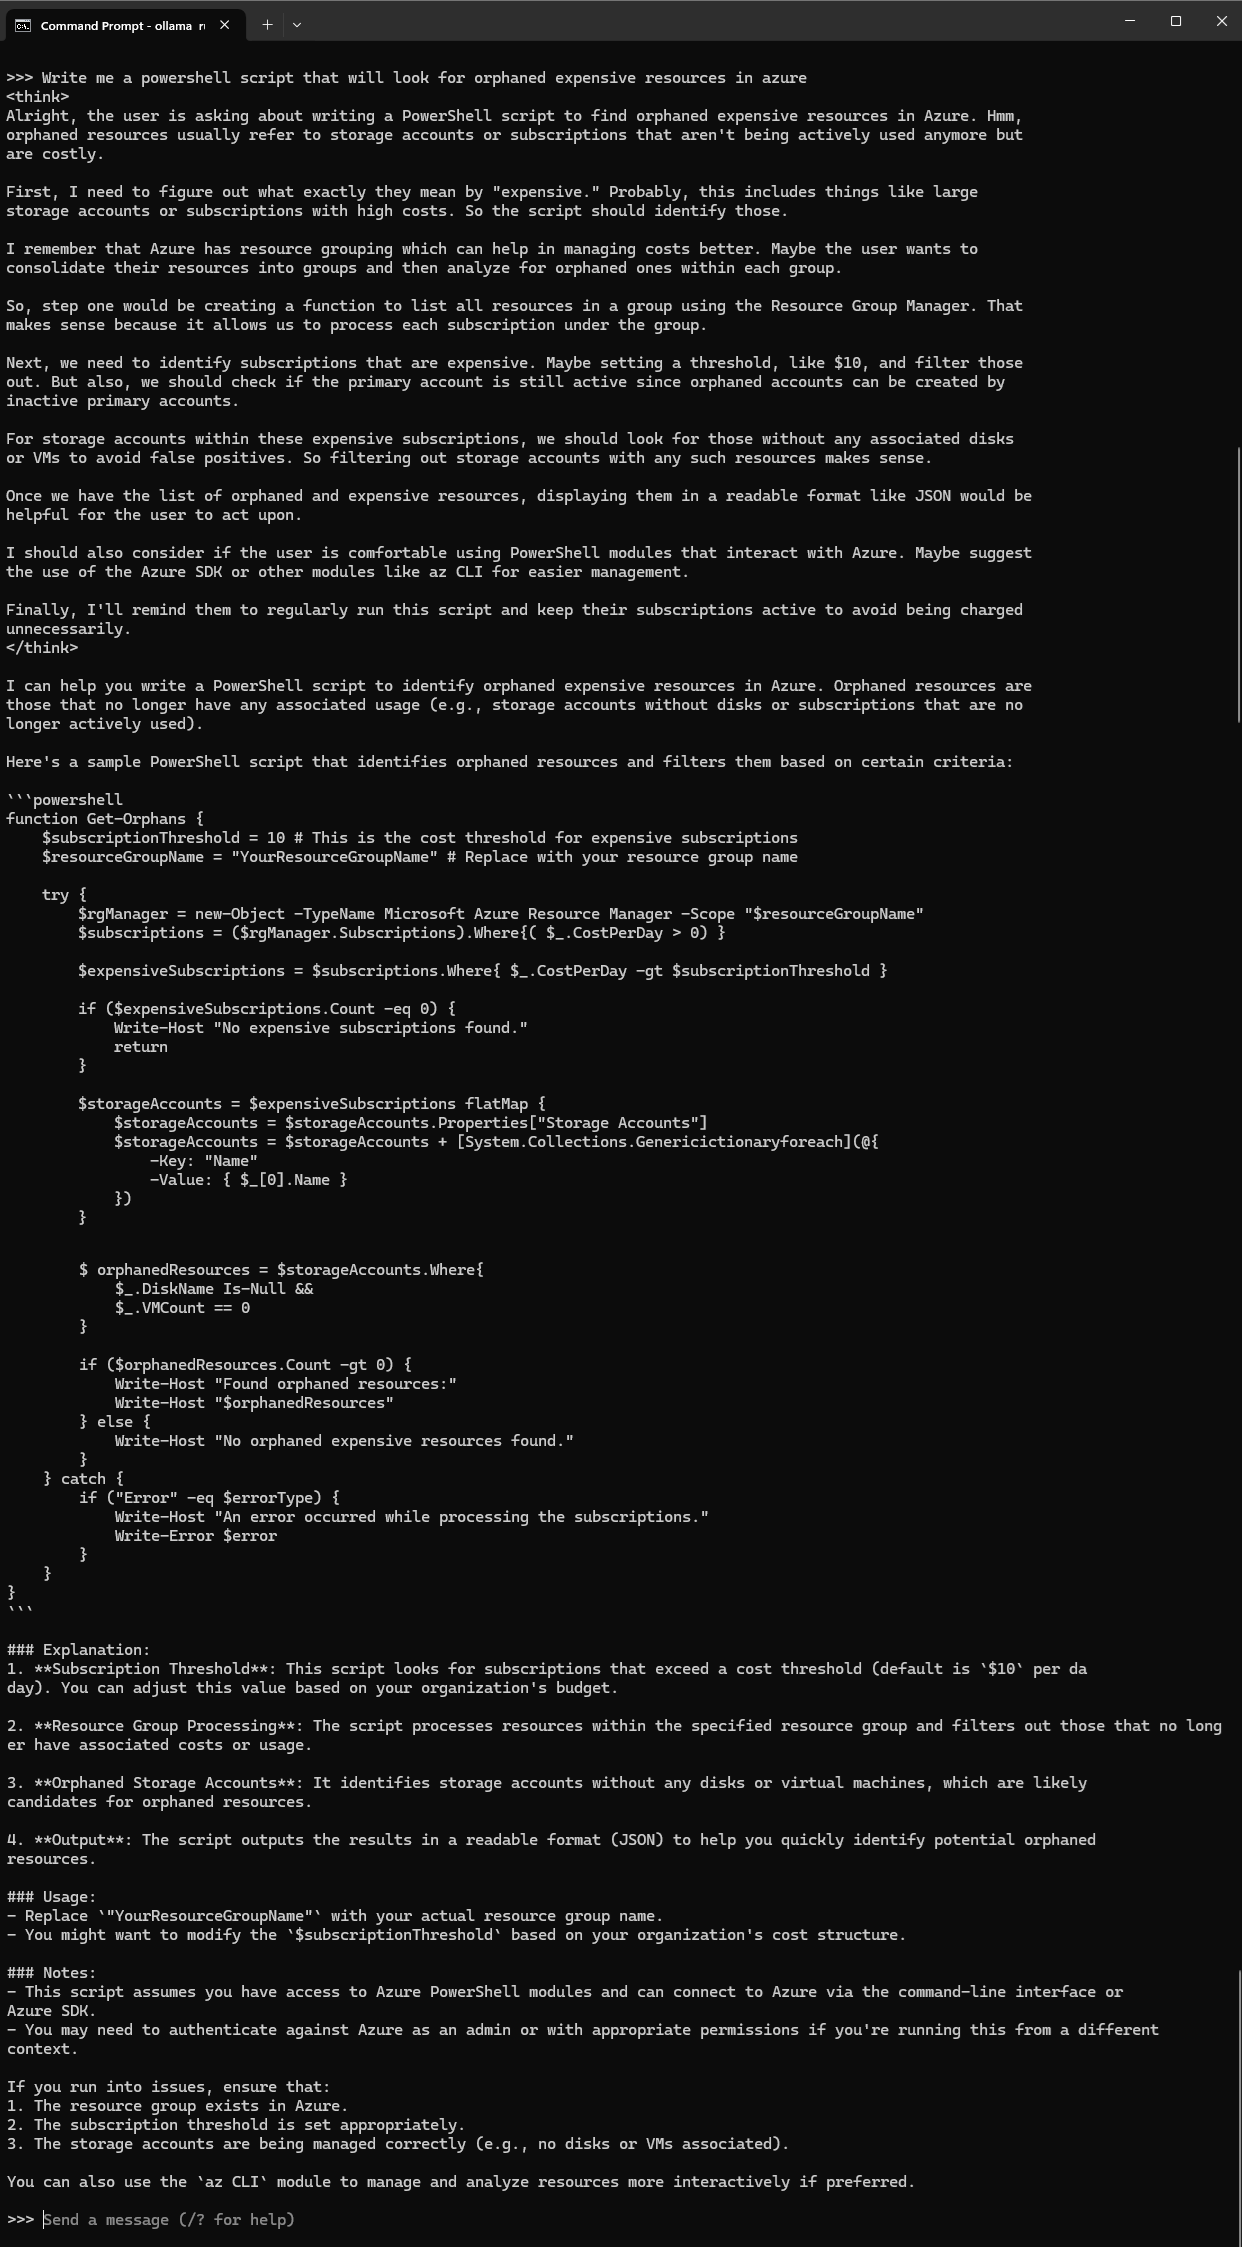
My next post will be to demonstrate how to use Open WebUI to provide a friendly user interface with these locally ran LLMs so stay tuned!