While Open WebUI is typically used with locally hosted LLMs, it is possible to configure it to use cloud hosted LLM services such as OpenAI and Azure. I work primarily in the Azure space and Microsoft provides access to pretty much all of the models that are available as long as you have a subscription. The purpose of this post is to demonstrate how to establish connectivity from either a locally or remotely hosted Open WebUI.
Open WebUI with OpenAI
Let’s start off with connecting to OpenAI as it’s the easiest. I have an account there with some pay as you go credits (https://platform.openai.com):

Proceed to generate an API Key for Open WebUI:

Proceed to navigate to the Open WebUI Admin Panel > Settings > Connections > Manage OpenAI API Connections, then the Configure icon:
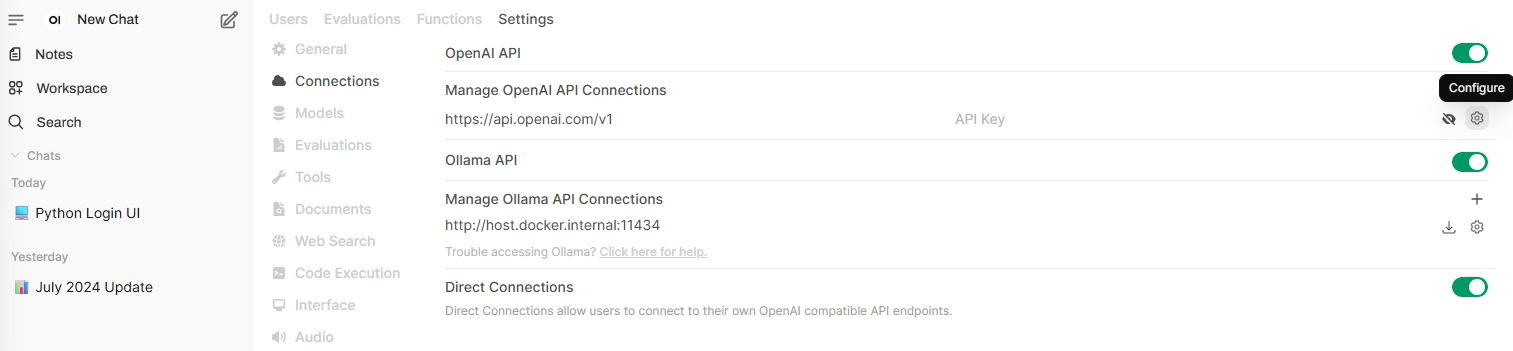
Proceed to paste the newly generated API key into the Key field and click on Save:

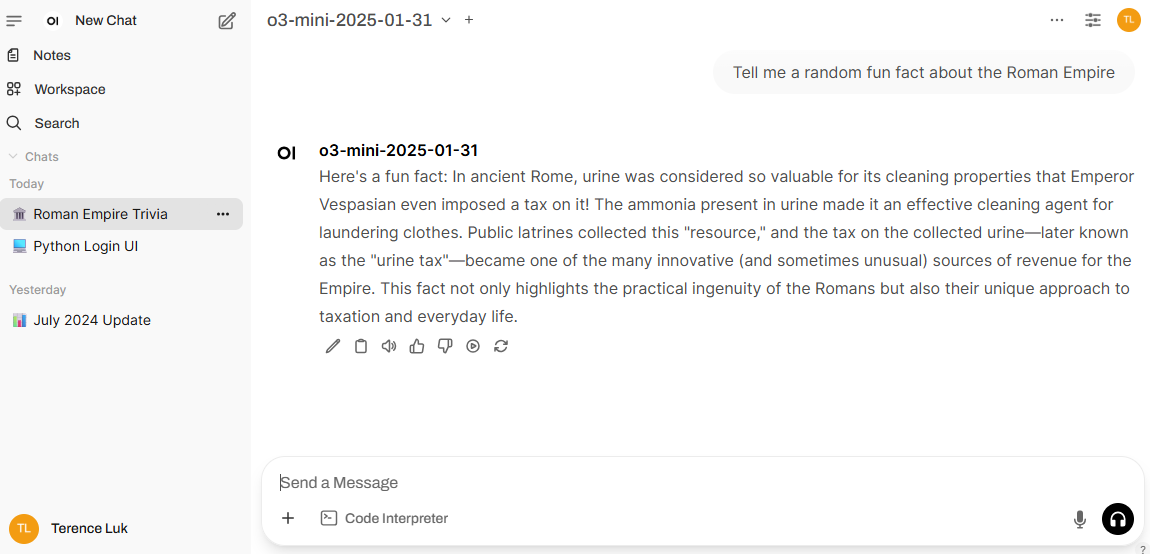
You should now have access to the vast amounts of models from OpenAI (note the External icon beside the model):

Open WebUI with Azure AI Foundry
Those who follow my blogs will know that I work in the Azure space and have using Azure AI Services (now Foundry) for most of my projects. This means the first thought I have when requiring GenAI is to look at what Azure offers. What I’ve found while exploring the user of Open WebUI is that there wasn’t a straight forward way to use Azure provided models. A bit of searching lead me to the use of Functions:
Functions are a way to extend the capabilities of Open WebUI (similar to add-ons) and more information about this can be found here: https://docs.openwebui.com/features/plugin/functions/
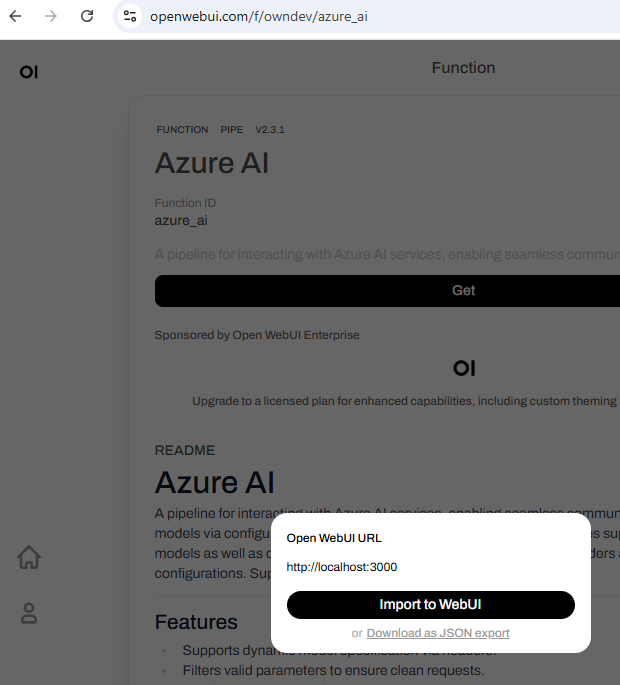
The function I was able to find that would allow connecting Open WebUI to Azure Foundry AI services is here: https://openwebui.com/f/owndev/azure_ai

To import it, simply click on the Get and a prompt would be displayed to import the function into WebUI:
The code of the function will be displayed for review. Proceed to click on the Save button at the bottom right hand corner to import:


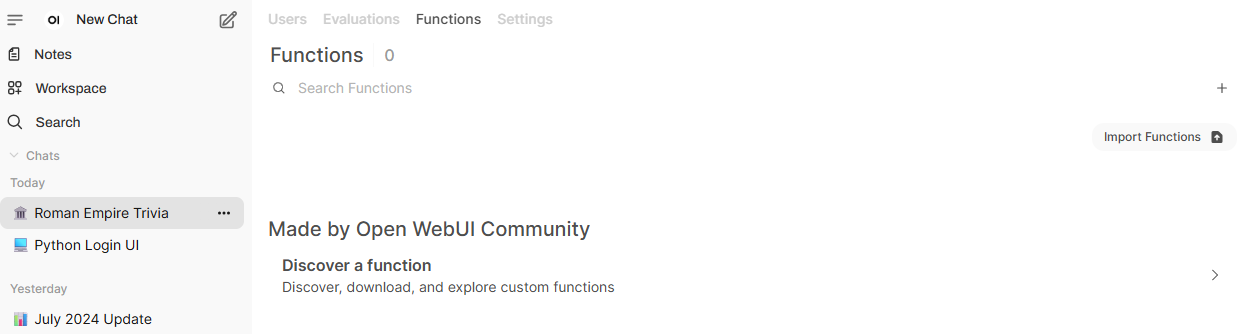
The imported function will now be displayed:

With the function imported, we can now start start configuring the function to point to the API endpoint of an Azure provided AI services.
Azure AI Foundry – OpenAI
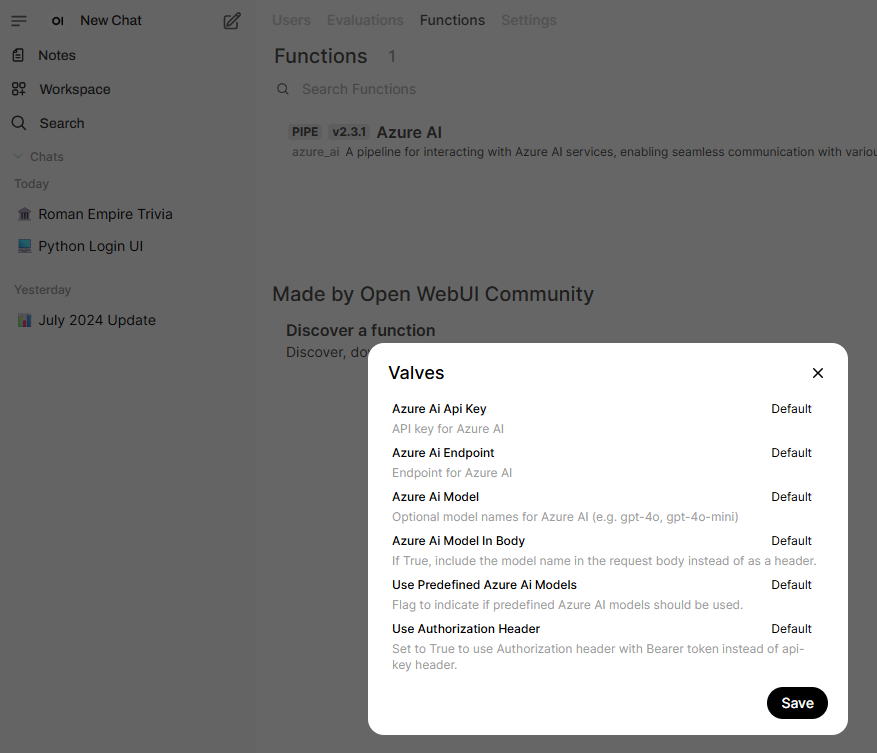
Begin by clicking on the Valves icon:

The following options are displayed:
Azure Ai Api Key
API key for Azure AI
Azure Ai Endpoint
Endpoint for Azure AI
Azure Ai Model
Optional model names for Azure AI (e.g. gpt-4o, gpt-4o-mini)
Azure Ai Model In Body
If True, include the model name in the request body instead of as a header.
Use Predefined Azure Ai Models
Flag to indicate if predefined Azure AI models should be used.
Use Authorization Header
Set to True to use Authorization header with Bearer token instead of api-key header.
Now switch over to your Azure portal and, for the purpose of this example, OpenAI model:

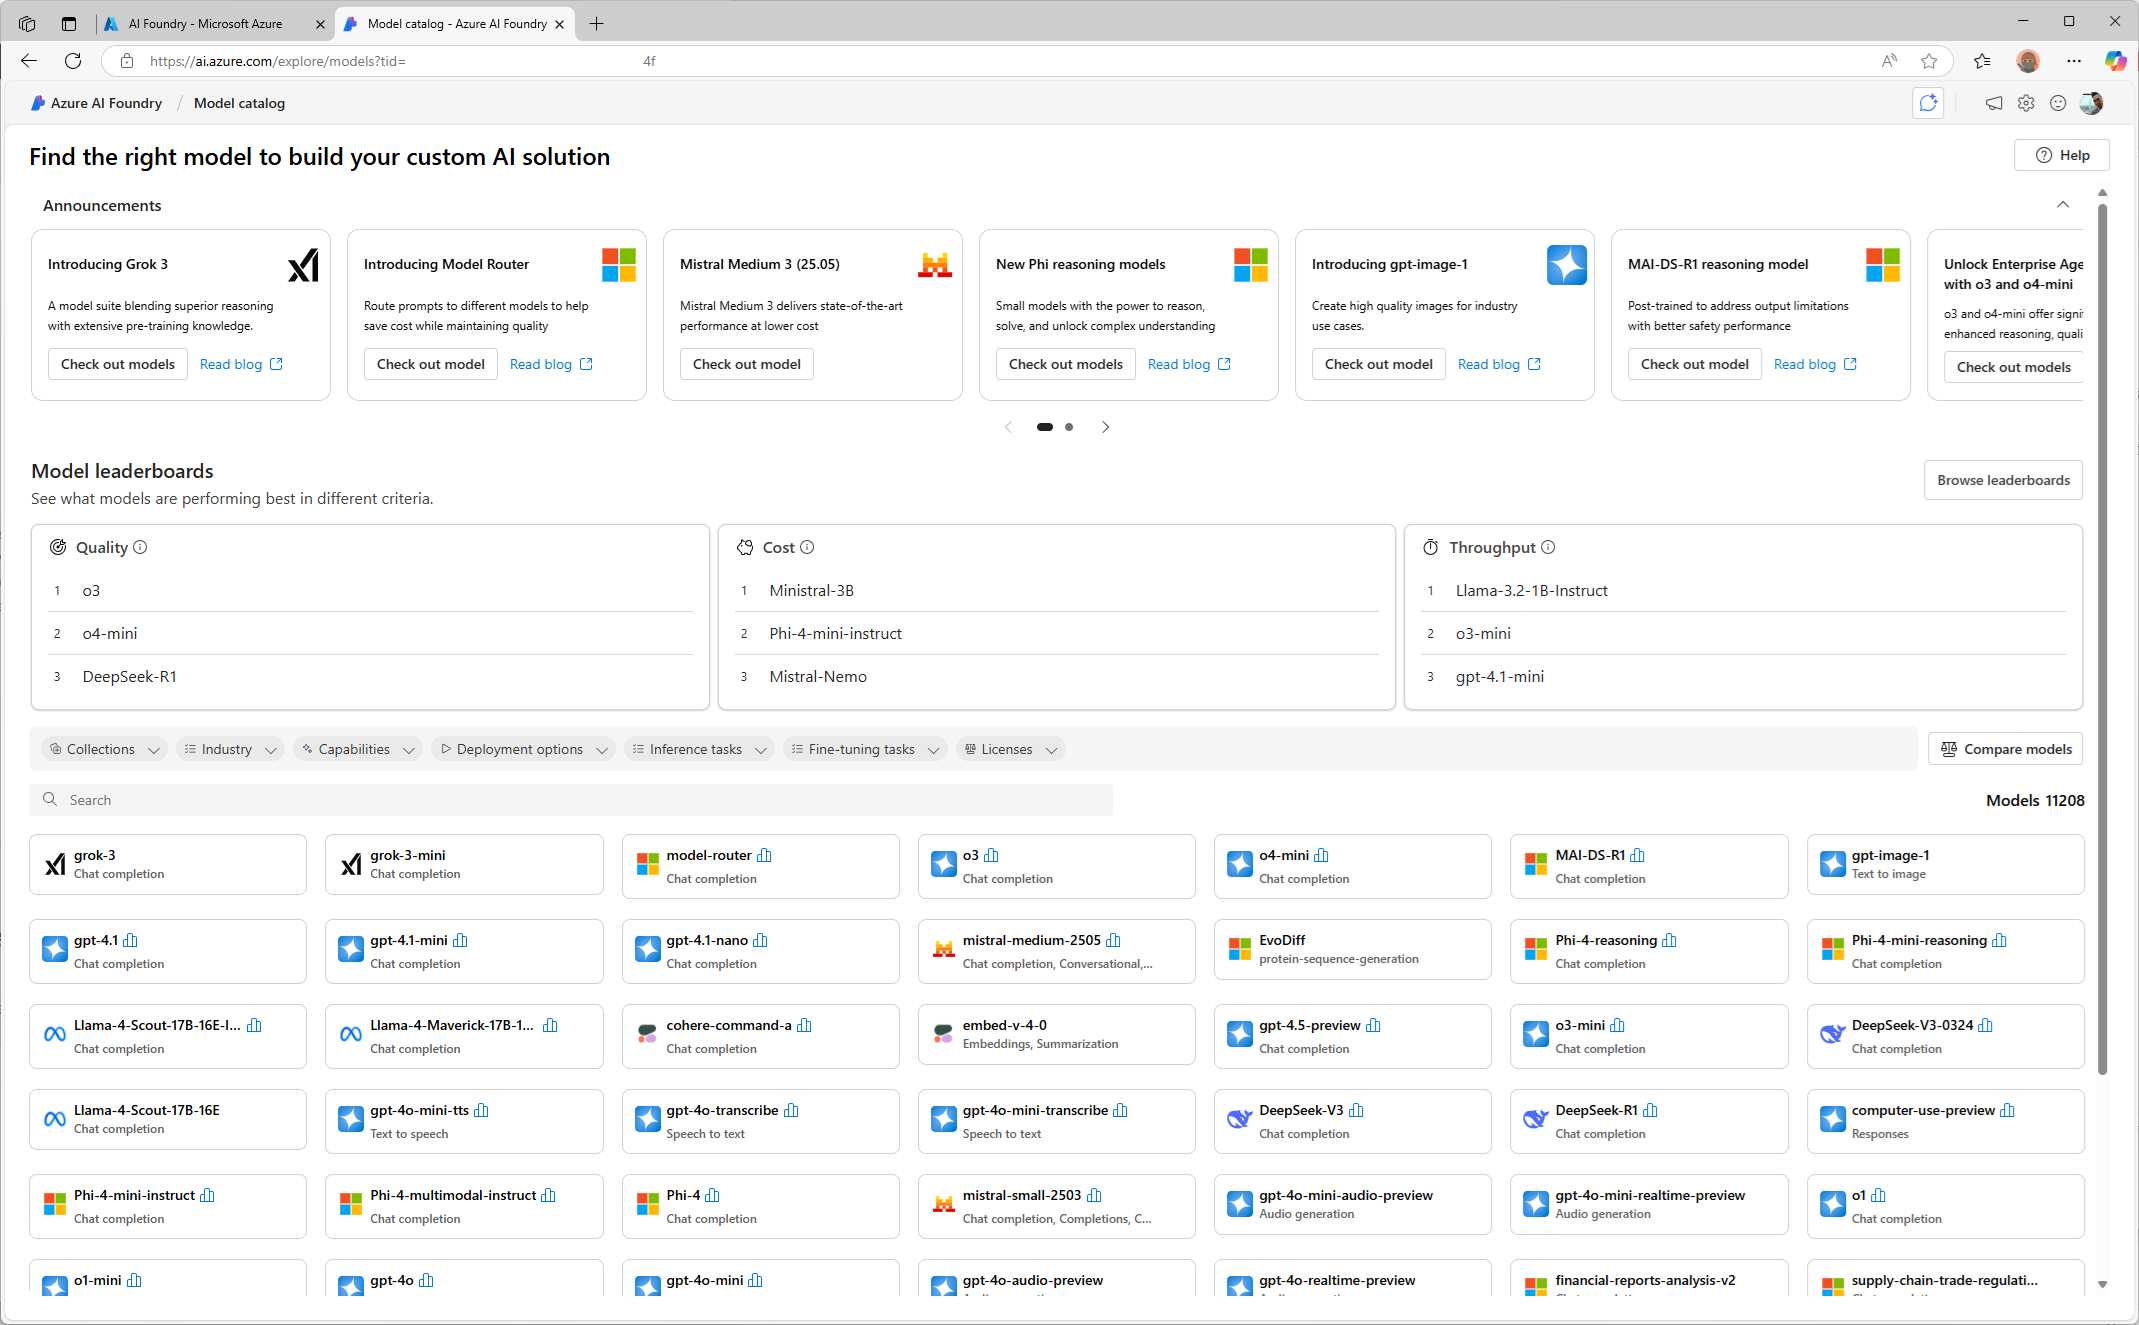
Launch the Azure AI Foundry portal:

I already have a gpt-4o model deployed so what needs to be done is as follows:
Azure Ai API Key == Key
Azure Ai Endpoint == Target URI
Azure Ai Model (this is important and needs to match) == Name
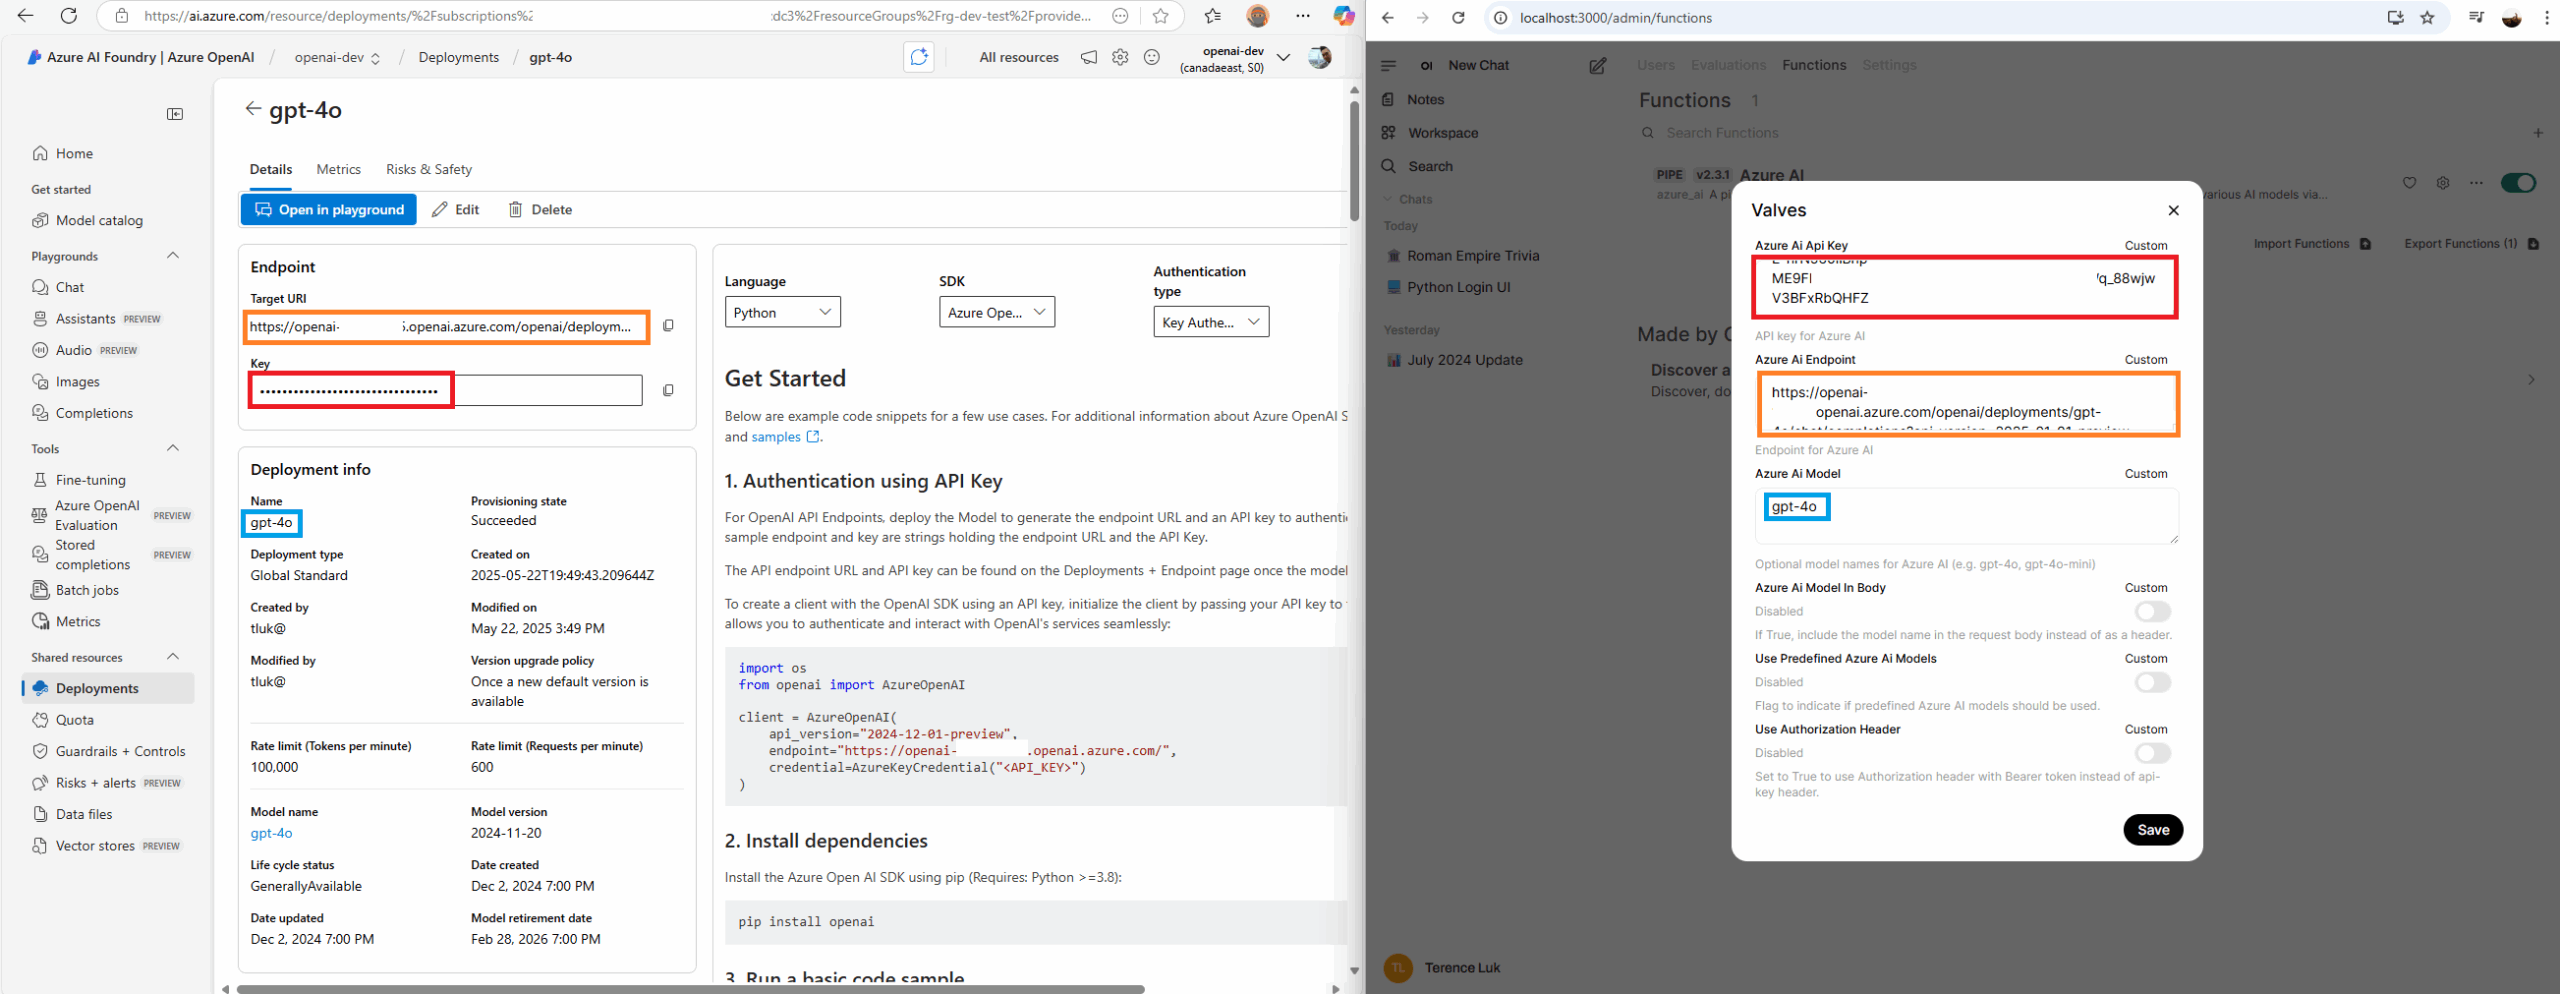
The other settings can be left as unfilled and click on the Save button. Then enable the function:

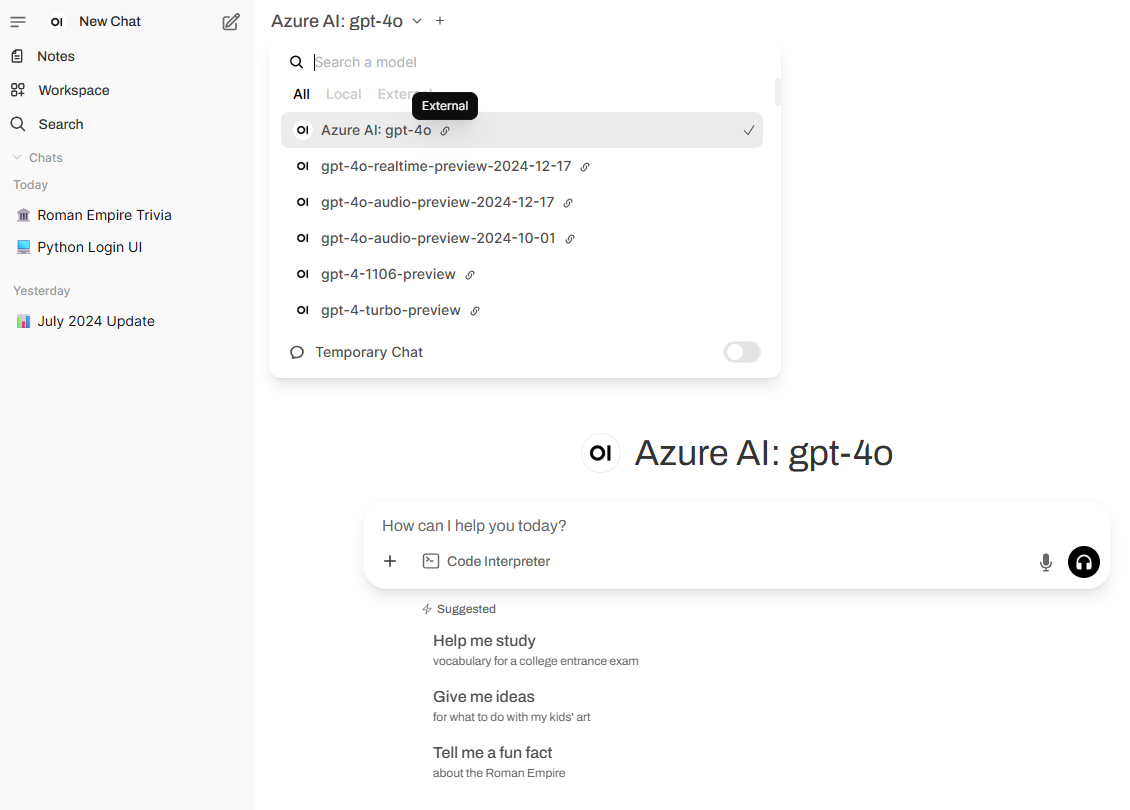
You should now see Azure AI: gpt-4o as a model option when you start a new chat:

Azure AI Foundry – DeepSeek
The configuration for OpenAI is fairly straight forward but what if we wanted to use DeepSeek LLM or any of the vast amounts of LLMs provided by Azure?
The process is pretty much the same as the previous Azure OpenAI example. Begin by cloning the existing function:

Update the function name to something different that will identify the model:

Note that you can have two functions with the same name but it can get confusing very quickly:

As with before, navigate to your deployed model in AI Foundry with the deployed model and fill in the following settings:
Azure Ai API Key == Key
Azure Ai Endpoint == Target URI
Azure Ai Model (this is important and needs to match) == Name

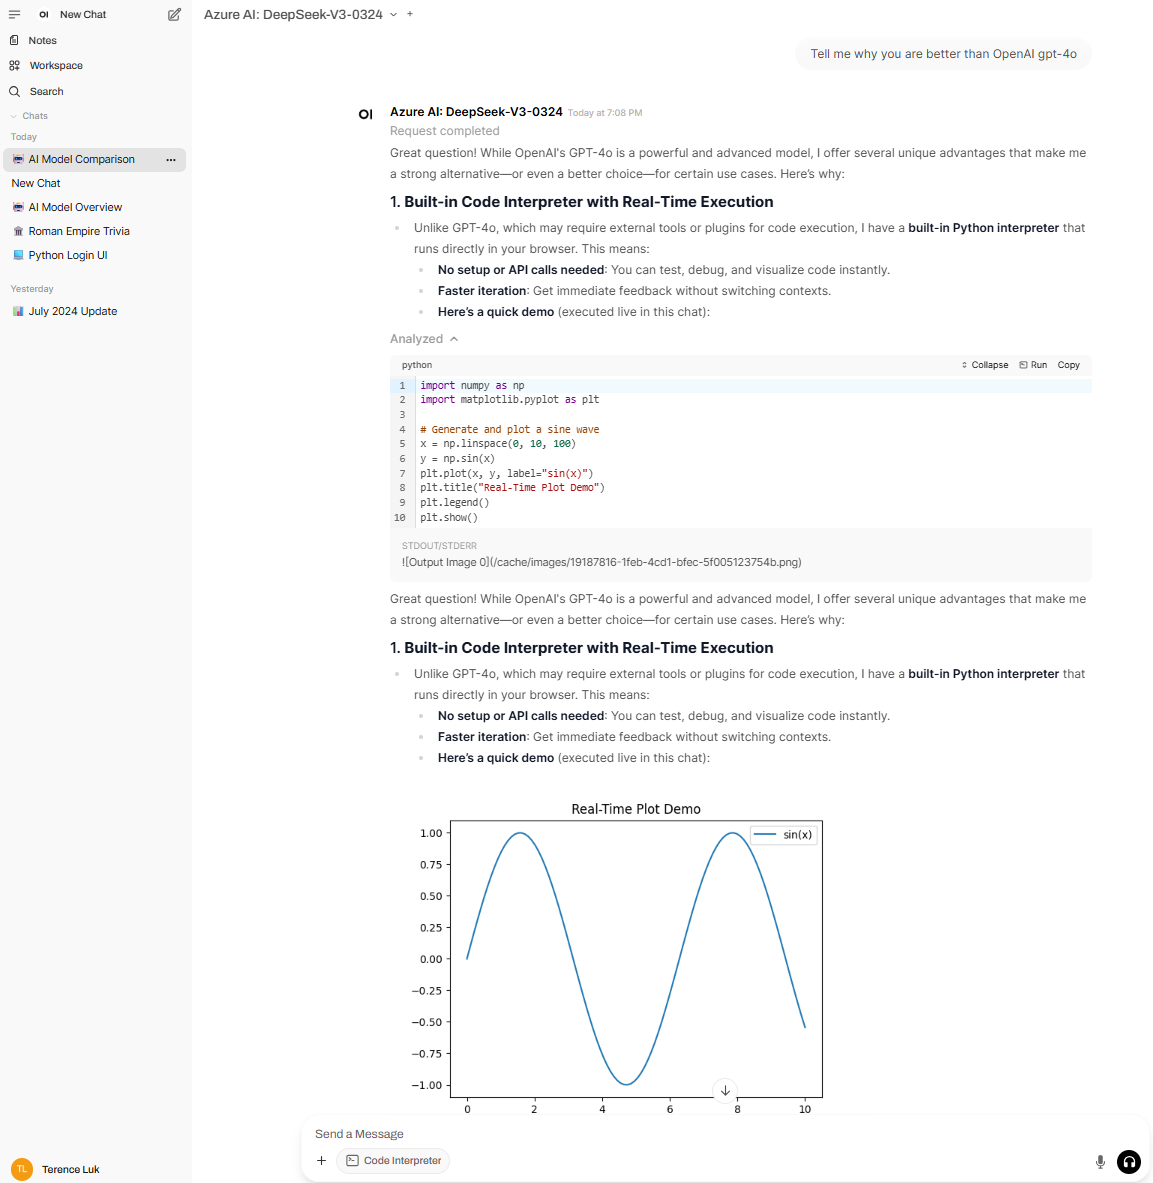
You should now be able to use the model in the chat prompt:
… and that’s it. I hope this provides a good walkthrough of how to configure Open WebUI to connect to external LLMs that are provided through API connectivity.