As a follow up to my previous post:
Setting Azure Storage Account Blob Metadata with Python Script
https://blog.terenceluk.com/setting-azure-storage-account-blob-metadata-with-python-script/
This post serves to be part 2 where I will be converting the Python Script to a Function App so we can run this in Azure and be able to call it via tools such as Postman or a Logic App.
Developing a Function App in Python has changed quite a bit over the years and there were times I had to revert back to my notes to remember how to do it so I want to take this opportunity to walk through from start to finish for how to set up a local environment with VSCode, test it, and finally publish it to an Azure Function App.
Step #1 – Set up your local laptop or desktop for Azure Function with Python Development
Begin by downloading and install the following:
Virtual Studio Code: https://code.visualstudio.com/Download
Python: https://www.python.org/downloads/
**Note: Make sure you check to see what Python version VSCode currently supports as I made the mistake to install 3.13.0 only to find it was not supported so ended up reverting back to 3.9.12.
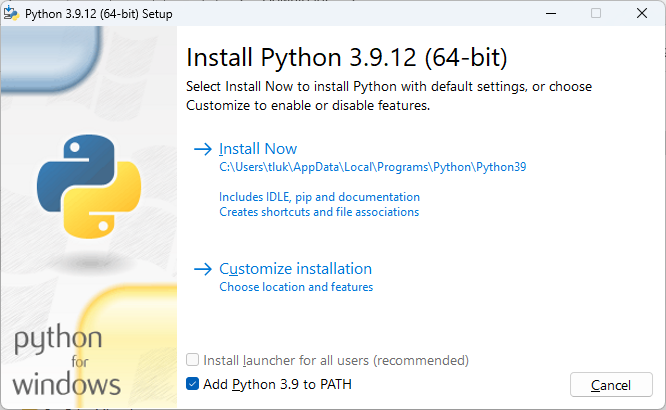
Here are a few screenshots of the settings chosen during the install:
Select Customize installation and select Add Python 3.9 to PATH:
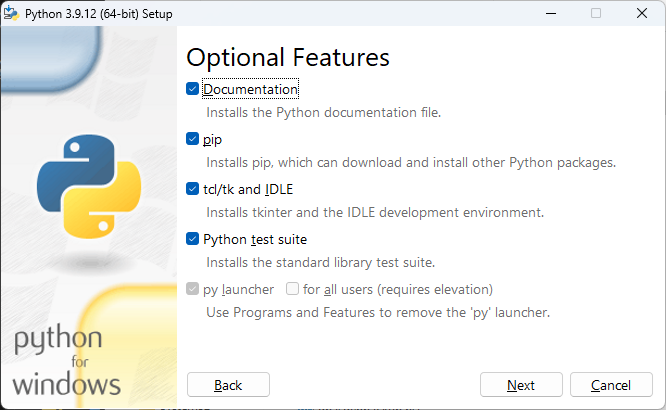
Select the following Optional Features:
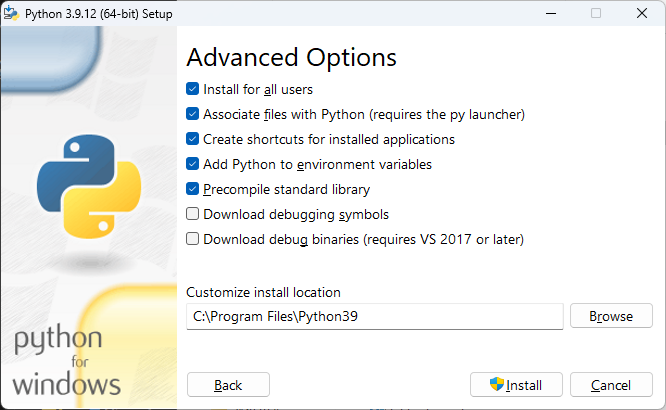
Select Install for all users in the Advanced Options:
Proceed to install Python:
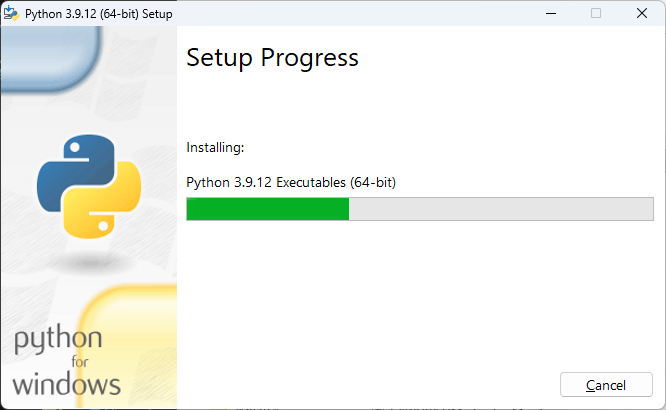
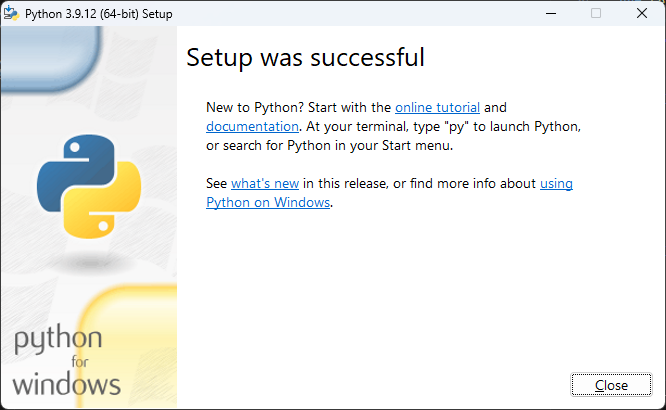
The install should complete successfully:
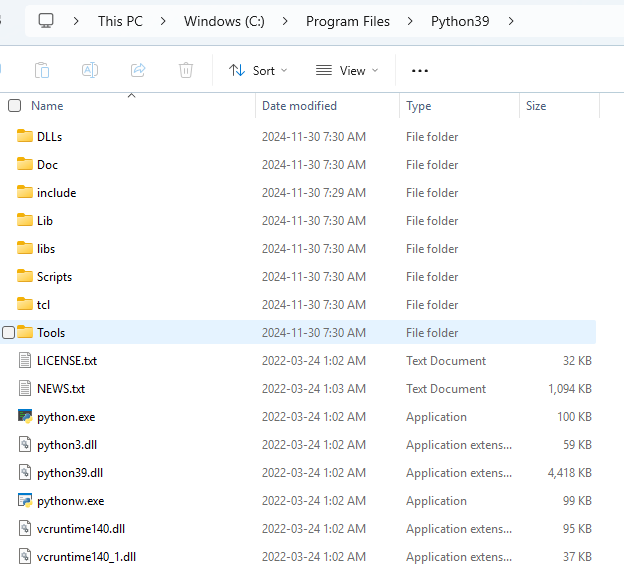
You should see Python39 installed into your C:\Program Files\Python39 directory:
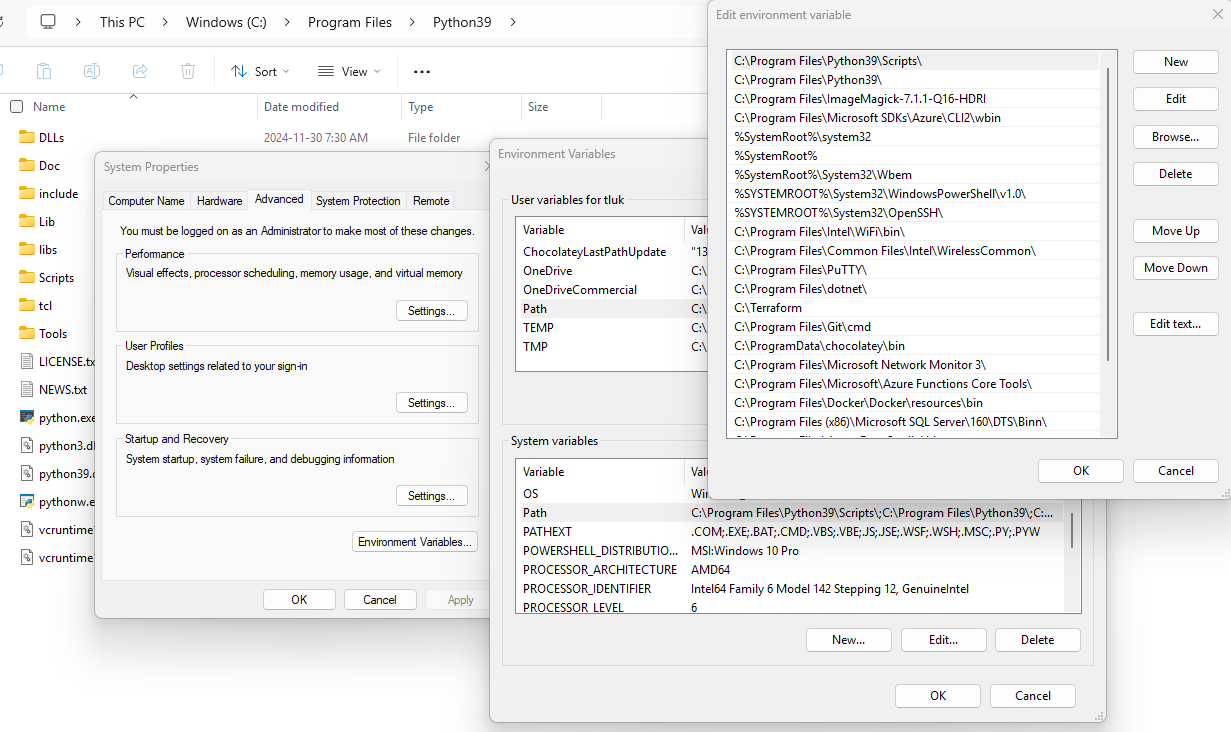
You should also see the Path set in your Windows environment variables:
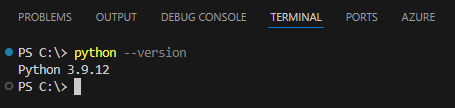
While in VSCode, you should be able to execute python –version to display the installed version:
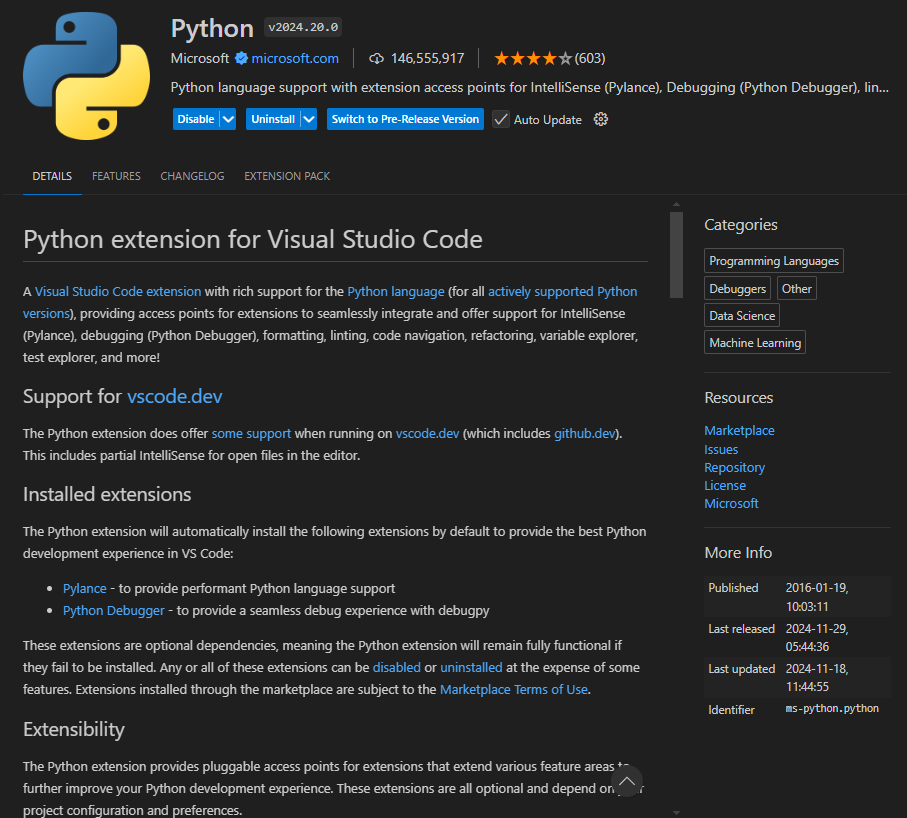
Python Extension for VSCode: https://marketplace.visualstudio.com/items?itemName=ms-python.python
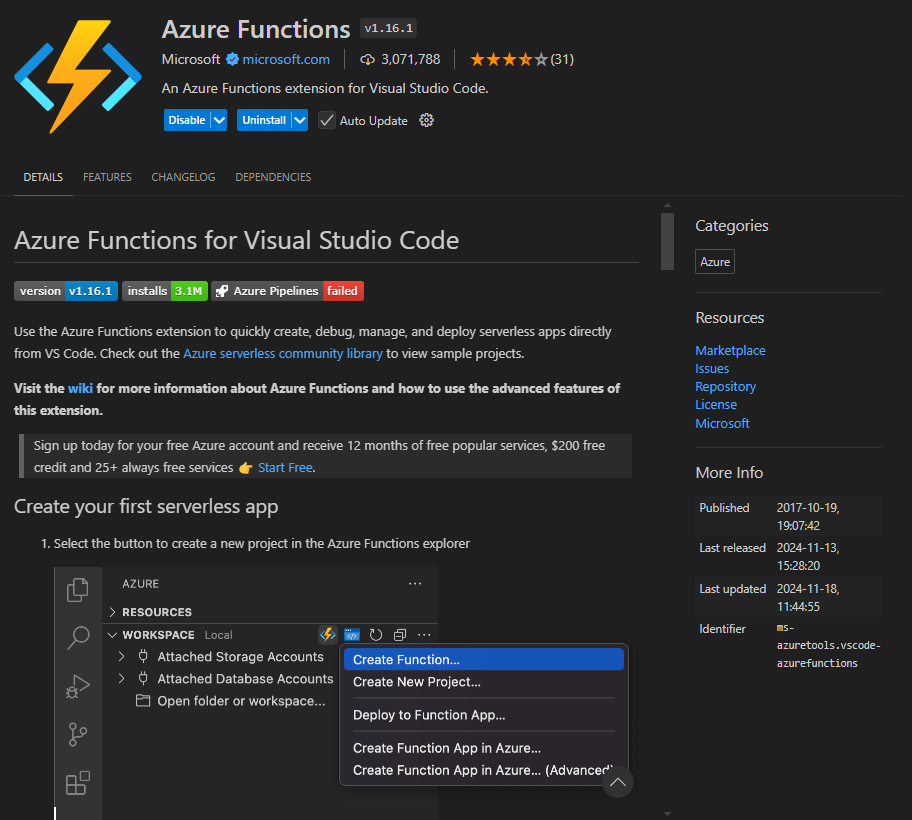
Azure Extension for VSCode: https://marketplace.visualstudio.com/items?itemName=ms-azuretools.vscode-azurefunctions
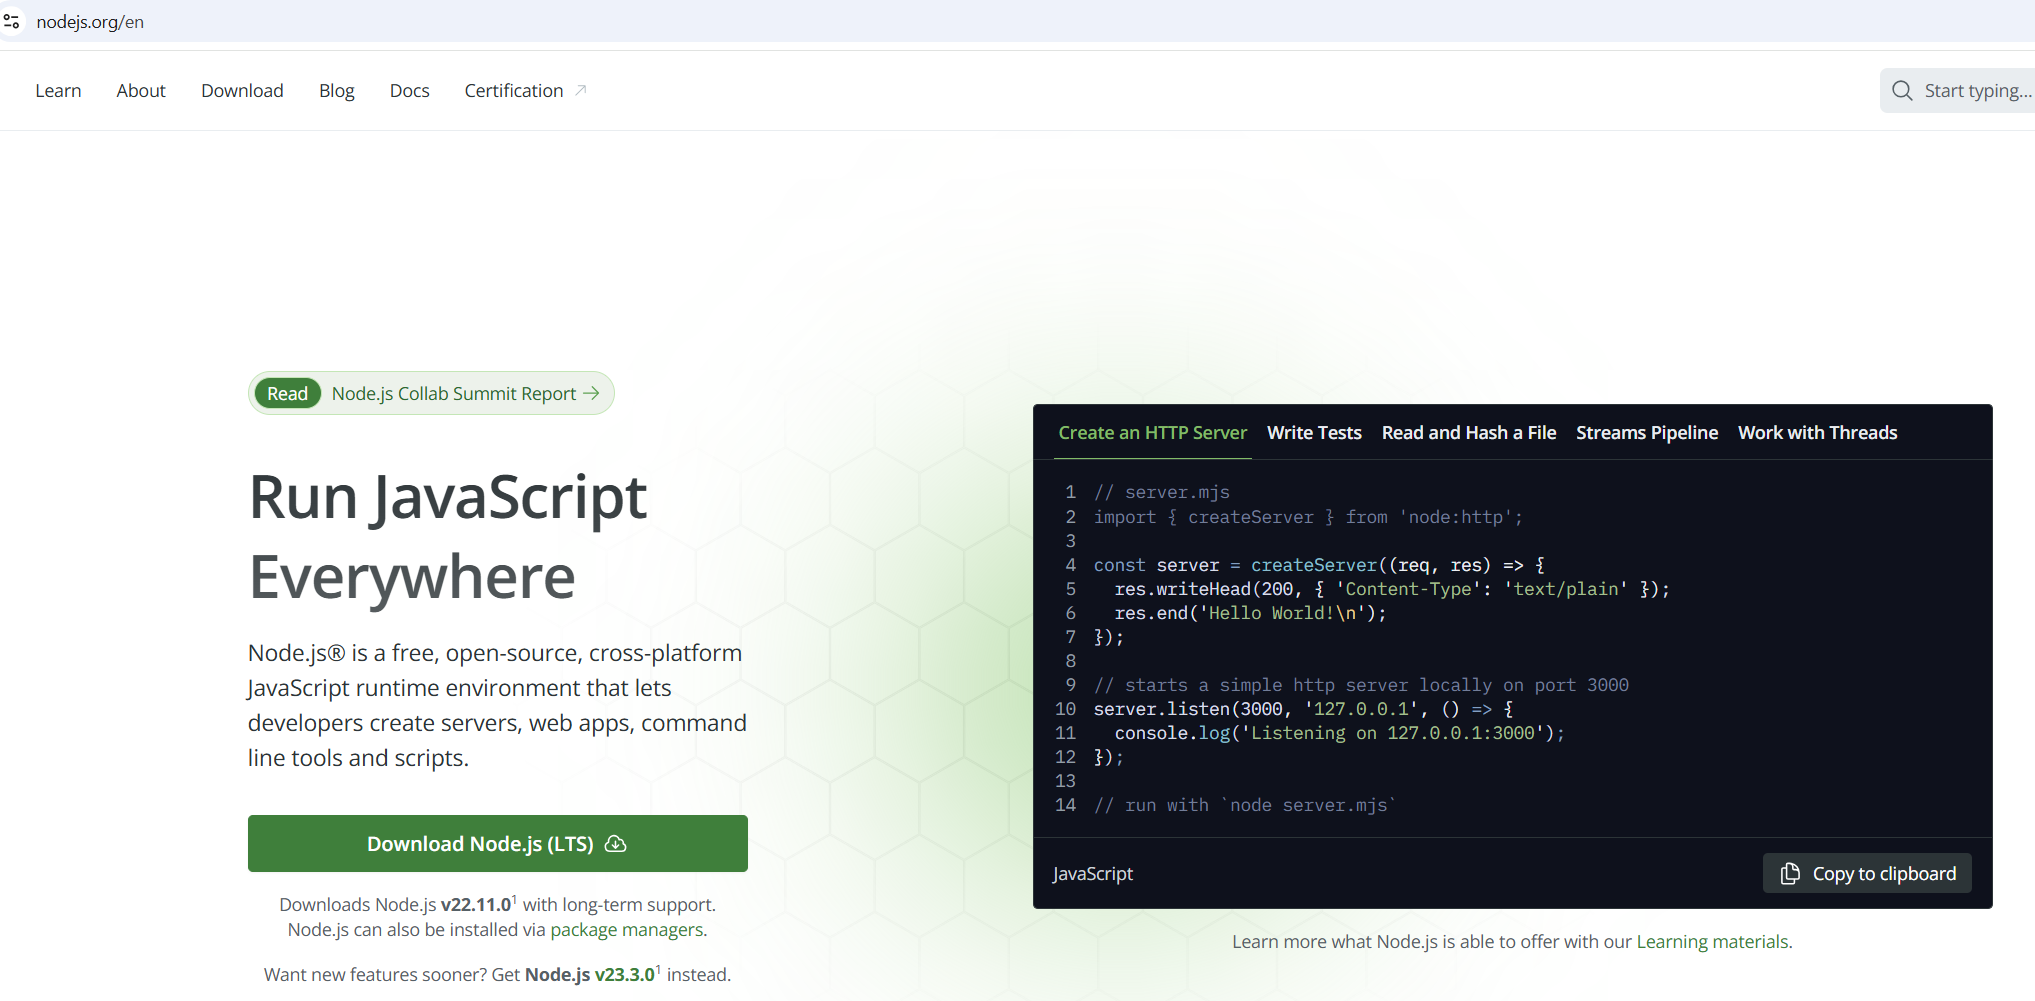
Node.js: https://nodejs.org/en
Azurite Emulator: https://marketplace.visualstudio.com/items?itemName=Azurite.azurite

Step 2 – Create and Start Building and Azure Function on local laptop or desktop in VSCode
With the required applications and extensions let up, let’s proceed to create an Azure Function locally. Continue by creating a folder for where you want to store your Azure Function:
C:\Users\tluk\Documents\Azure Functions\Set-Blob-Metadata
Then open the folder within VSCode:
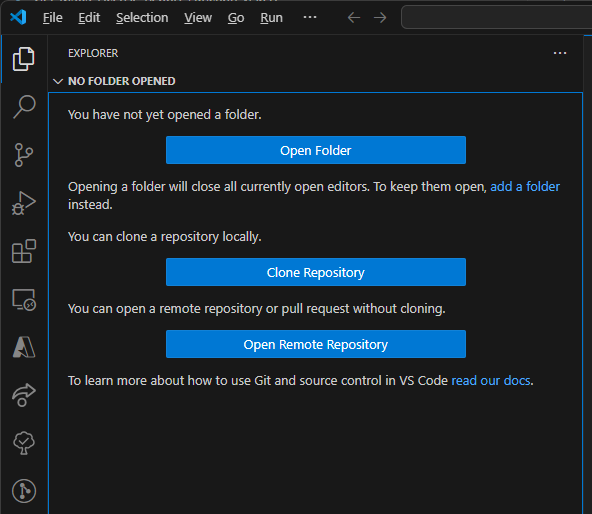
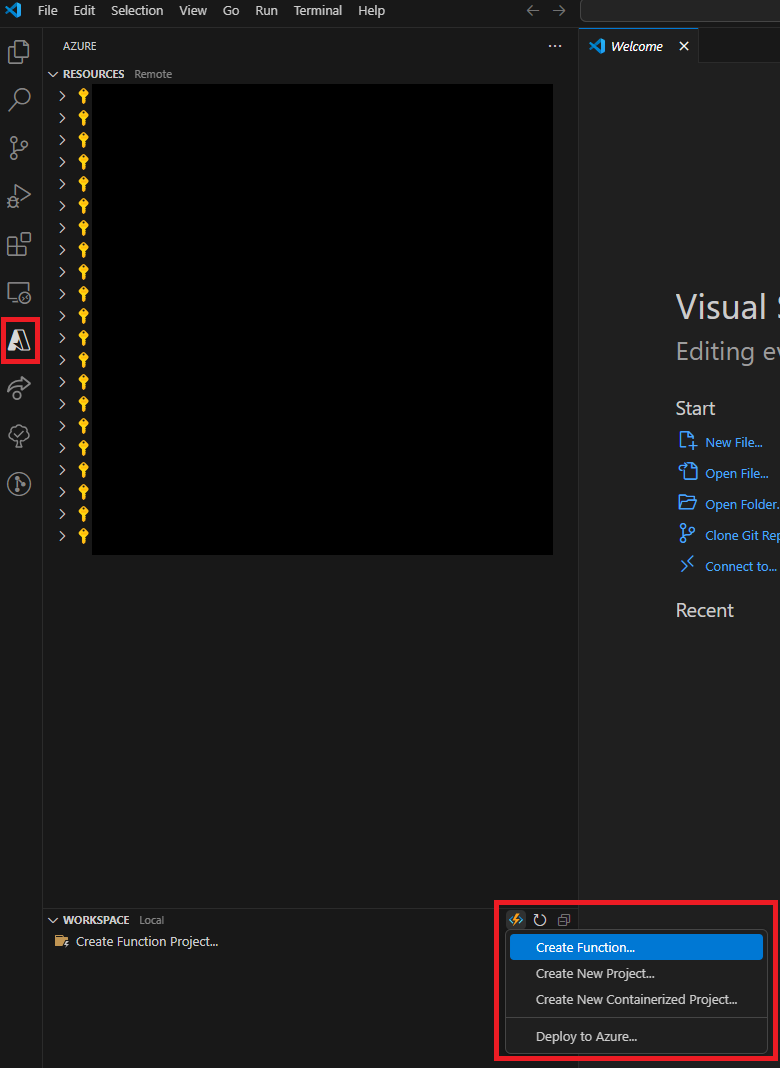
Proceed to click on the Azure (Ctrl+Shift+A) icon on the left navigation bar, click on the Azure Function at the bottom, then select Create Function:
Select the folder we’ll be developing the Azure Function App in:

Select Python:

Select Model V2:

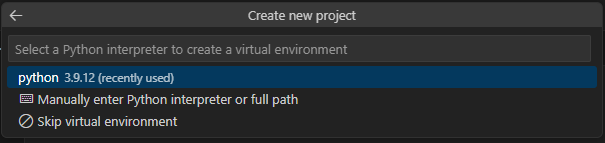
We’ll select the locally installed Python version we installed earlier 3.9.12:
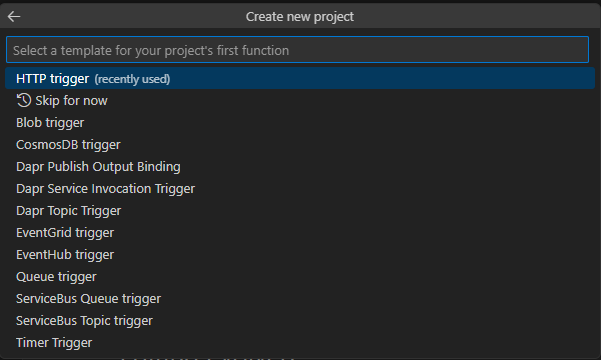
There are numerous triggers you available to execute this Function App. For the purpose of our Function, we’ll be using HTTP trigger:
The default name http_trigger will be filled out for the name of the function:

We’re going to change the name to setblobmetadatafunc:

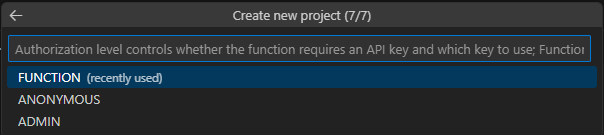
We are now presented with the type of authorization level for calling the Function App. The details of each option can be found here: https://learn.microsoft.com/en-us/azure/azure-functions/functions-bindings-http-webhook-trigger?tabs=python-v2%2Cisolated-process%2Cnodejs-v4%2Cfunctionsv2&pivots=programming-language-python#http-auth
We’ll proceed to select FUNCTION, which requires an API Key:
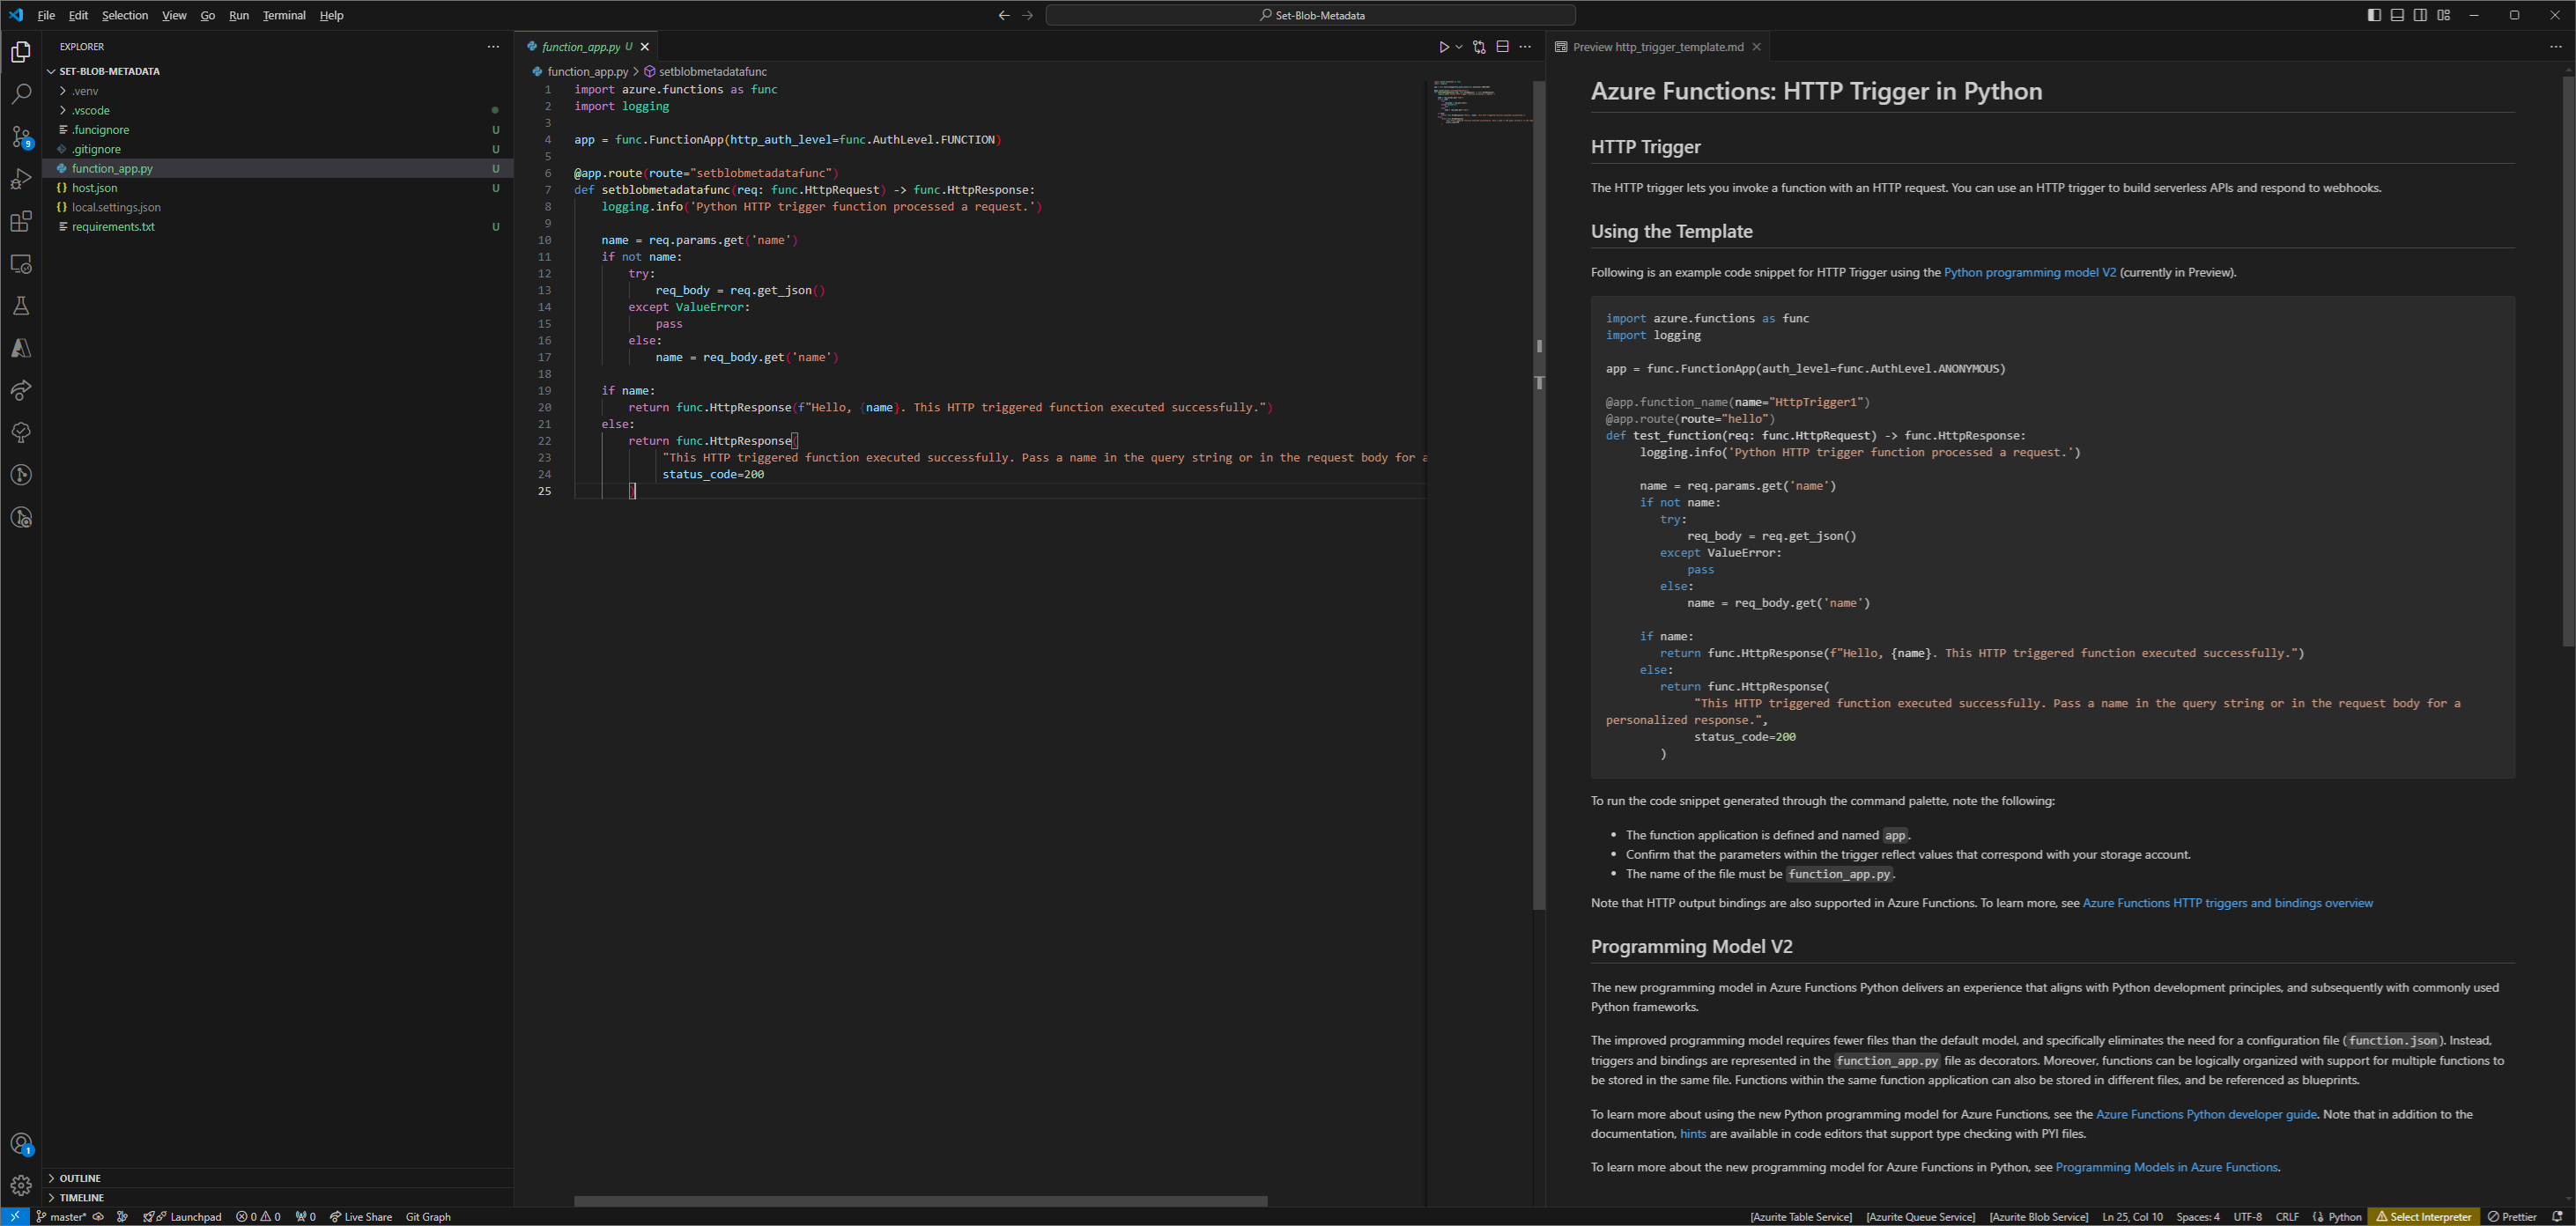
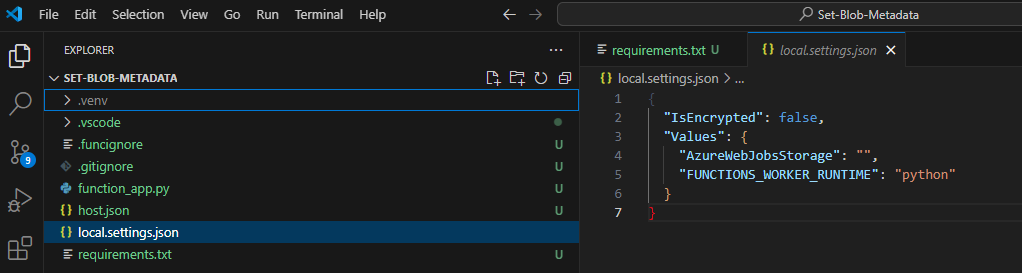
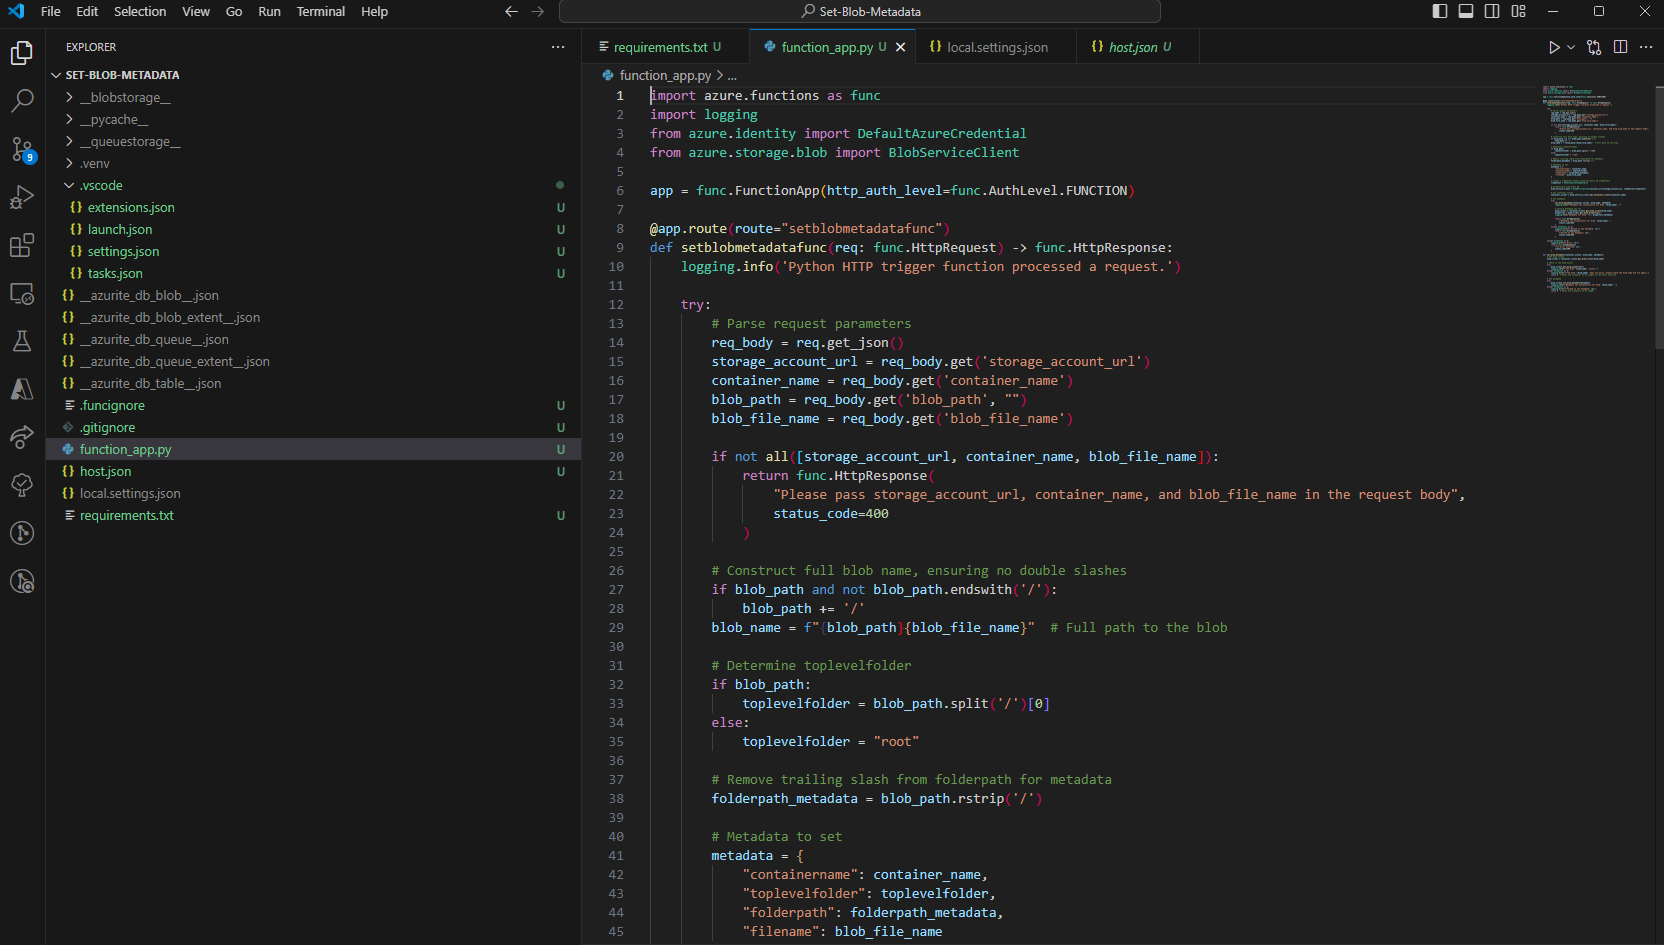
You should now see a new Azure Function with multiple files created:
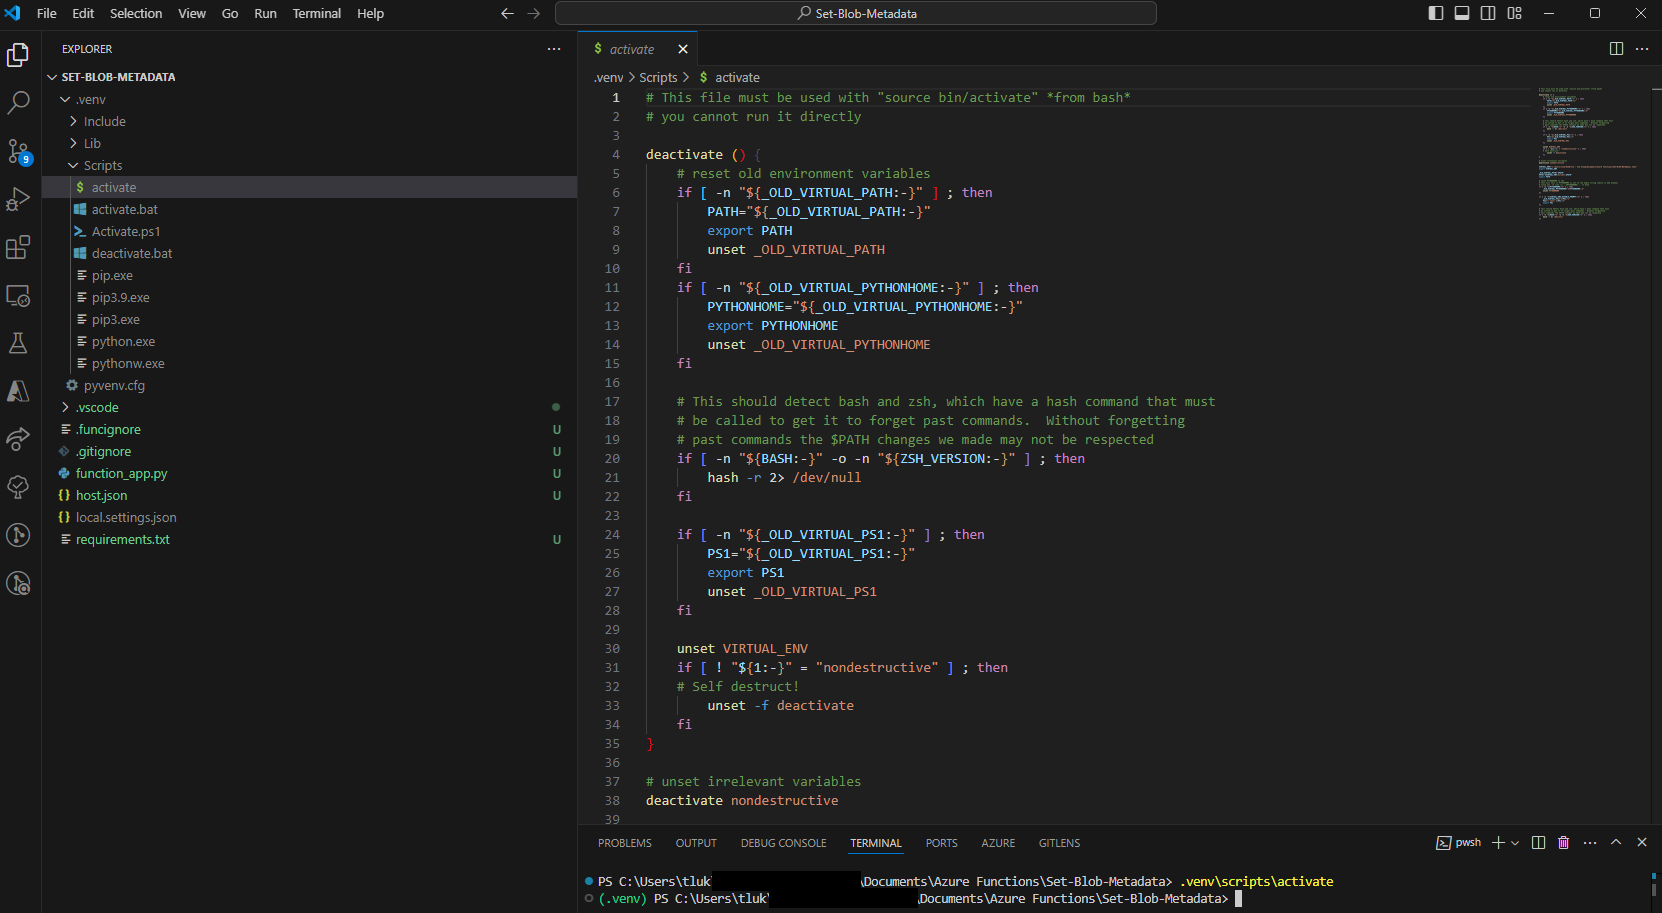
With the new Function App created, let’s proceed to launch the terminal and activate a virtual environment by using the bundled .venv\Scripts\activate:
.venv\scripts\activate
More information about virtual environments can be found here: https://docs.python.org/3/library/venv.html
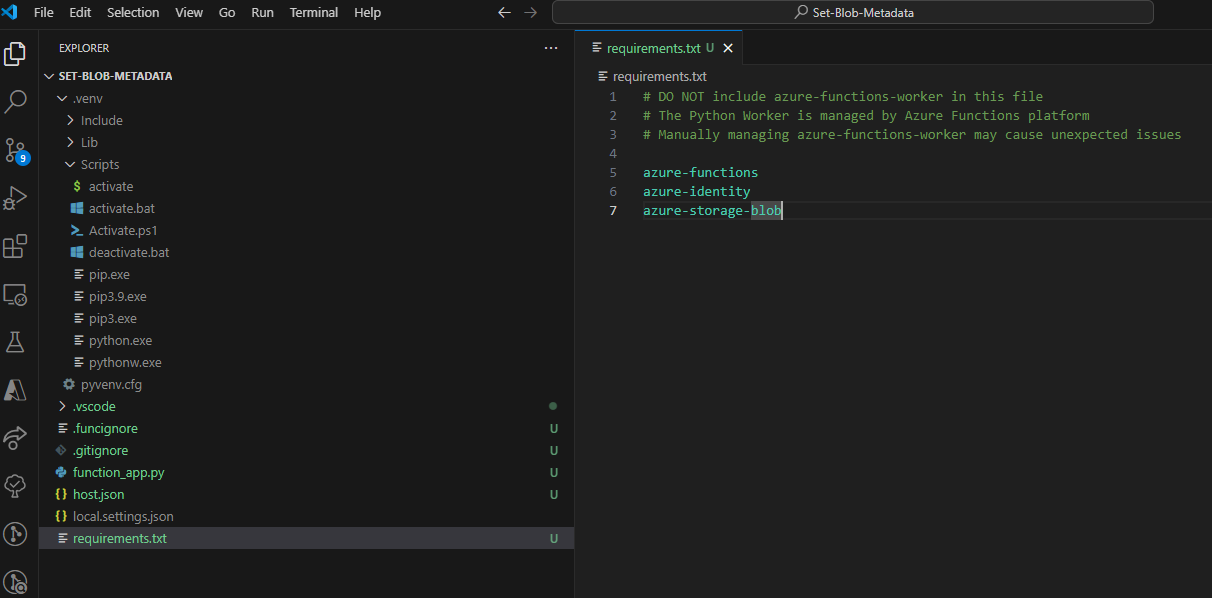
With the virtual environment activated, we can proceed to install the python packages required to run our Function App that will set the metadata for a blob. Navigate to the requirements.txt file and paste the following packages (azure-functions should already be in there):
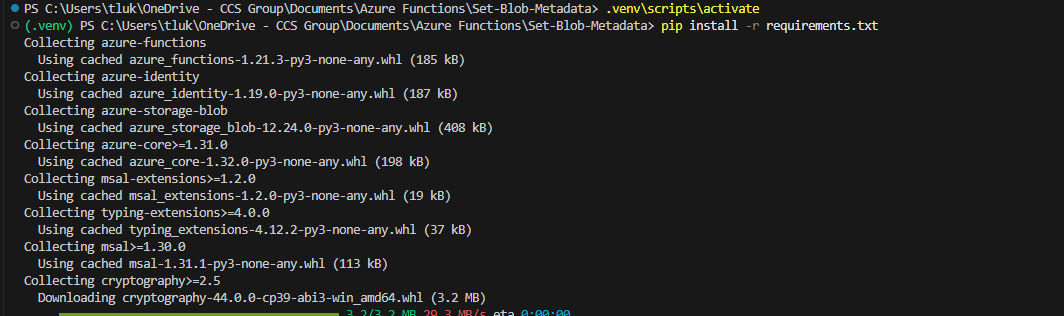
Save the file and run: pip install -r requirements.txt to install the packages in the virtual environment:
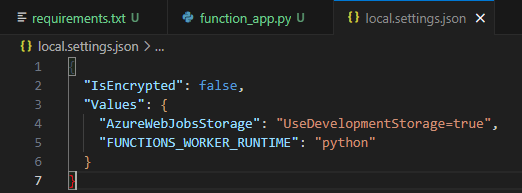
Next, we’ll need to edit the local.settings.json and add line to instruction the function to use the Azurite local storage emulator:
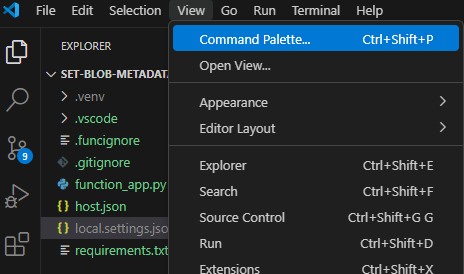
Now proceed to verify Azurite local storage emulator service is running by clicking on View > Command Palette… (Ctrl+Shift+P):
Then in the type in the following in the command palette: Azurite: Start and click on the item:

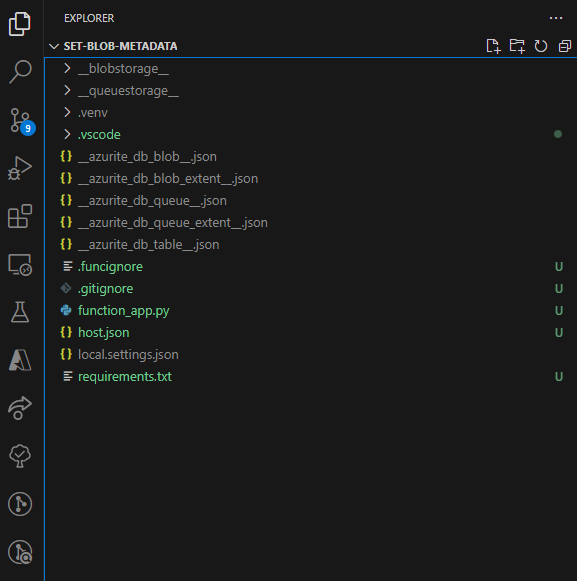
Once successfully started, you should see __azurite files created in the main directory:
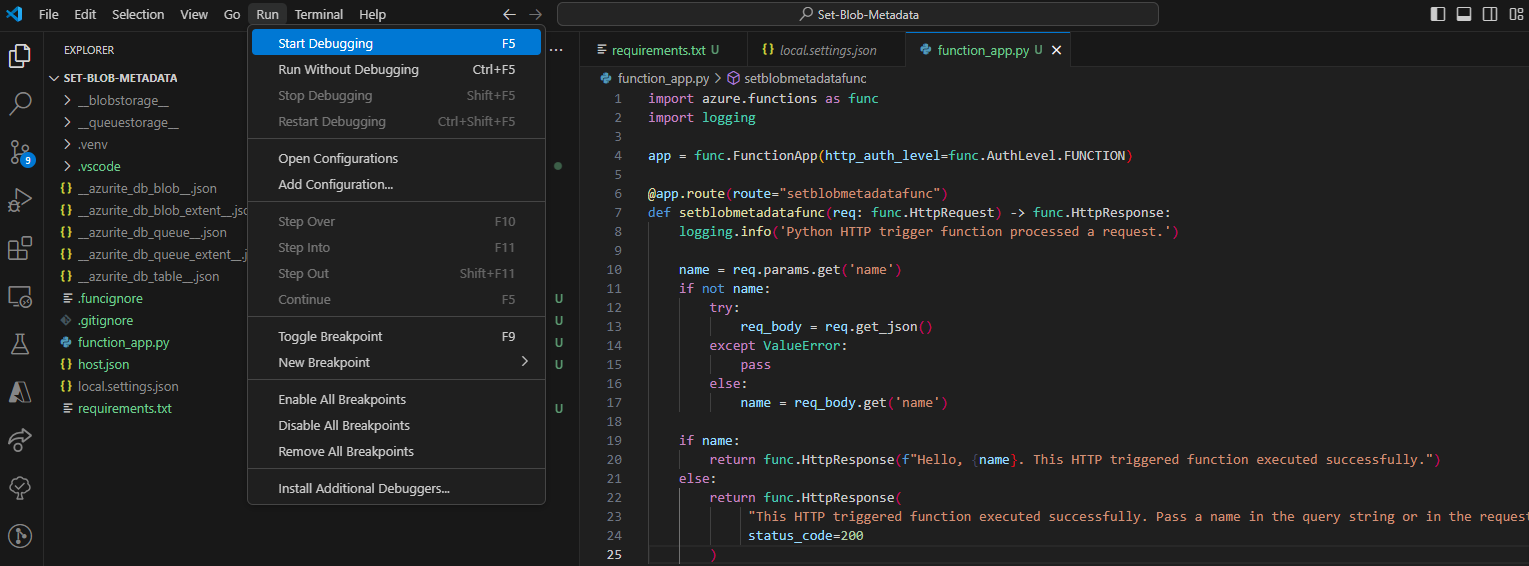
The Function App is now ready to be ran locally. Without updating the code, you should be able to start the function app by clicking Run > Start Debugging:
————————————————————————————————————————————————————————————————————
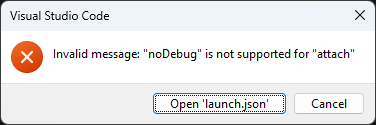
Note: I never had any luck using Run Without Debugging as it would always throw the error message:
Visual Studio Code
Invalid message: “noDebug” is not supported for “attach”
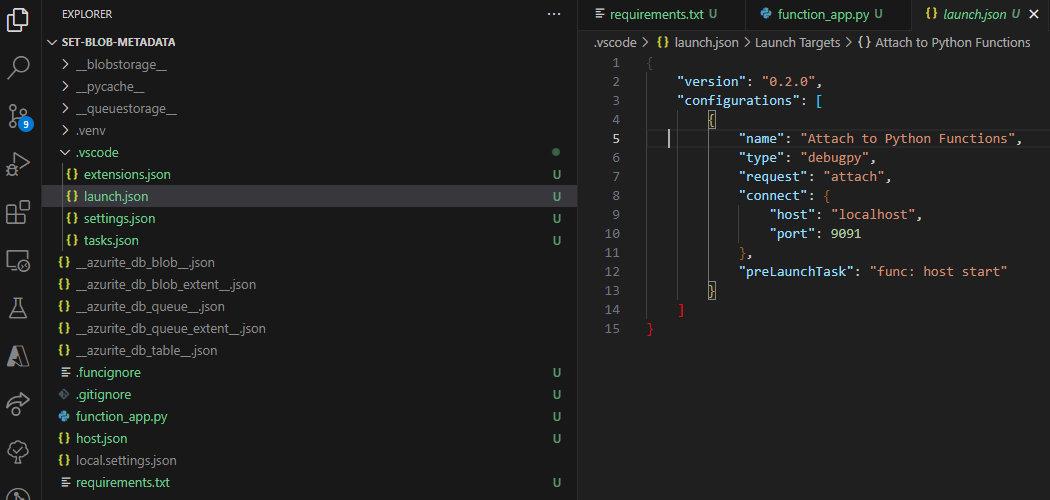
Clicking on Open ‘launch.json’ will direct me to the file in the .vscode folder:
The Function App will continue to run and successfully launch but I avoid this by just using Start Debugging.
Feel free to leave a comment if anyone knows how to get this to work without an error.
————————————————————————————————————————————————————————————————————
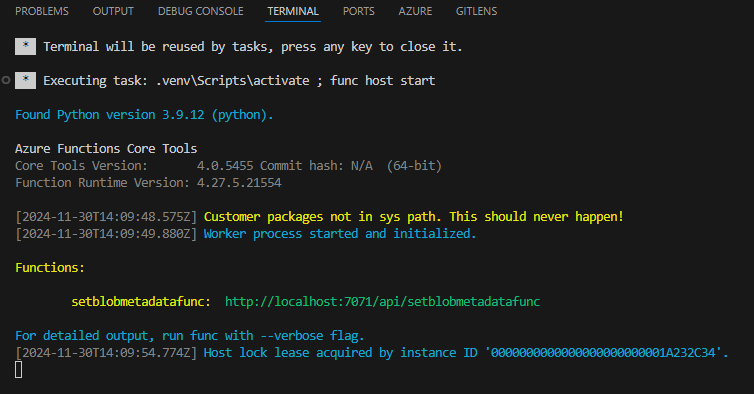
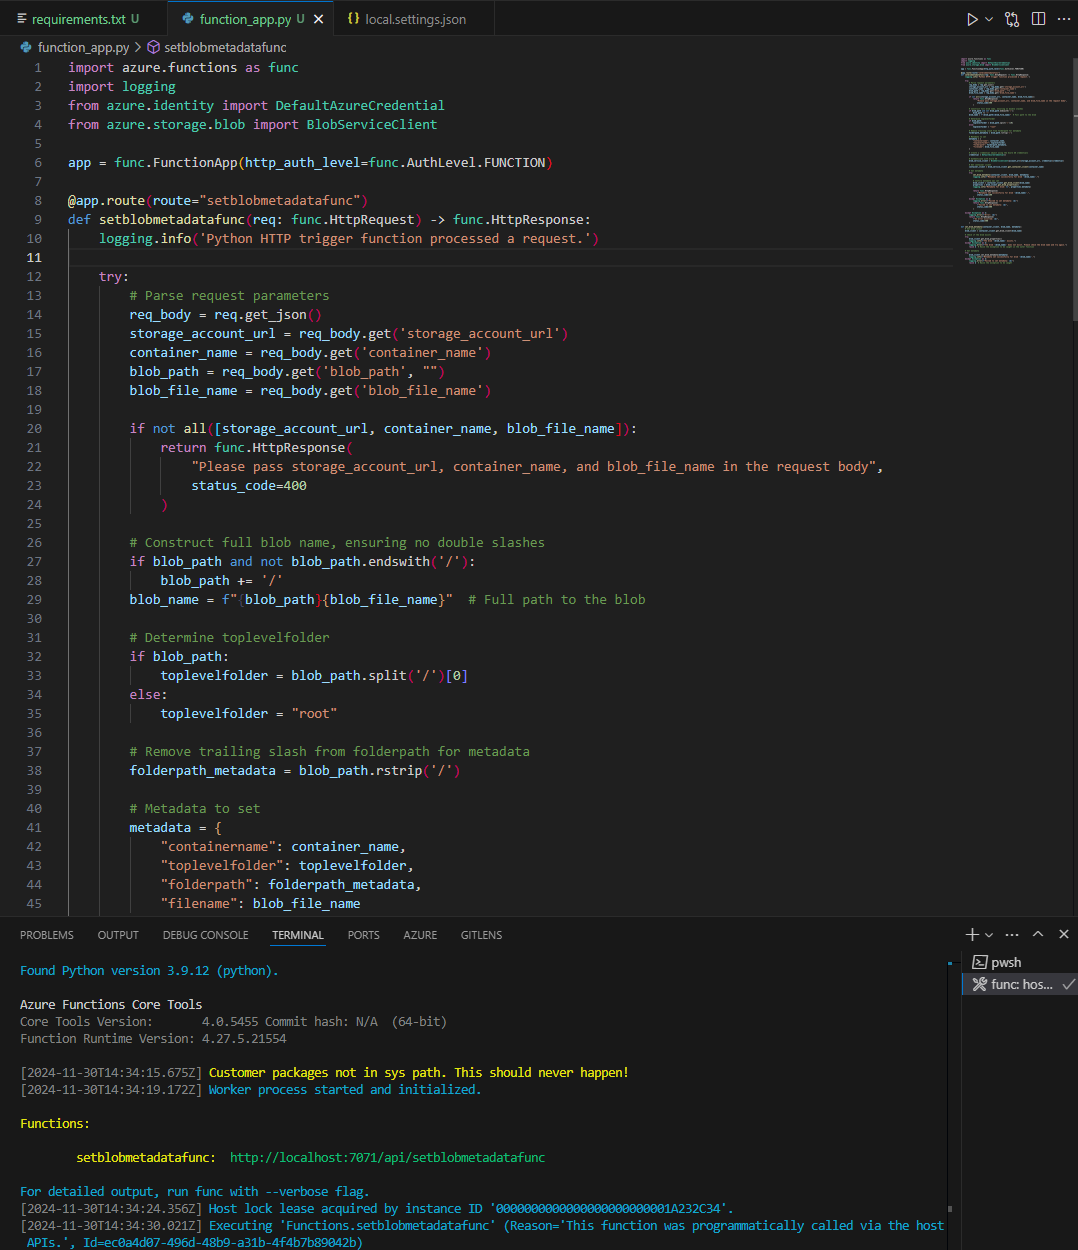
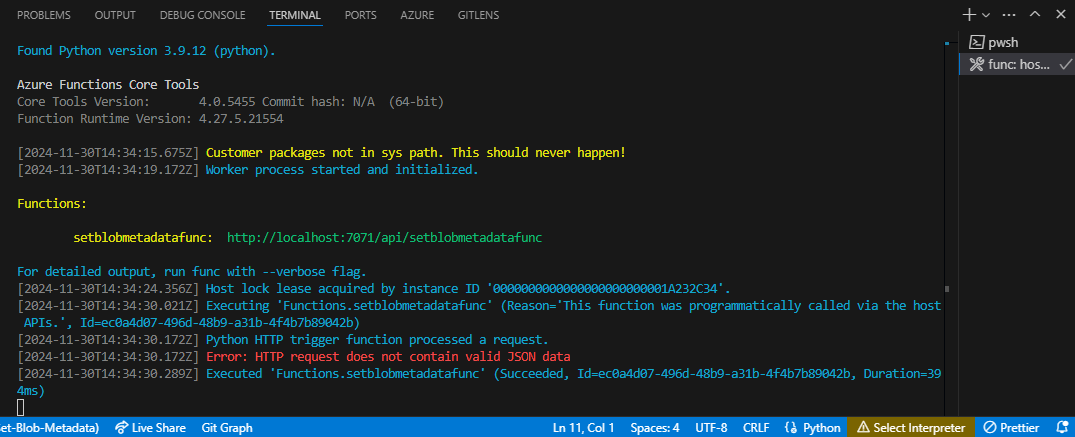
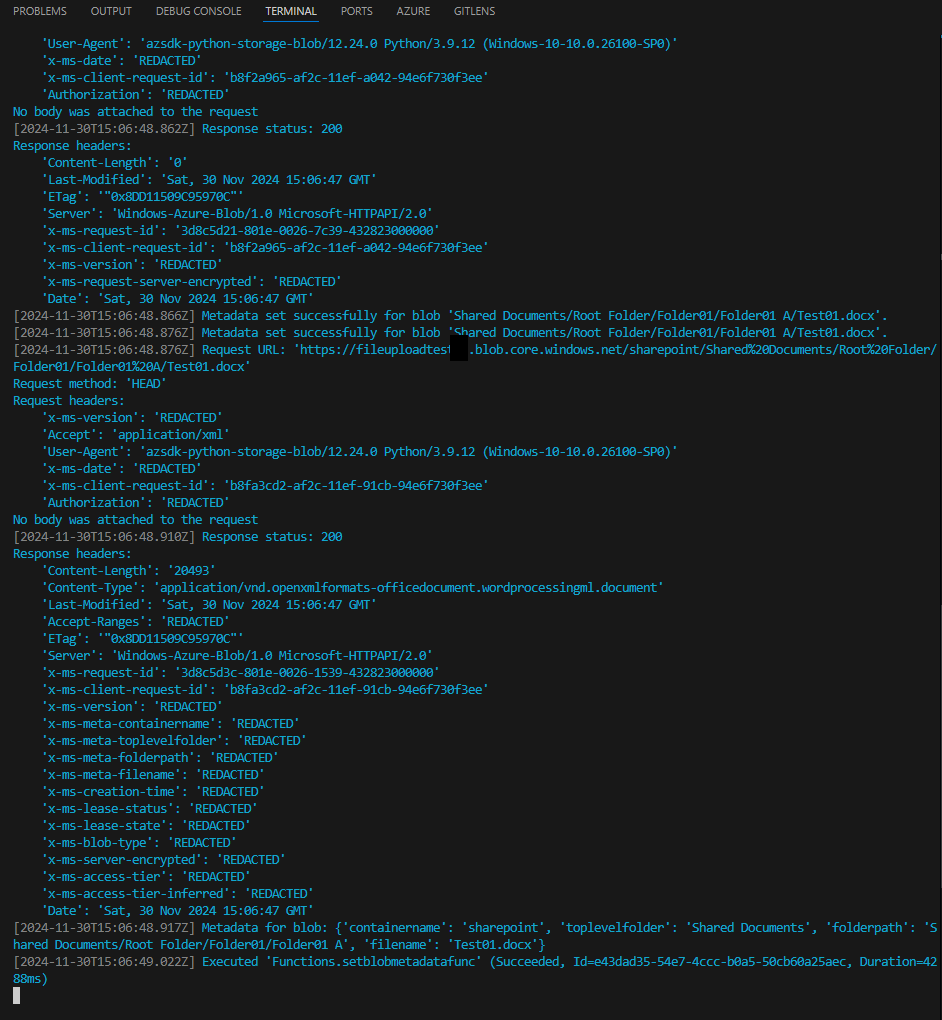
You’ll see in the console indicating that the requirements.txt packages were installed and the function successfully launches and begins listening:
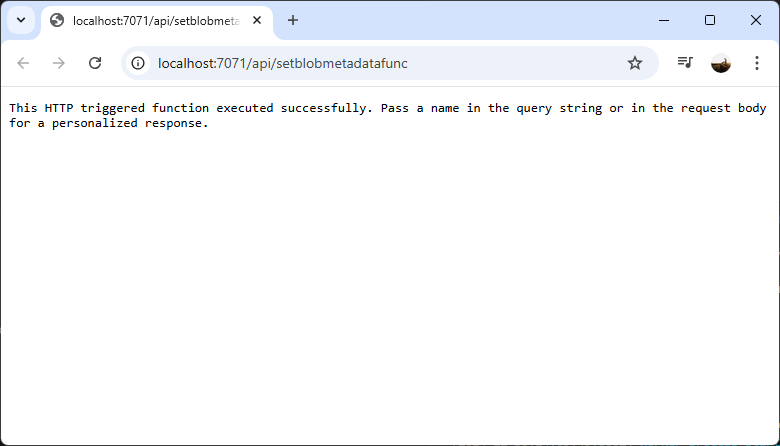
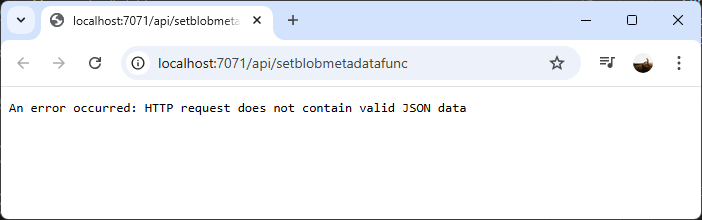
We can try navigating to the URL in our browser:
You can also add ?=name=terence at the end of the endpoint to see the function app execute the block to say hello:
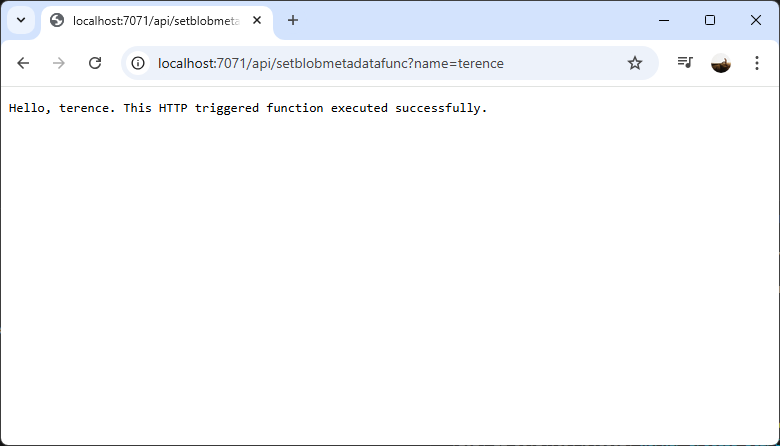
We have now successfully validated the Function App works.
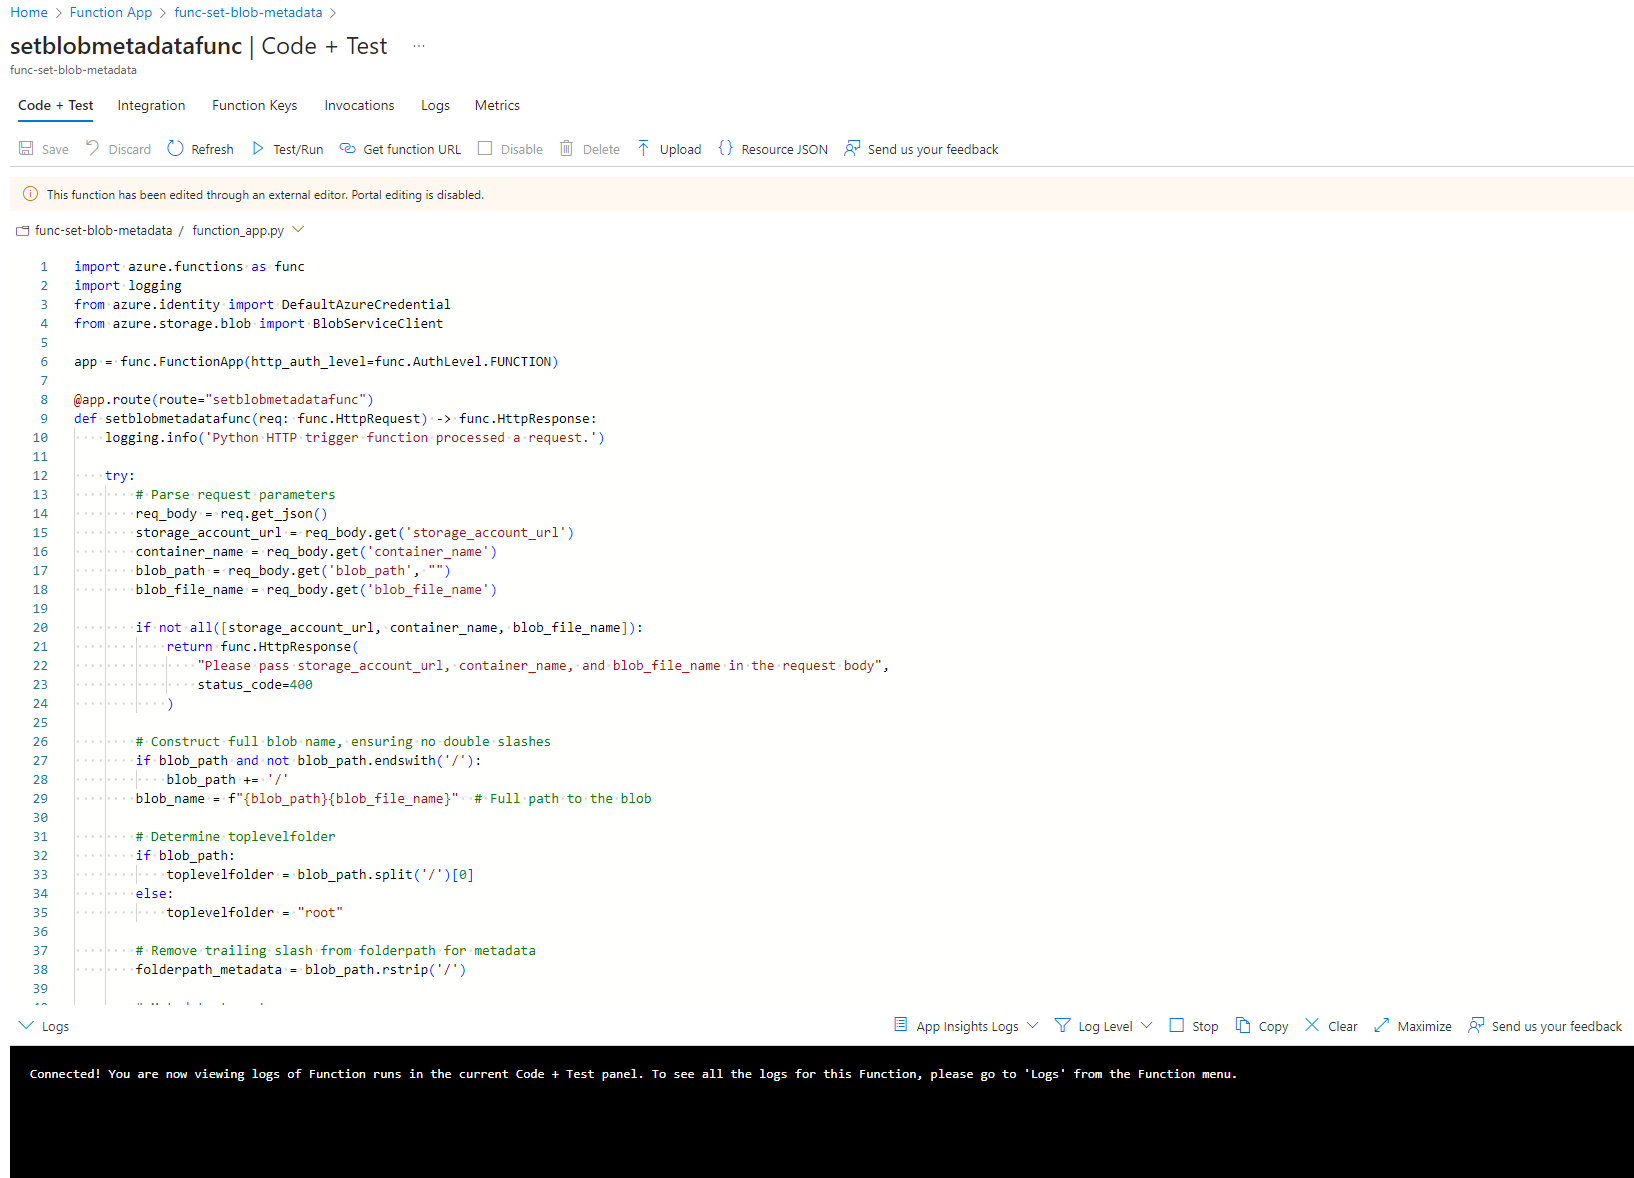
Step 3 – Add Custom Python Code for Blob Metadata Configuration
Let us now proceed to add the custom Python code that will perform the following:
- Listen for HTTP requests
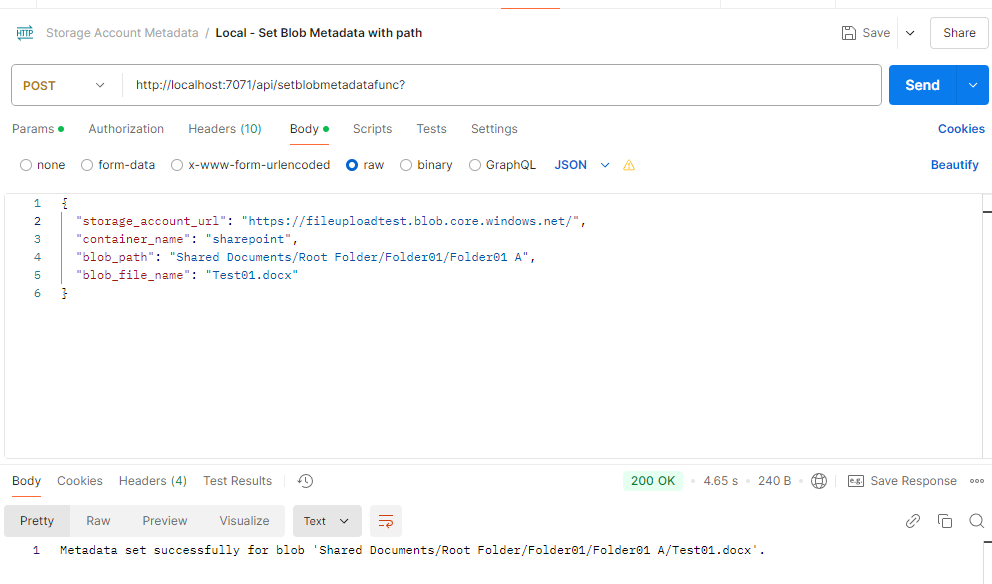
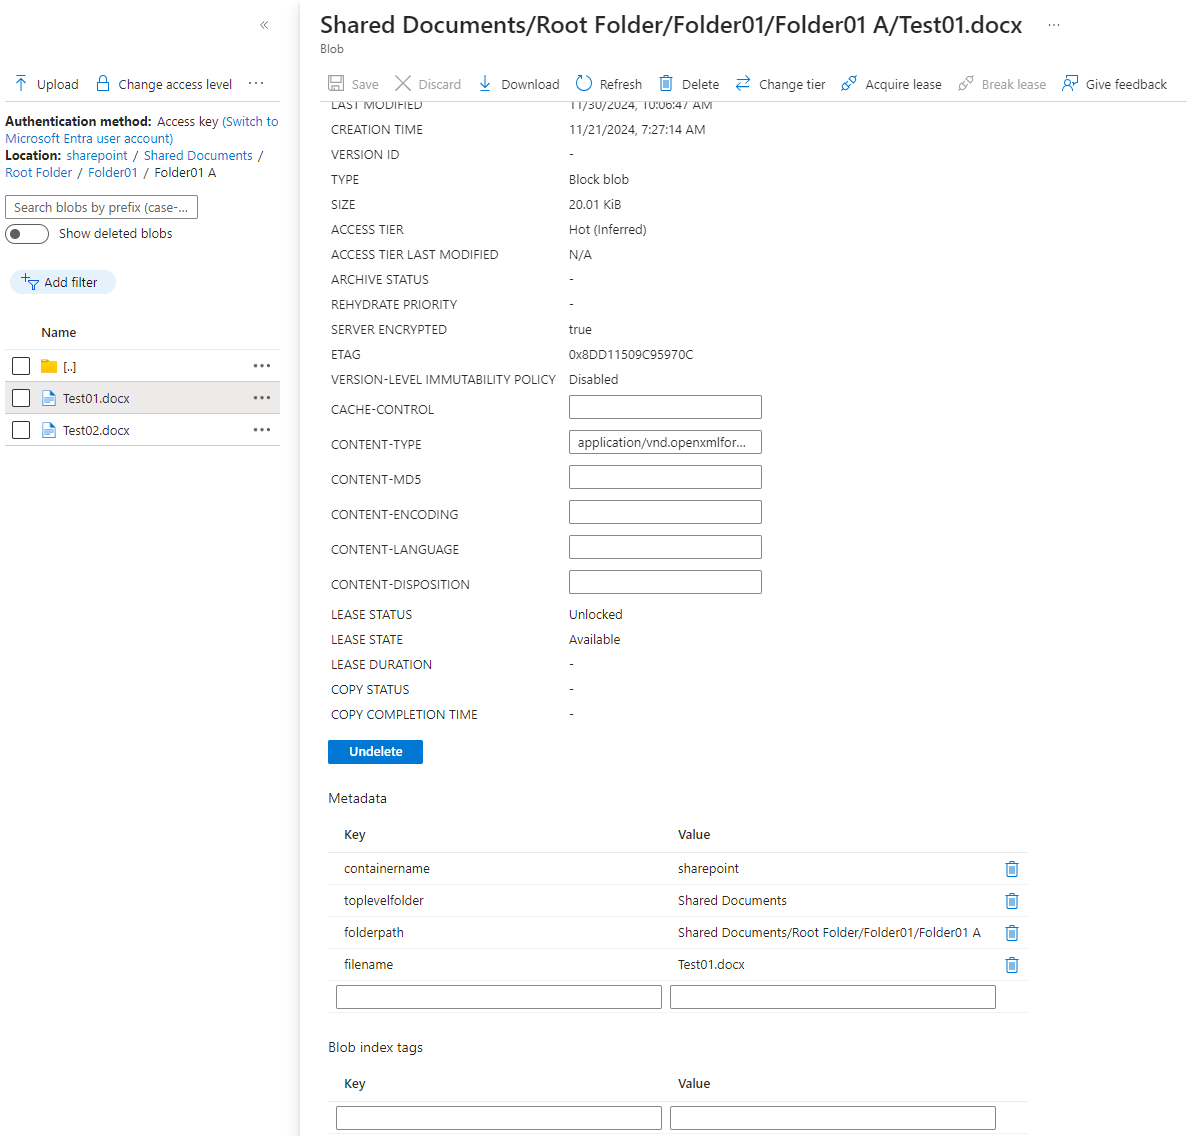
- When an HTTP request is received, take the provided JSON payload and set the metadata for a blob
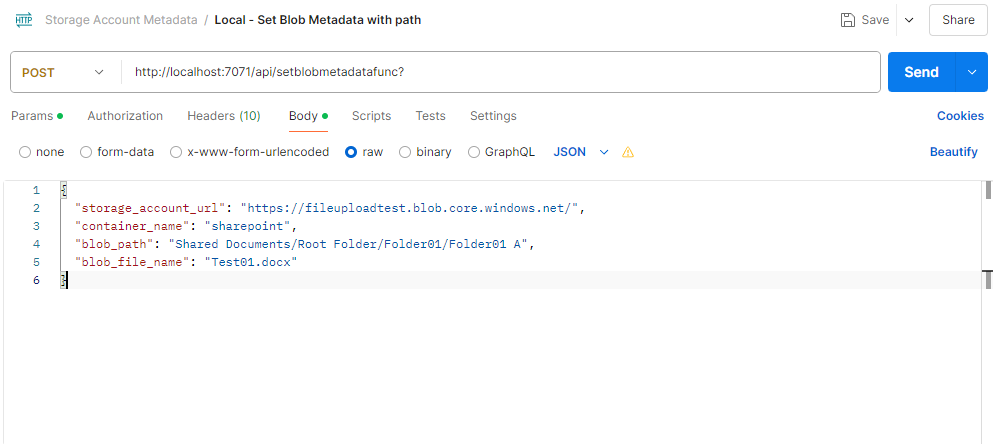
Here is a sample JSON payload the function app accepts:
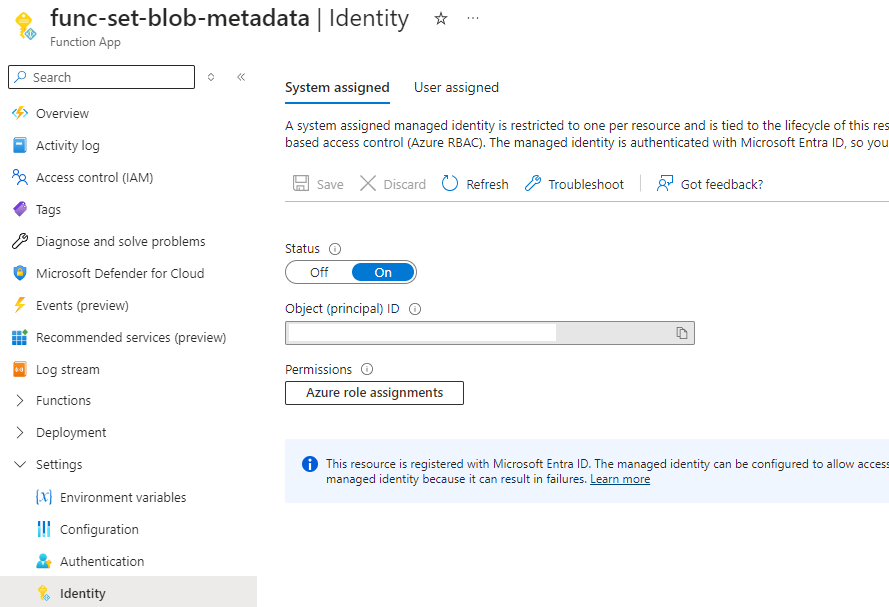
Before running the function app, we will need to authenticate into Azure with an account that has the Storage Blob Data Contributor role because the function app uses the

Step 4 – Deploy Function App to Azure
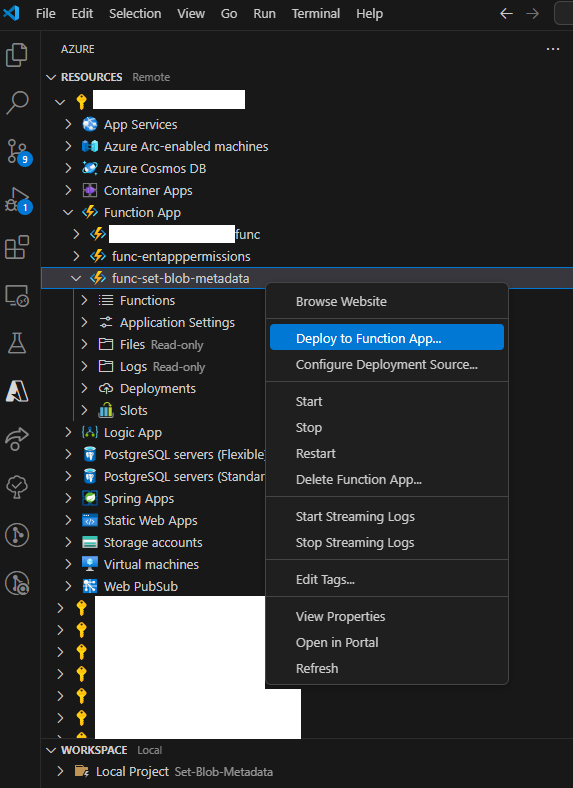
With the local tests complete, we can proceed to deploy the Function App to Azure by clicking on the Azure icon (Ctrl+Shift+A), navigate to the desired subscription, expand Function App, and select the Function App you have pre-created in the subscription, right click and select Deploy to Function App:


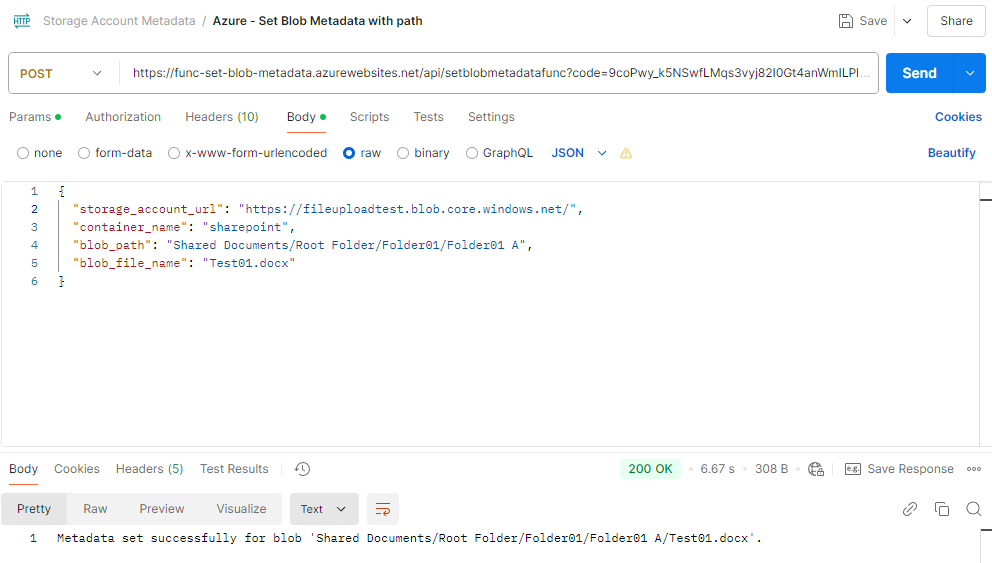
“storage_account_url”: “https://fileuploadtest.blob.core.windows.net/”,
“container_name”: “sharepoint”,
“blob_path”: “Shared Documents/Root Folder/Folder01/Folder01 A”,
“blob_file_name”: “Test01.docx”,
“tag1”: “value1”,
“tag2”: “value2”,
“tag3”: “value3”
}