One of the tedious tasks I have to perform in my role is to create estimates on the Azure Calculator and I dread the evenings when I start the process of sizing multiple environments that contain 100 or more virtual machines. Those who have used the Azure Calculator will know that each component needs to be added independently, parameters configured as desired, then another component gets added to start the process again. There isn’t a way to display the resources in an Excel spreadsheet-like format because resources have different parameters. What this means is that we would try to use shortcuts where if we are creating multiple VMs, we would duplicate the object and update the settings. I recently had to update the region for 12 estimates that contained 80 virtual machines and it took quite a bit of time with a substantial amount of clicking because there isn’t a way to update the configuration.
Microsoft must have received feedback about this so they have provided another approach for estimates via the Azure Retail Prices REST API (https://learn.microsoft.com/en-us/rest/api/cost-management/retail-prices/azure-retail-prices) but this doesn’t generate an estimate on the Azure Calculator portal tool where we can send to others for review or update (I did a bit of research a while back and couldn’t figure out a way but feel free to comment if I am incorrect).
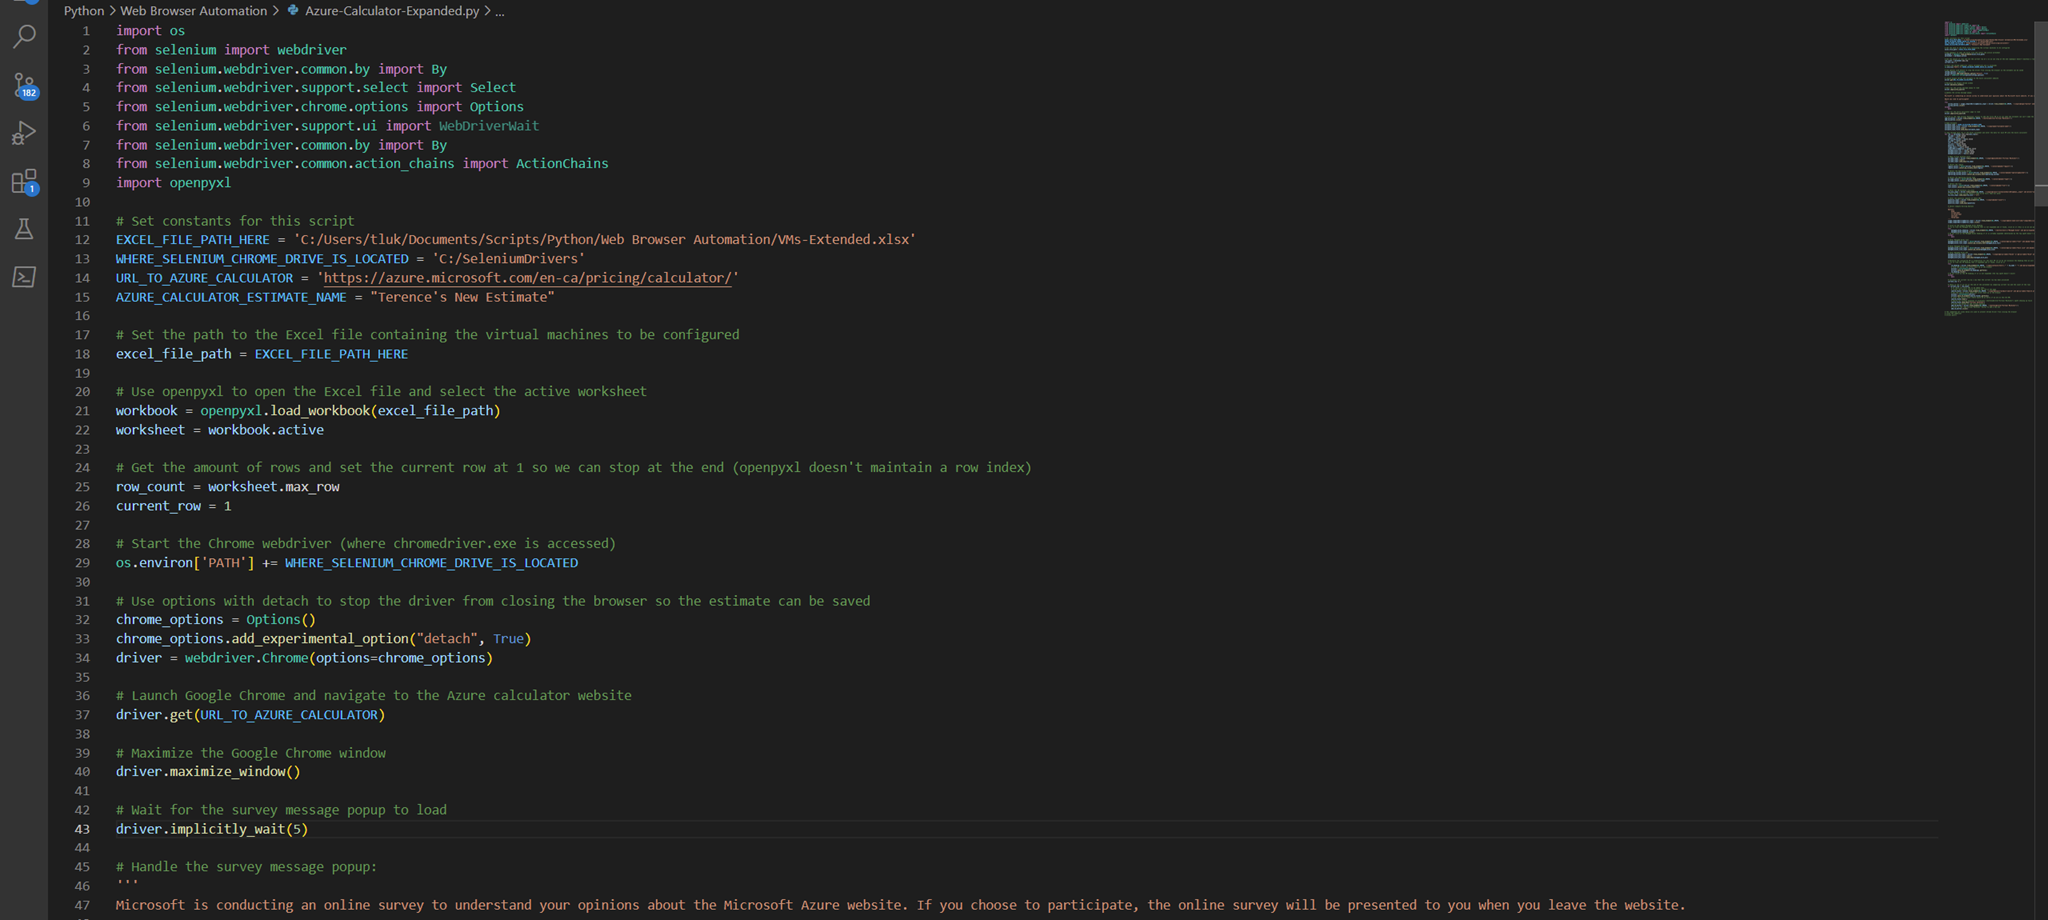
So after going through the 12 estimates and hundreds of virtual machines exercise over a weekend, I decided to look at whether I could automate the process of configuring the Azure Calculator portal (https://azure.microsoft.com/en-ca/pricing/calculator/) but programmatically. A bit of research led me to Selenium WebDriver and Python. Selenium WebDriver is a web framework that allows testers to execute activities performed in a browser for testing web applications. Paired with the ChromeDriver, it can automate actions within Google Chrome with Java or Python. My Java programming days date back to University and I’ve always wanted to spend some time to learn Python so I was determined to spend my weekend writing a Python script that will:
- Open an Excel spreadsheet with virtual machines and configuration
- Open the Chrome browser
- Navigate to the Azure Calculator
- Read each row in the Excel spreadsheet and add virtual machines into the Azure Calculator
This post describes the setup for those who aren’t familiar with setting up Selenium WebDriver for Chrome, installing Python, and writing the script that will execute this task. Version 1 of the code can be found at my GitHub repo here: https://github.com/terenceluk/Azure/blob/main/Azure%20Calculator/Azure-Calculator-Estimate-Generator.py
This is my first pass at creating this automation and there are many other improvements (e.g. setting license type, setting the Managed Disks Redundancy, error handling, etc.) I would like to add but I hope to be able to share this out now in case I do not get back to it in the following weeks or months.
Step #1 – Setting up the Desktop
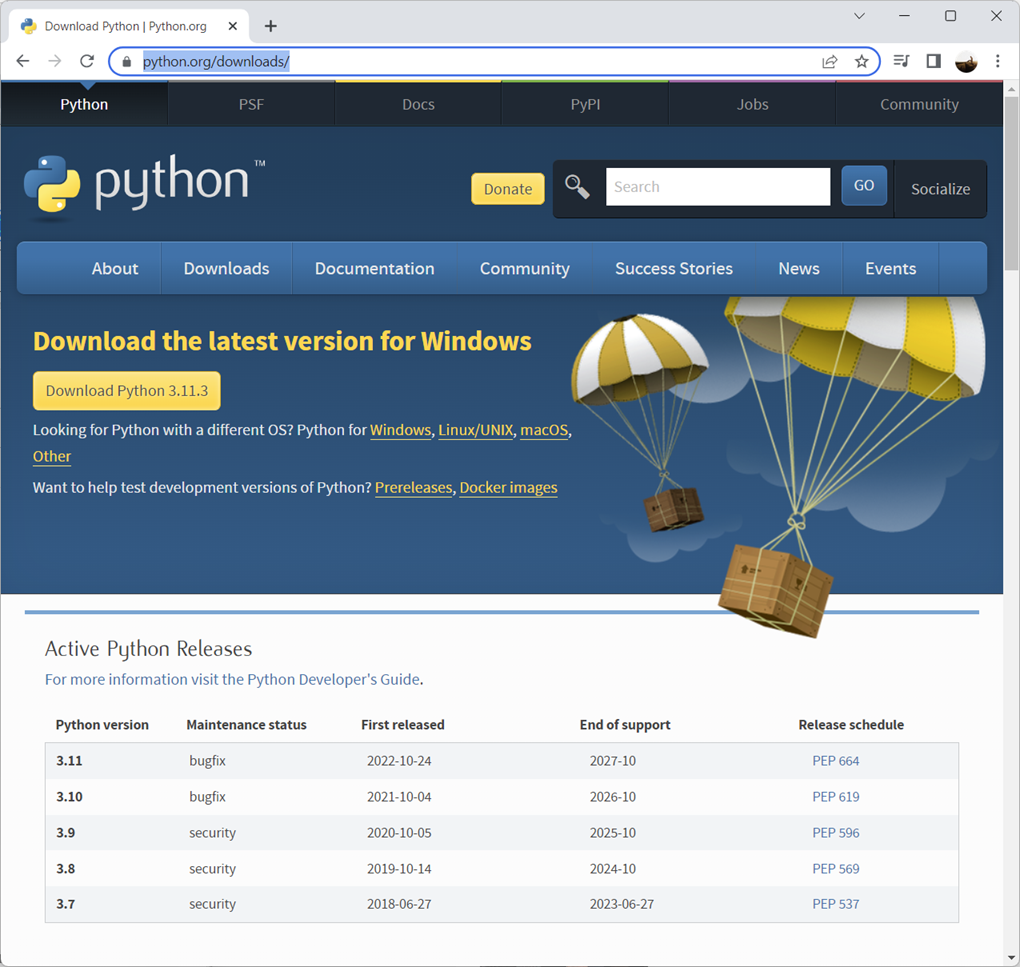
Begin by downloading Python and installing it onto your desktop: https://www.python.org/downloads/
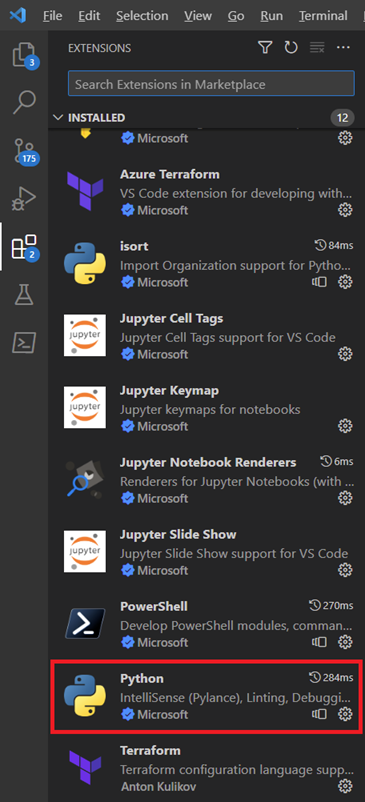
I use Visual Studio Code for all my development work so I proceeded to install the Python extension:
Proceed to open the command prompt and run the following Python command to install the Selenium package:
pip install -U selenium
Once completed, you can use the following command to verify the installation of Selenium:
python -c “import selenium; print(selenium.__version__)”
Next, we’ll need to install the Python library openpyxl, which is what we’ll be using to open the Excel spreadsheet containing the virtual machines to be added to the Azure Calculator estimate:
python -m pip install openpyxl
As with checking the installed Python version, the following command can do the same for openpyxl:
python -c “import openpyxl; print(openpyxl.__version__)”
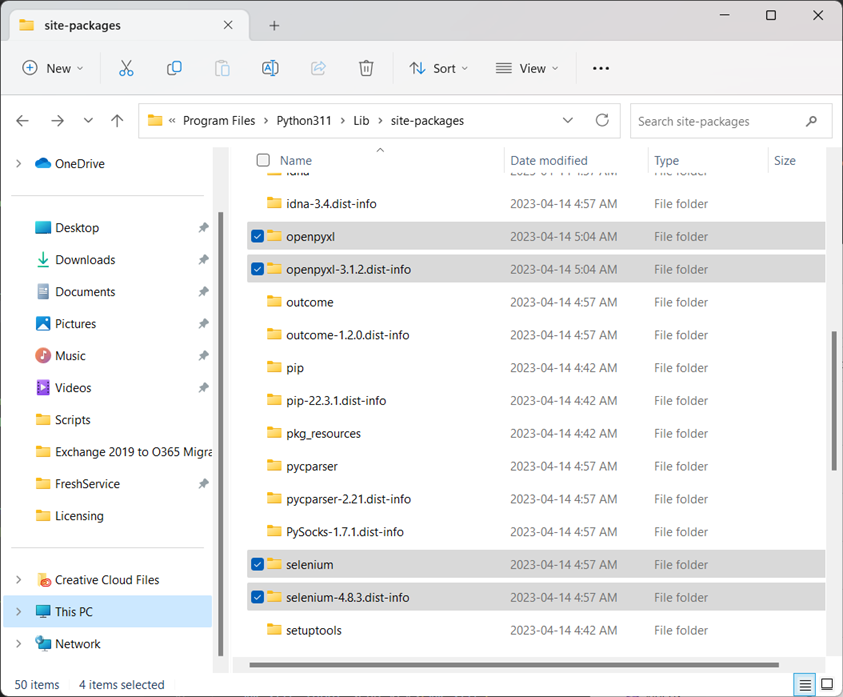
The following folder can be found on your Windows desktop upon successfully installing the openpyxl library:
C:Program FilesPython311Libsite-packages
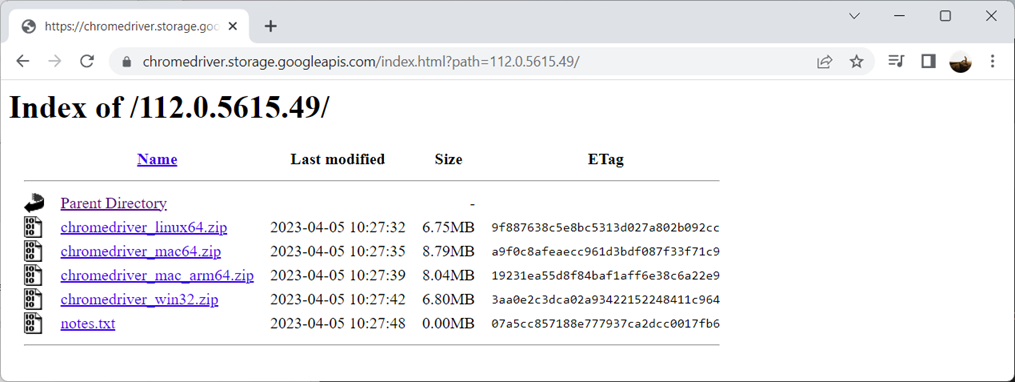
Next, we’ll need to download the Chrome Driver in which Selenium WebDriver will use. Navigate to the URL https://chromedriver.storage.googleapis.com/index.html and download the version of the driver that matches the major version of the Google Chrome that will be used:
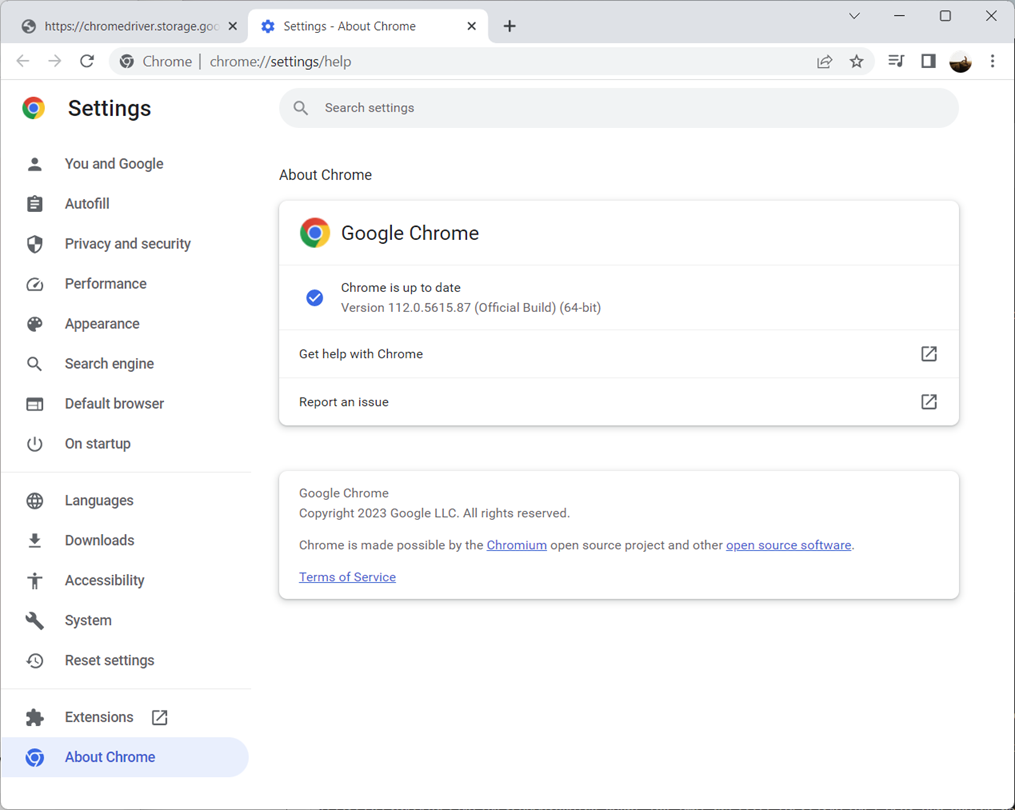
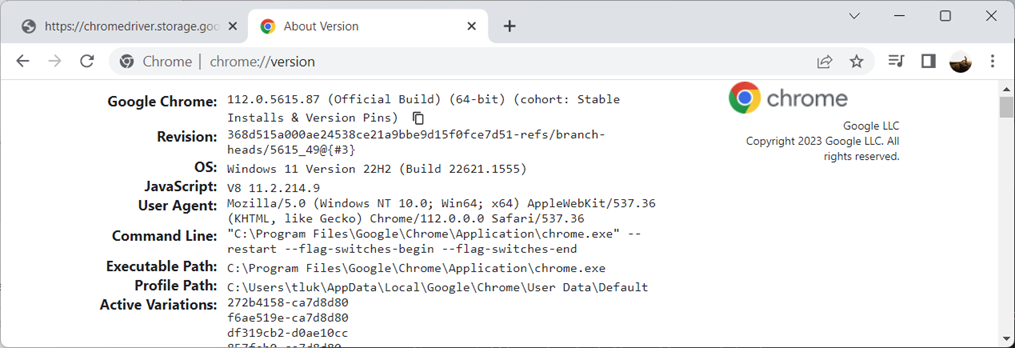
You can check the version of Google Chrome via the Help > About Google Chrome:
Or navigate to: chrome://version/
We’ll be using 112.0.5615.49 of the Chrome Driver as it is the closest match to the 112.0.5615.87 Google Chrome I have installed:
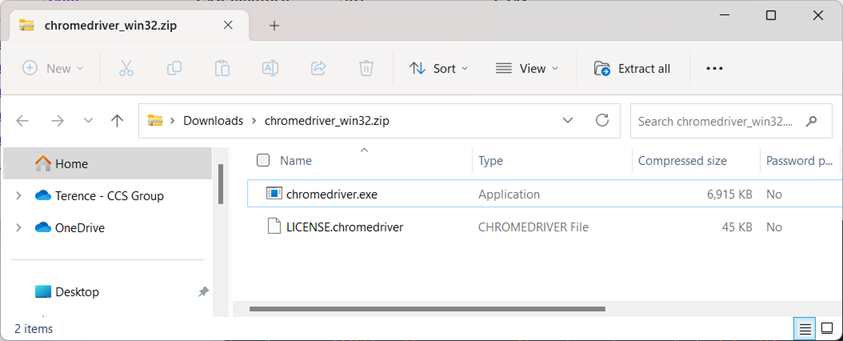
The zipped package should contain the chromedriver.exe:
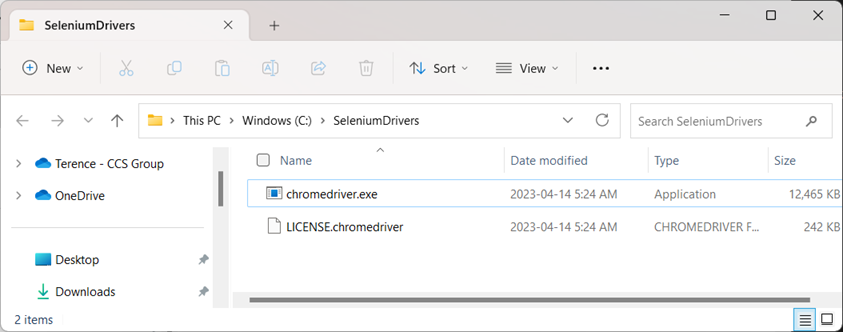
Unpack to desired location:
Step #2 – Grabbing the Python Script
From here, launch Visual Studio code and paste in the Version 1 of the code can be found at my GitHub repo here: https://github.com/terenceluk/Azure/blob/main/Azure%20Calculator/Azure-Calculator-Estimate-Generator.py
Update the constants defined at the beginning of the script:
Step #3 – Setting up the Excel file with Virtual Machines
Then create a spreadsheet with the following columns:
- Virtual Machine Name
- Region
- Operating System
- Type
- Tier
- Instance Size
- Quantity
- Hours
- computeBillingOption
- Managed Disk Tier
- Disk SizePreview Changes (opens in a new tab)
- Disks QTY
Note that the column heading names do not matter so you can name it as anything you like.
Step #4 – Executing the Python Script
You should now be able to run the python script with:
python azure-Calculator.py
What I’ve learned through writing this script is that any subtle changes to the Azure Calculator webpage or browser version can break the script and maintenance on this script will be required whenever such changes happen. I learned this after upgrading my Chrome browser from 112.0.5615.87 to 112.0.5615.121 on the following Monday when a duplicate of the add virtual machine button appeared in the code causing my code to no longer be able to select the button. To get around this, I located the search field, sent the text Virtual Machines that eliminated the duplicate, then proceeded to add the new VM object. It is difficult to strike a good balance between being too generic or too precise when located the buttons, fields, dropdowns so be prepared to see failures and update the code as required.
I also chose to stop the driver from closing the browser so I can add more items that are not virtual machines, share the quote via a URL, or export the excel. This in turn does not terminate the python script upon closing the browser so use CTRL+C to terminate it. As mentioned earlier, there are plenty of improvements that can be made so please feel free to fork the repo and update/improve the code.
Hope this helps anyone who may be looking for a way to automate the process of creating the estimate.

