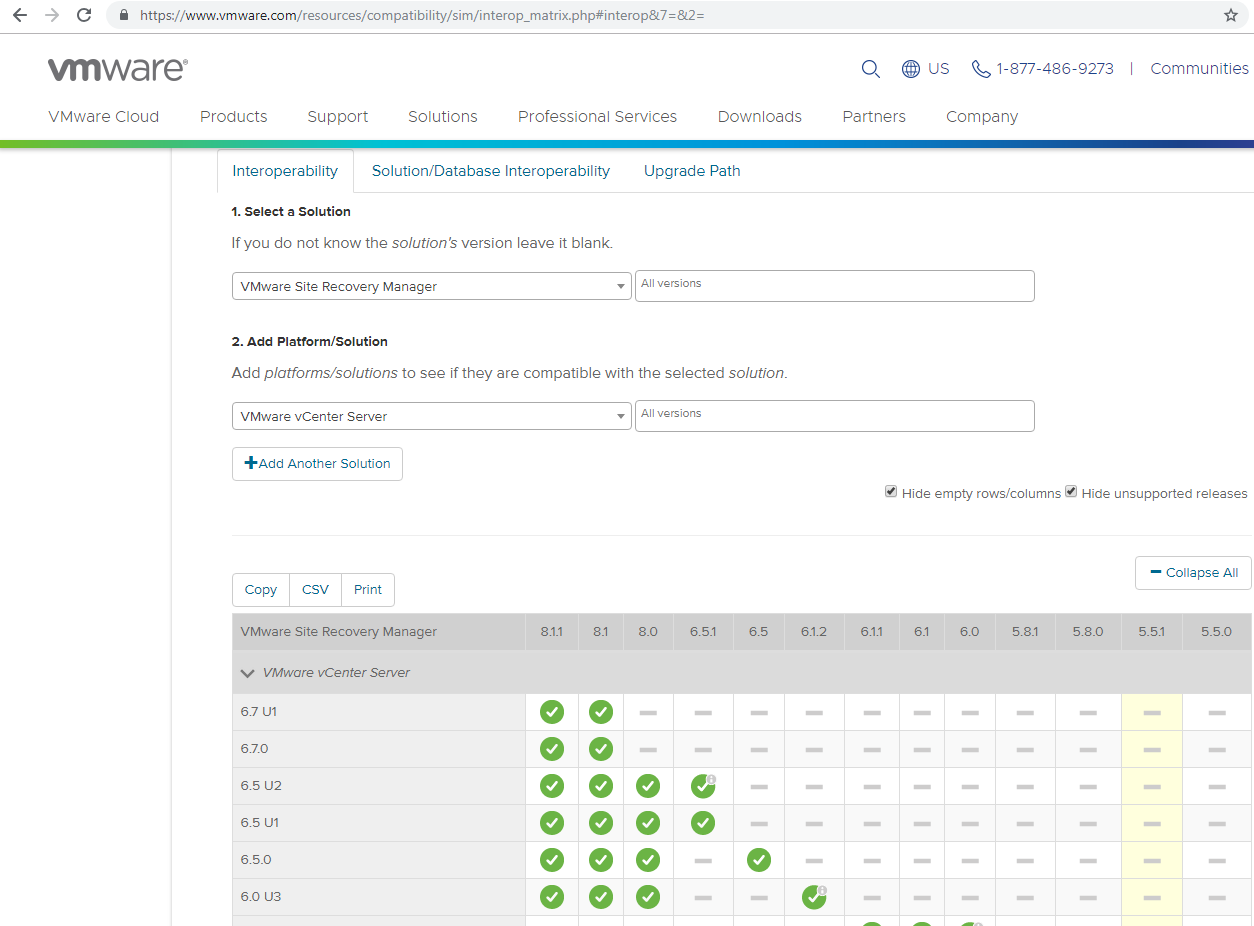
It has been a while since I’ve deployed SRM (VMware Site Recovery Manager) and since I recently had the opportunity to do so at a client, I took a few screenshots during the process to write this blog post that demonstrates the process.
Prerequisites
Before you begin, make sure you use the VMware Product Interoperability Matrices to verify that the vCenter Server, vSphere Replication Appliance (if you’re using it for replication), and VMware Site Recovery Manger versions are supported:
VMware Product Interoperability Matrices
https://www.vmware.com/resources/compatibility/sim/interop_matrix.php
Deployment
The official deployment guide can be found at the following URL:
Install Site Recovery Manager Server
https://docs.vmware.com/en/Site-Recovery-Manager/8.1/com.vmware.srm.install_config.doc/GUID-723EAC1B-AC21-4CAA-9867-627CA8CB680A.html
Begin by downloading the installation file and then run the install:
Select appropriate drive or destination folder you would like to use:
Enter the information for the PSC (Platform Services Controller) for the site this SRM will be deployed in and an administrative account. Note that the administrator account is going to be used for creating the Site Recovery Manager solution user so you can use any account with administrative privileges:
Accept the PSC’s certificate if it a trusted certificate was not installed:
Select the appropriate vCenter that this SRM will register with:
Enter the appropriate values for the configuration below:
Unless you are going to use a custom Site Recovery Manger Plug-in, proceed with the Default option:
If there is a certificate issued for this deployment then select the second option, otherwise, generate one with the first option:
Fill in the information for the new certificate if one is being generated:
The default option for the Database Server Selection step is to use a custom server with a Data Source already configured. Older SRM version used to only support databases such as Microsoft SQL, Oracle, DB2 (https://pubs.vmware.com/srm-51/index.jsp?topic=%2Fcom.vmware.srm.install_config.doc%2FGUID-84218C7E-3242-4A33-A771-71F944850319.html) so it was a requirement to have a DSN already configured but newer versions of SRM provide the option of using an embedded PostgreSQL database so for the purpose of this demonstration, we’ll use the embedded option:
Provide a Data Source Name which will be used to setup the DSN on the Windows server, a database user name for accessing the database, and a password:
Select whether to use a Local System account or a service account:
Proceed with the install:
Note the following 2 new items after the successful install of SRM:
Also note the new Roles created for SRM in vCenter:
A new user would user with a GUID will also be created:
Clicking on the Site Recovery view should now display the Site Recovery manager component:
There are times when it will be necessary to log off and back on to allow the SRM plugin loads properly so if the above items are not displayed, try relogging on.
Clicking the OPEN Site Recovery button will launch a separate window for the Site Recovery console:
Proceed with deploying the other SRM site and pair them.
Backing up vPostgres Database
Below is a demonstration of how to backup the vPostgres Database.
The VMware official guide can be found here:
Back Up and Restore the Embedded vPostgres Database
https://docs.vmware.com/en/Site-Recovery-Manager/5.8/com.vmware.srm.install_config.doc/GUID-E1FC67CD-48E3-4B25-AA1D-8A2408F5B517.html
All of the vPostgres executables are located in the following directory:
C:Program FilesVMwareVMware vCenter Site Recovery Manager Embedded Databasebin
The following is the syntax to backup the database:
pg_dump -Fc –host 127.0.0.1 –port port_number –username=db_username srm_db > srm_backup_name
If you had forgotten the parameters used for the deployment, you can retrieve them from the ODBC Data Source Administrator console as shown here:
Note that the install does not allow changing the database name so it will always be srm_db.
The following is an example of the backup command:
pg_dump -Fc –host 127.0.0.1 –port 5678 –username=administrator srm_db > SRM-Backup
A backup should be placed in the same directory as the pg-dump.exe executable:


