It’s been awhile since I had to update a Cisco UCS as I was on vacation when 2 projects needed to be delivered. Needless to say, I missed out on 2 deployments and was anxious to get involved with the next few deployments. Luckily for me, I was one of the resources assigned to a VMware VIEW deployment on a Cisco UCS with 2 x 5108 chassis, 2 x 6120XP fabric interconnects and 8 B-Class blade servers and before I could start, I had to update the firmware from 1.3(1c) to 1.3(1n). While I was downloading the new firmware from the Cisco site I noticed that there wasn’t a specific document available for upgrading 1.3(xx) to 1.3(xx) so I went ahead and documented steps as I updated the chassis, FI and blades in case another colleague needed it in the near future:
Proceed with downloading the latest firmware from the Cisco site:
As I mentioned earlier, there isn’t a specific guide for the upgrade but what I noticed was that it’s pretty much the same as the 1.2(1) to 1.3(1).
https://www.cisco.com/en/US/products/ps10281/prod_installation_guides_list.html
Log into your UCSM and navigate to the Equipment tab, then select the Equipment node and finally select the Installed Firmware tab on the right:
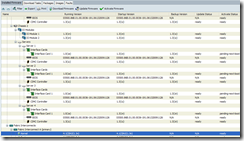
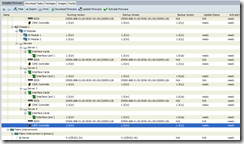
You can hit the + button just underneath the Installed Firmware tab to expand all the nodes to see which firmware each component is at:
Note: Please ignore any inconsistency of the firmware versions as I wasn’t the one who updated this UCS to 1.3(1c).
Click on the Download Tasks tab to configure a new download task (FTP, TFTP, SCP, SFTP) for the firmware package you downloaded:
Begin the download.
Note: If you don’t have sufficient space, go and delete some of the old packages you might have on your fabric interconnect.
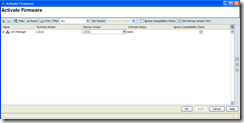
Once the download is completed, click on the Update Firmware button to bring up the window:
In the Filter drop down box, select All to list all the components:
Set the Set Version box to 1.3(1n):
Hit the Apply button and you will see the Update Status listed as updating:
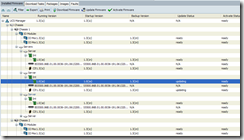
You can continue and hit the OK button to close the window and monitor the status in the main Installed Firmware tab:
Once all the components have the Update Status column as ready, continue and click on the Activate Firmware button:
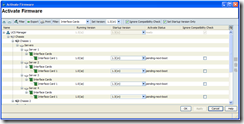
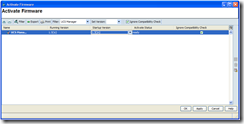
Once the Activate Firmware window is presented, make sure you don’t set the Filter to ALL:
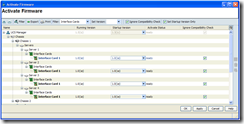
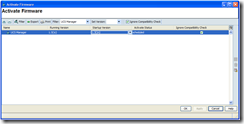
…because what we want to update is the Interface Cards first, so set the Filter to Interface Cards:
Once you have the right filter selected, check off Ignore Compatibility Check:
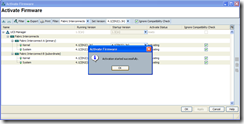
Click OK when completed and you will see the activation in progress:
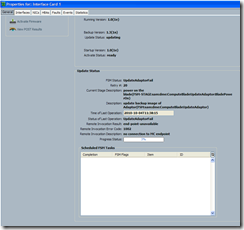
If you’d like to see a more detailed view of the update progress, you can open up the properties of the interface card as shown in the following window:
Once the activation has completed for the Interface Cards, you’ll see a status of pending-next-boot which means when the server boots up next time, the process will complete:
The next component we’ll need to update is the CIMC Controller and this is where it gets confusing for people who don’t read the manual thoroughly because the manual states to update the BMC but if you read the beginning of the manual, you would see a line indicating that CIMC Controller is the BMC. I came across an environment where someone thought BMC was the Board Controller and thus they never updated the CIMC Controller .
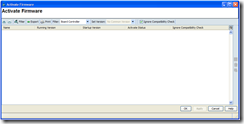
Here’s what the Board Controller filter looks like:
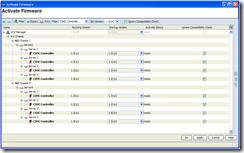
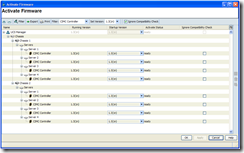
…here’s what the CIMC Controller filter looks like:
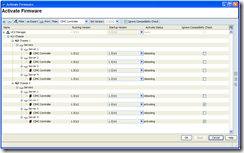
So continue and set the filter as CIMC Controller and set the version to 1.3(1n) then click Apply and you’ll see the progress as Activating and then Rebooting:
Once the process has completed, you’ll see the Activate Status as ready:
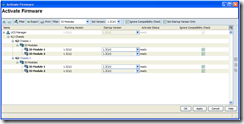
The next component we need to update is the IO Modules so select that for the filter and set the version to 1.3(1n):
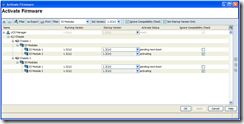
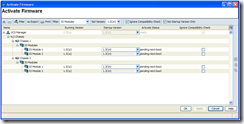
As with the activation for the Interface Cards, you’ll see a status of pending-next-boot for the IO Modules which means when the server boots up next time, the process will complete:
The next component to update is the UCS Manager so set the filter to it and set the version to 1.3(1n):
Once you click on the apply button, you’ll see the Activate Status as scheduled:
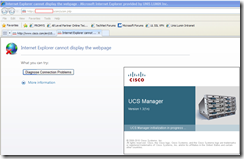
In a matter of a few seconds, you’ll get kicked out of UCSM:
Wait for 5 to 10 minutes then try to log in again and once you’re able to, you’ll notice that UCS Manager is now at version 1.3(1n):
Log back into the UCSM:
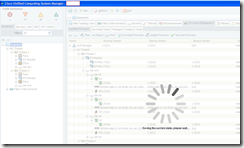
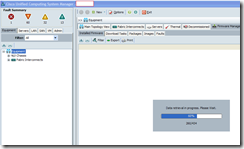
One of the things I noticed immediately was that there is now a Data retrieval in progress. Please wait. window when UCSM loads the equipment information:
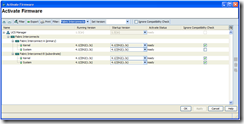
The last component we want to update is the Fabric Interconnects so select that for the filter and set the version to 1.3(1n). Also select the Ignore Compatibility Check (I think I forgot to write this for some of the other components):
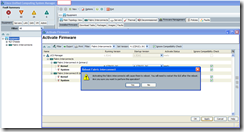
You’ll briefly get a warning message about restarting the GUI:
You’ll get kicked out of UCSM again so wait for 5 to 10 minutes then log back in. Once you’re back in to complete the components that are pending-next-boot, simply right-click on the server and select Reset:
Once you’ve completed the reset for all the servers, double check and make sure the firmware information for every component is correct:
Here are the links to the documentation:


