I received a lot of great feedback for my previous Azure Function App with Logic App posts, which demonstrated how to create HTML reports that were scheduled to be mailed out at the end of the one. A common question that I received after the posts was whether it was possible to create these reports with Azure Automation Accounts and Runbooks. The answer is certainly, yes, and I would like to demonstrate this with another report I had created for providing a count of the amount of users provisioned in Cisco Duo, which is commonly used for providing 2-factor authentication.
Along with using an Azure Automation Account for reports, I would also like to use this post to demonstrate the following:
- How to import custom PowerShell Module into an Automation Account (we’ll be using a the Duo PowerShell module that Matt Egan has created and shared via his GitHub: https://github.com/mbegan/Duo-PSModule)
- How to use a Automation Account Runbook to generate a report
- Storing and retrieving a secret in Azure Key Vault (we’ll be storing the API key for SendGrid in an Azure Key Vault)
- Using SendGrid to the report via email
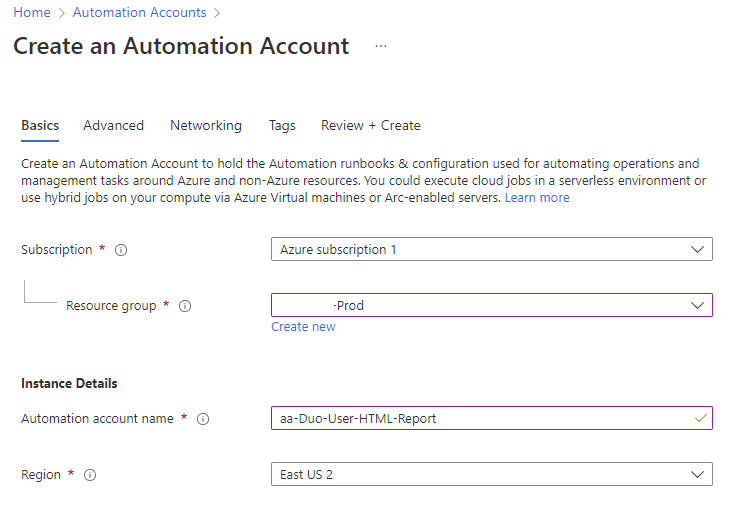
Step #1 – Create an Automation Account
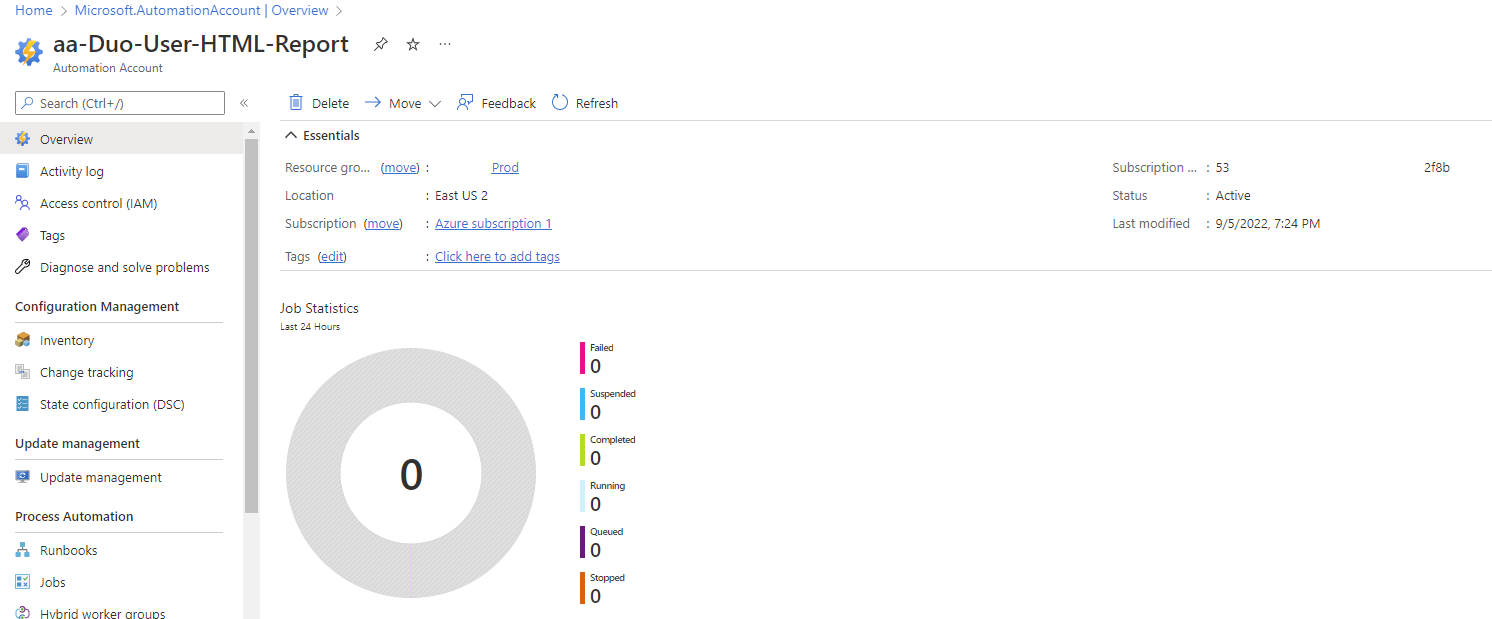
The first step is to create an Automation Account that we’ll be using to host the Runbook to generate the report and use SendGrid to send it out. We’ll be storing the SendGrid API key in an Azure Key Vault and therefore need to grant access to those keys for the Automation Account and that’s why this needs to be created first.
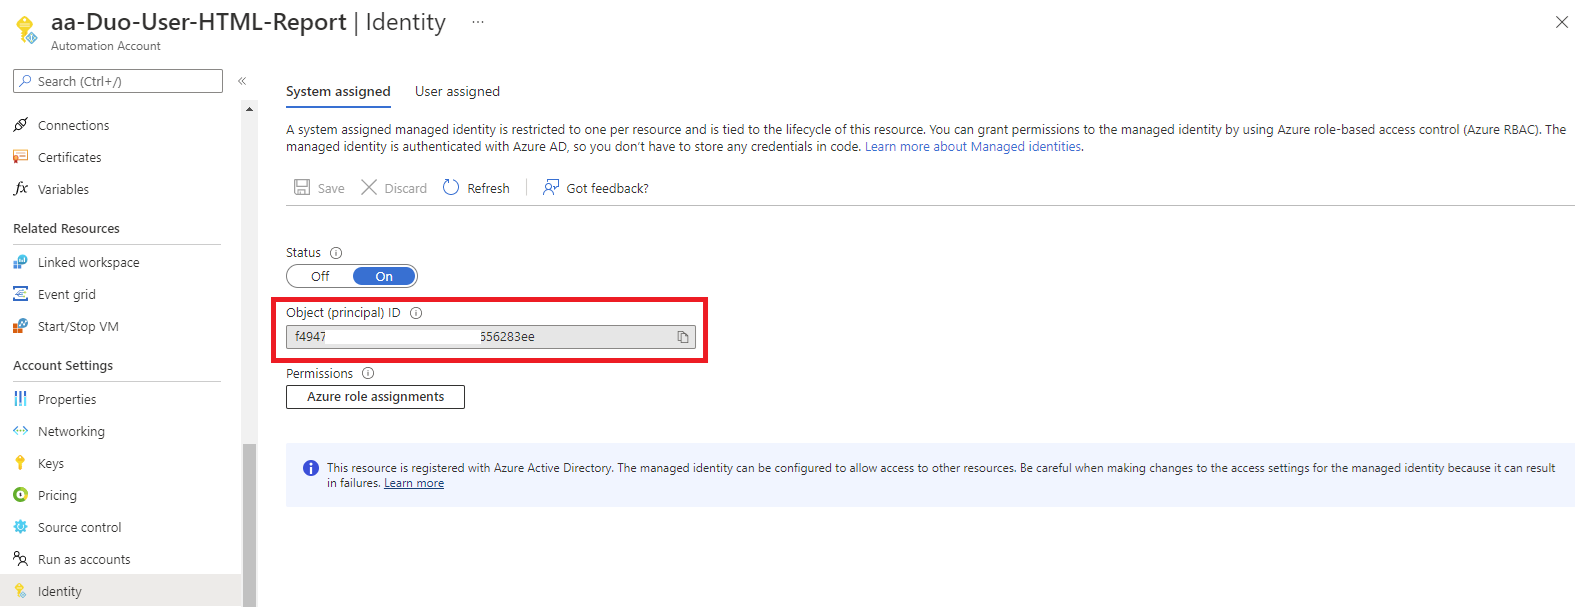
We’ll need the Automation Account’s System assigned Object (principal) ID to grant it permissions to access the Key Vault secret so navigate to the Identity blade and copy the Object (principal) ID that will be used in the following steps:
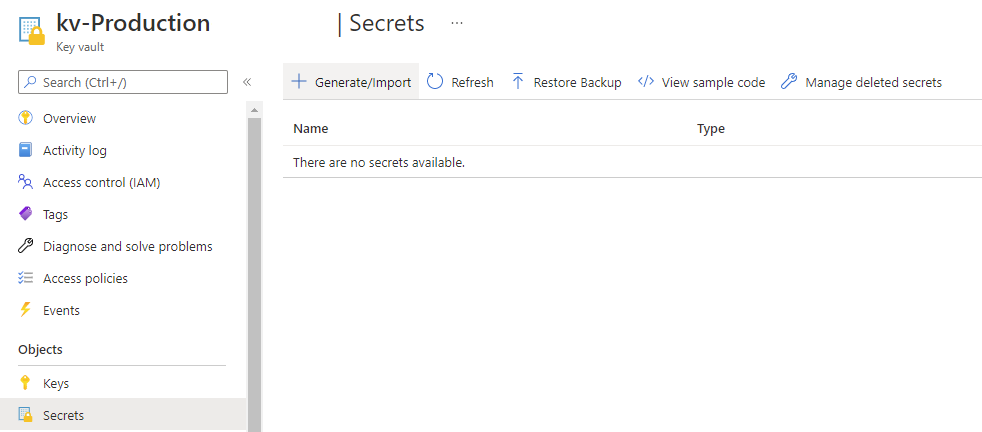
Step #2 – Create an Azure Key Vault, add SendGrid API Key as Secret, grant Automation Account permissions to read secret
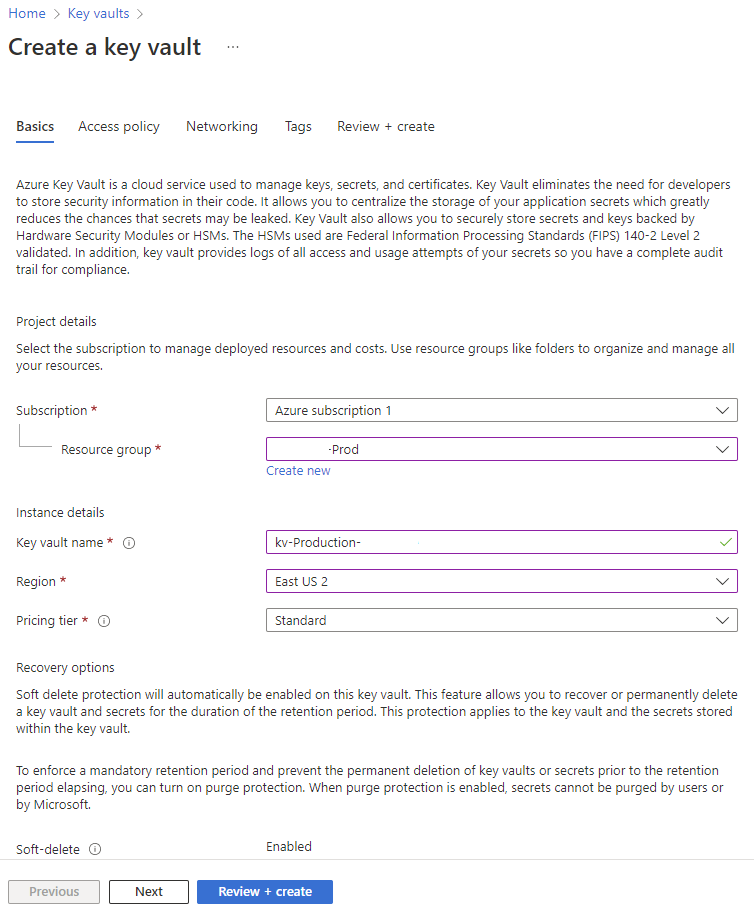
With the Automation Account created, proceed to create an Azure Key Vault if you do not already have one:
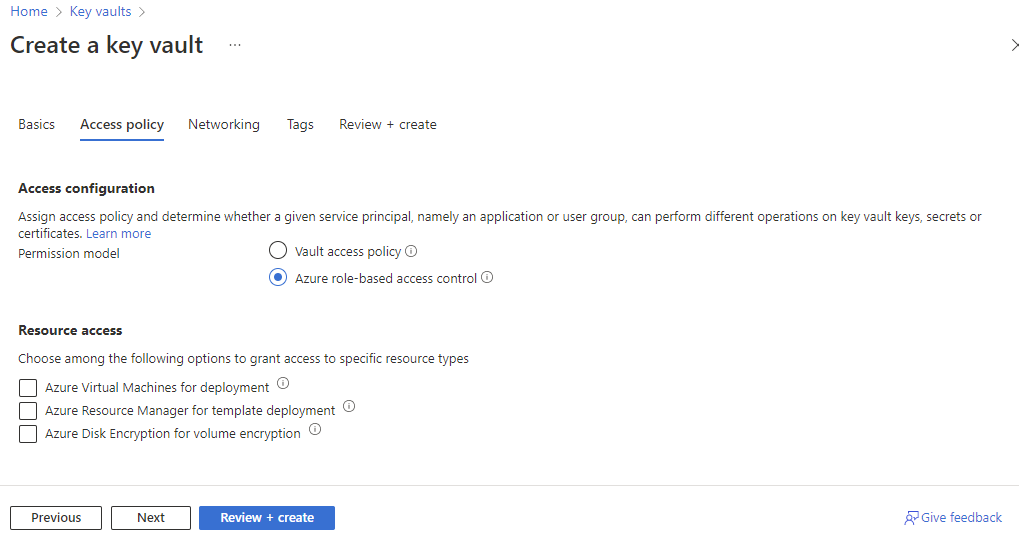
The preferred way for the Access configuration today is Azure role-based access control so our Automation Account will only be able to access a specific secret. The older Vault access policy requires permissions to be granted to the whole vault, which makes it difficult to secure other secrets in the vault. Proceed to select Azure role-based access control as the Permission model under the Access Policy menu:
Customize the settings as required or leave them as default and create the Azure Key Vault.
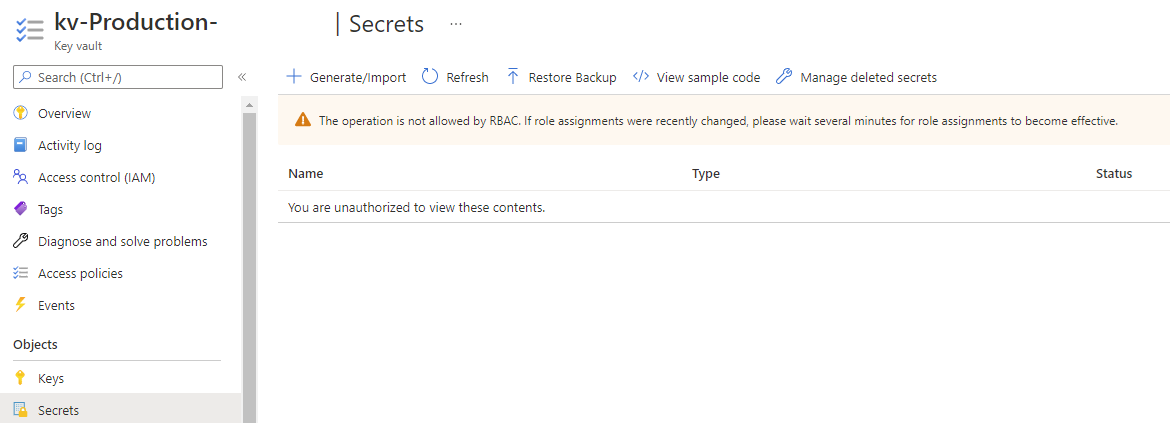
The account used to create the new vault will not have any permissions to the vault so attempting to perform any operations areas such as Secrets will display the message: You are unauthorized to view these contents.
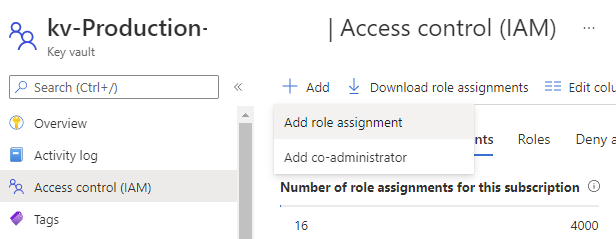
Proceed to grant the account you’re logged in as through the Access control (IAM) blade > Add role assignment:
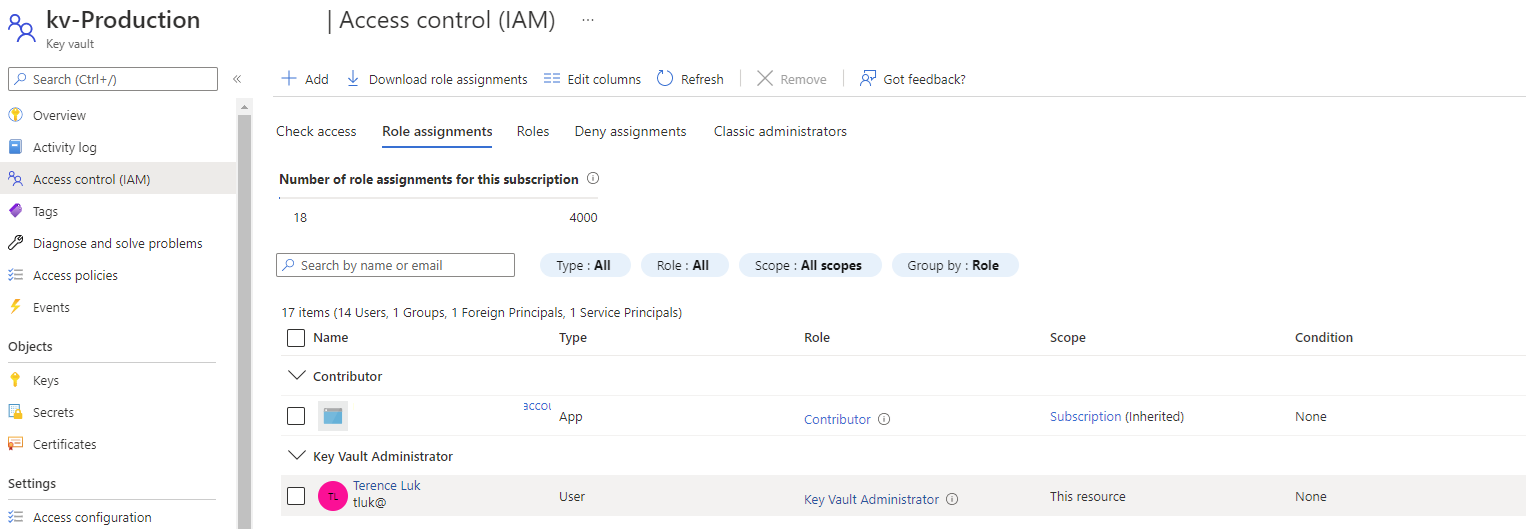
Search for Key Vault Administrator and grant the permission:
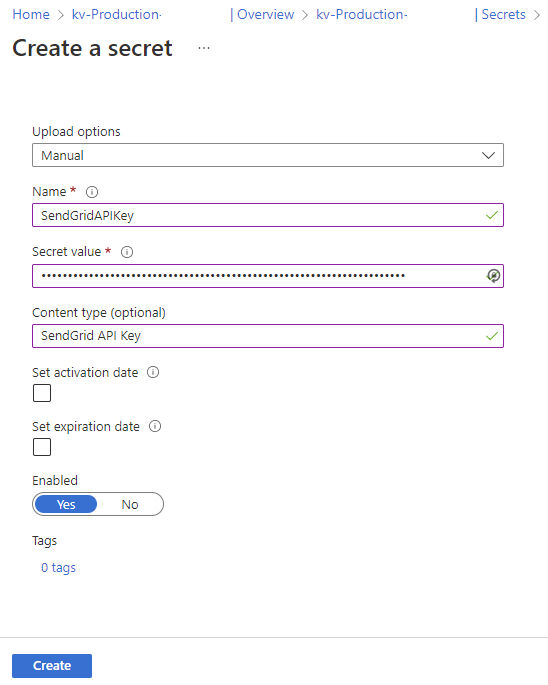
With the appropriate permissions to the vault assigned, proceed to create a new Secret to store the SendGrid API Key:
With the secret created, we can now grant the Automation Account the ability to retrieve the secret. Click on the SendGrid secret:
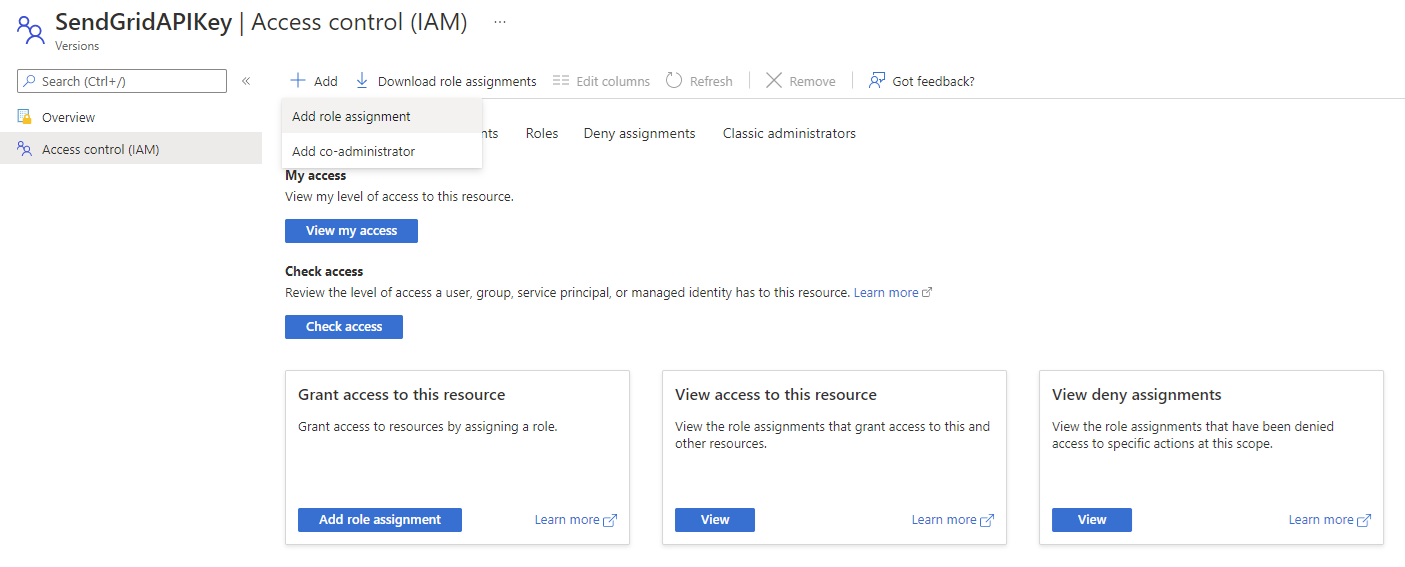
In the SendGrid secret, navigate to Access Control (IAM) blade, Add, then Add role assignment:
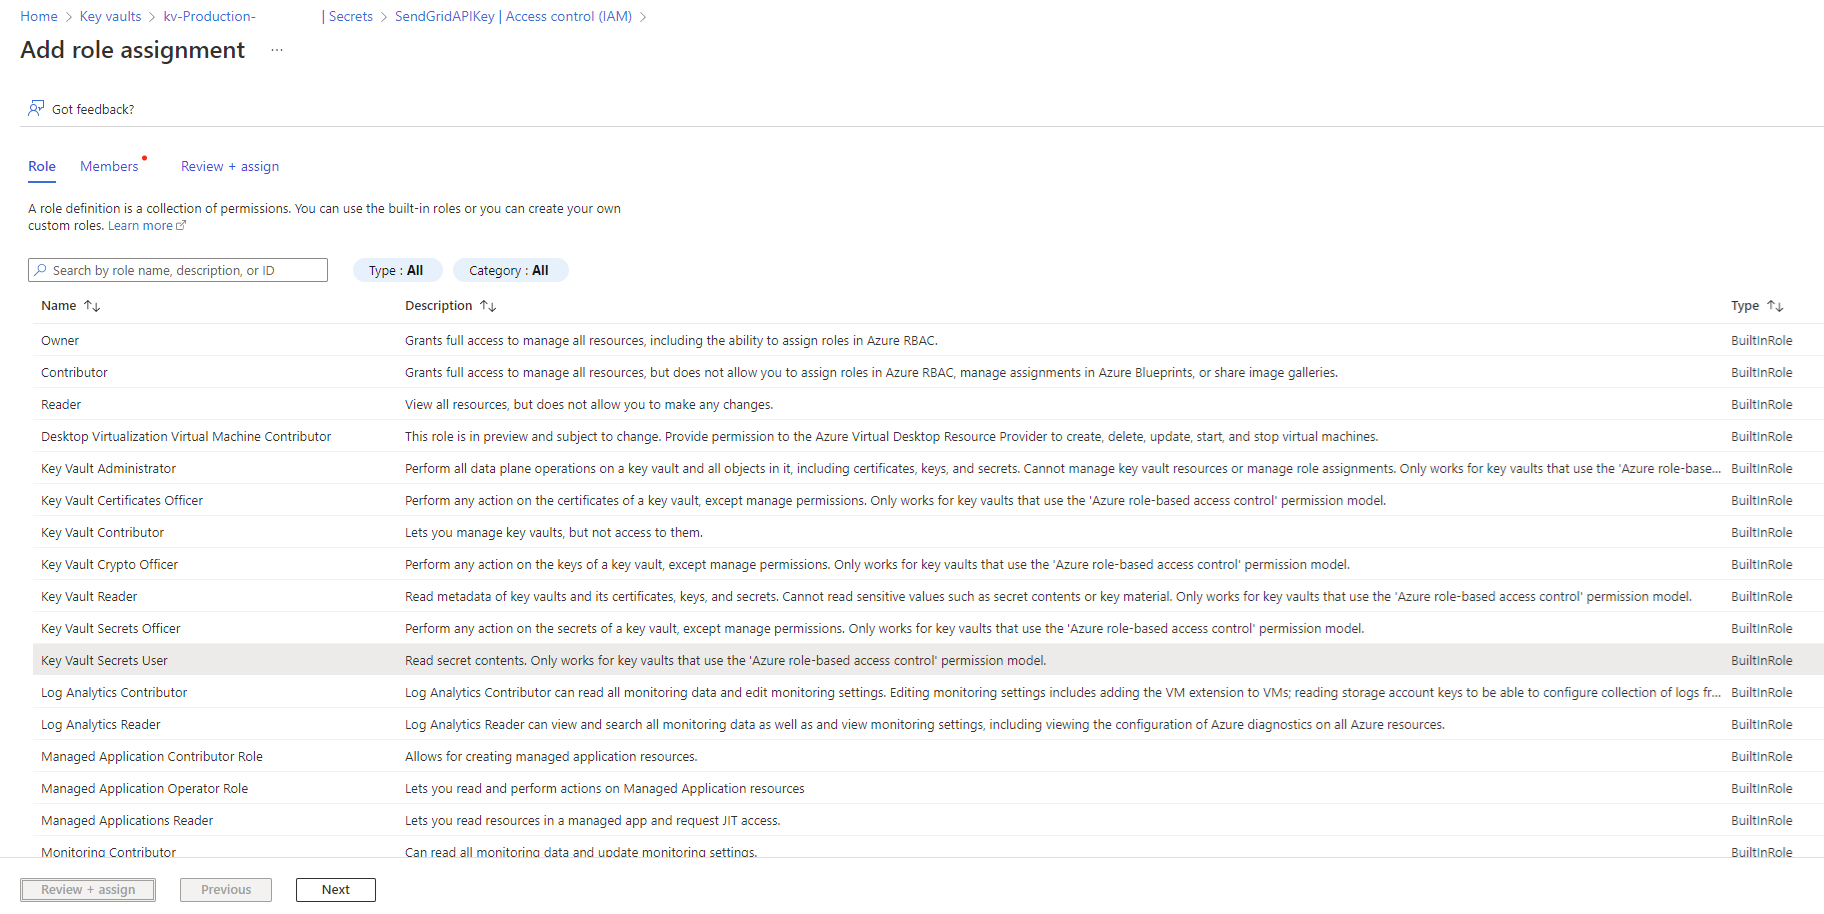
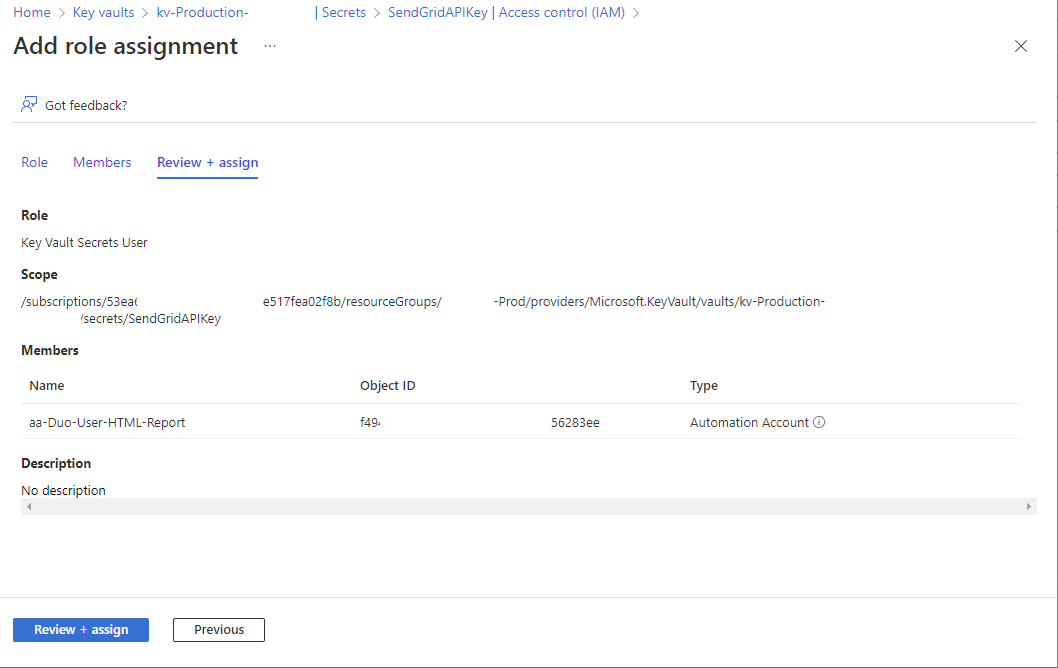
Select Key Vault Secrets User as the role:
Select Managed identity, then locate the Automation Account and select it:
Proceed to assign the permissions:
The Automation Account should now have permissions to retrieve the SendGrid secret value;
Step #3 – Import the custom Duo PowerShell Module
Rather than attempt to write the PowerShell code required to authenticate with the Duo Admin API (https://duo.com/docs/adminapi) with a HMAC signature, then call the API methods, we’ll be using Matt Egan’s PowerShell module he has shared with the community years ago that still works today https://github.com/mbegan/Duo-PSModule
The Duo PowerShell module Matt Egan provided does not simply upload into Azure Automation’s Modules blade as the psd1 file references to the Duo_org.ps1 file that is mean to store the information required to connect to the Duo API.
Neil Sabol has a great write up that explains this and how to workaround the issue so I’ll be using his method to demonstrate the configuration: https://blog.neilsabol.site/post/importing-duo-psmodule-mfa-powershell-module-azure-automation/
The method I’ll be using is not to upload a blank Duo_org.ps1 file but rather comment all references to it in the Duo.psd1 file. You can find the updated file here in my GitHub: https://github.com/terenceluk/Azure/blob/main/Automation%20Runbook/Duo/Duo.psd1
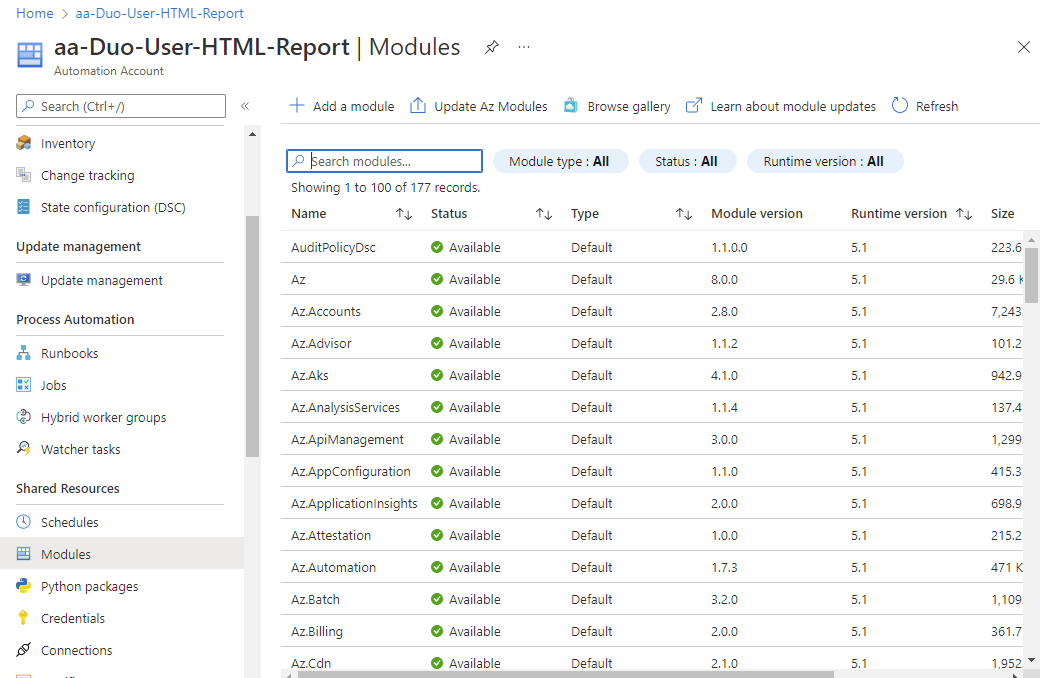
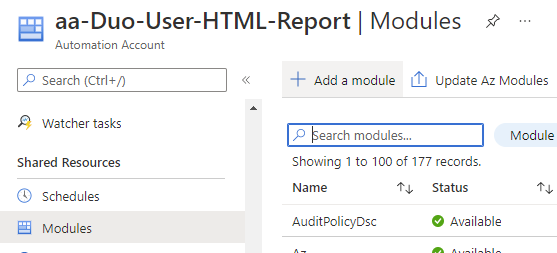
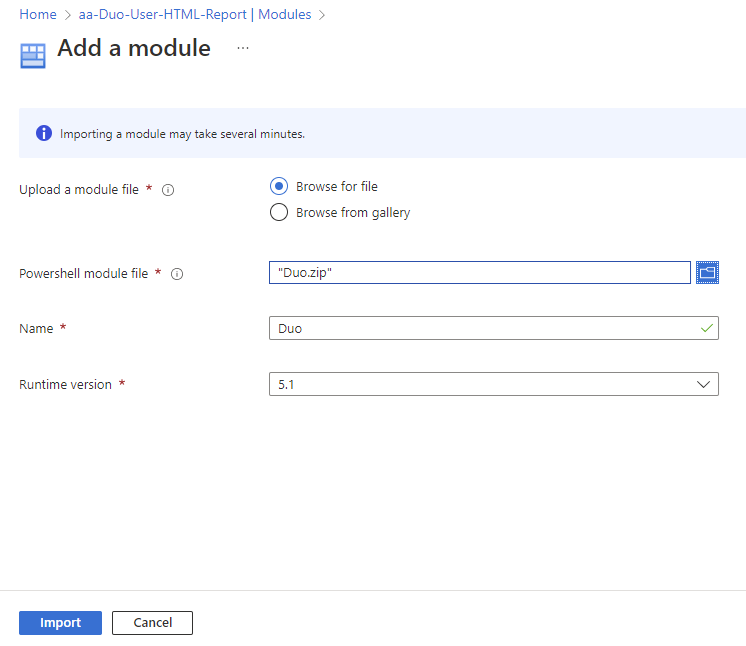
Proceed to download the Duo.psd1 and Duo.psm1 from my GitHub https://github.com/terenceluk/Azure/tree/main/Automation%20Runbook/Duo, zip them up into a package named Duo.zip (make sure Duo.zip is the file name) then import them into the Automation Account Modules:
I haven’t had much luck with 7.1 as the Runtime version so proceed to select 5.1 as the Runtime version:
Initiate the import:
Confirm the module has successfully imported:
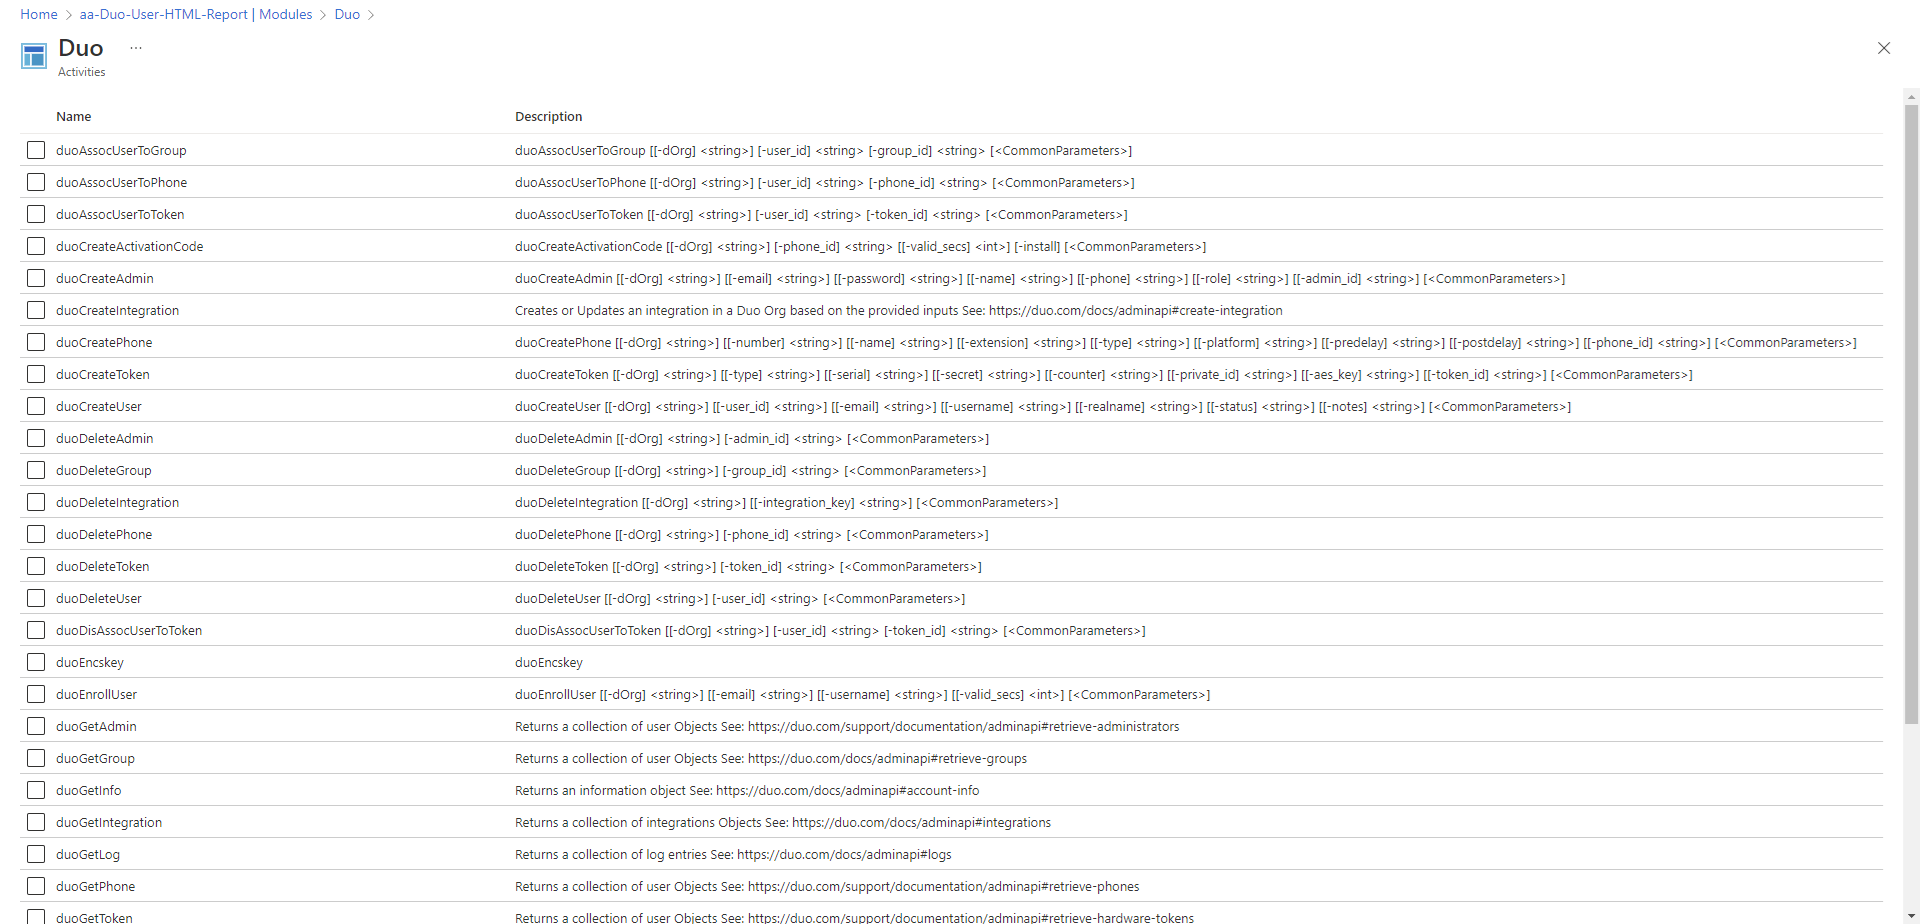
One of the ways to check and see if the module imported properly is by clicking into the module and verify that the available cmdlets are displayed:
Step #4 – Create a Protected Application in Duo and add authentication information as Automation Account encrypted variables
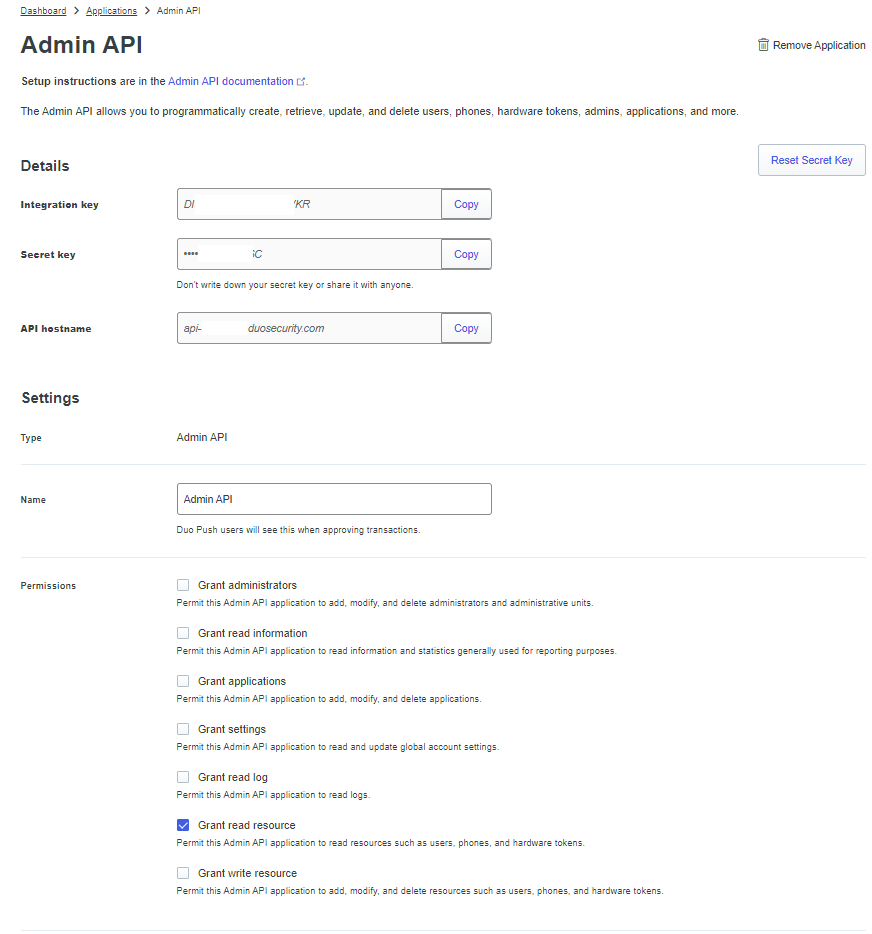
Using the Duo Admin API requires authentication so we’ll need to create a protected application in the Duo Admin portal as described in the document here: https://duo.com/docs/adminapi
Copy the Integration key, Secret key, and API hostname as we’ll need them to create the encrypted variables in the following steps, and grant the application the required permissions:
Proceed to the Automation Account, navigate to create the following variables:
- MyDuoDirectoryID
- MyDuoIntegrationKey
- MyDuoSecretKey
- MyDuoAPIHostname
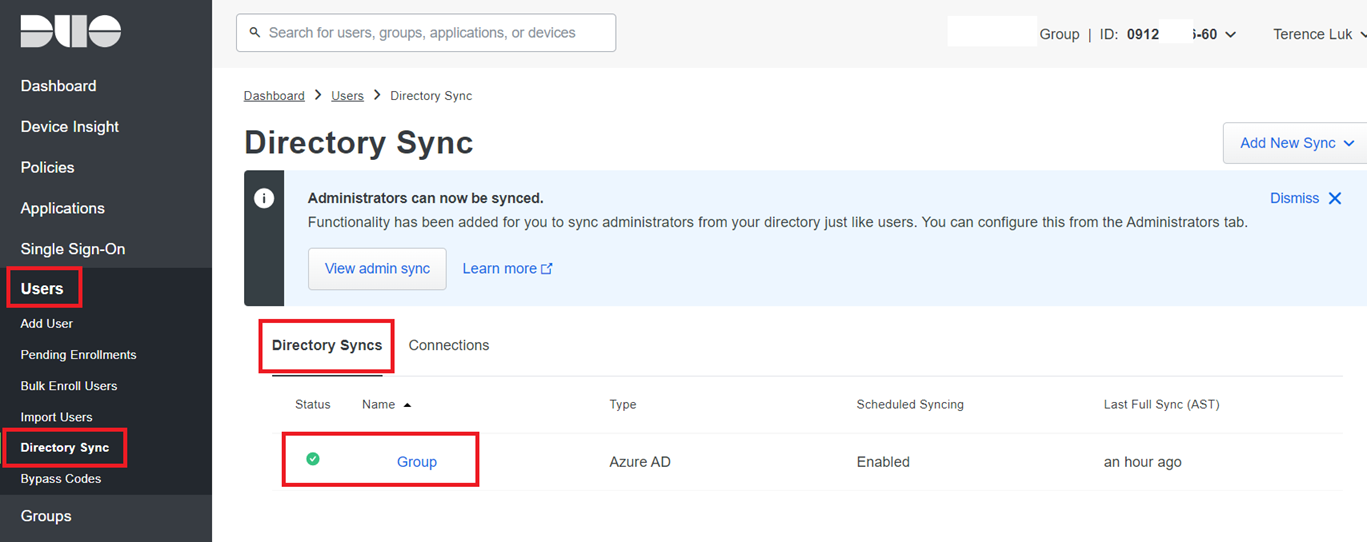
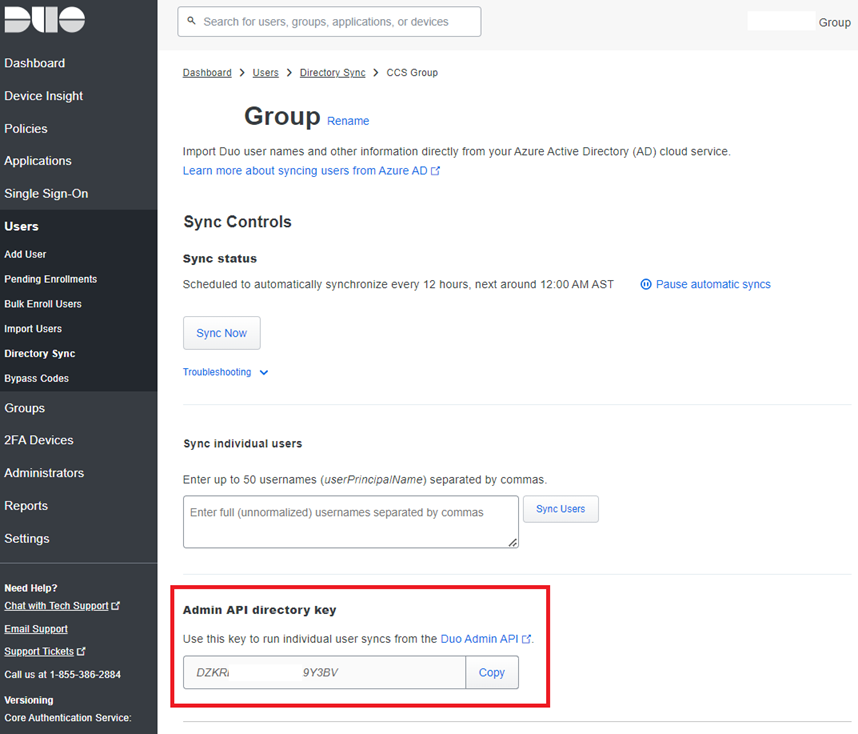
**Note that the Duo Directory ID can be located by navigating to: Users > Directory Syncs, select the configured directory then copy the key under the heading Admin API directory key:
Step #5 – Create the runbook to generate a report of the users and email via SendGrid
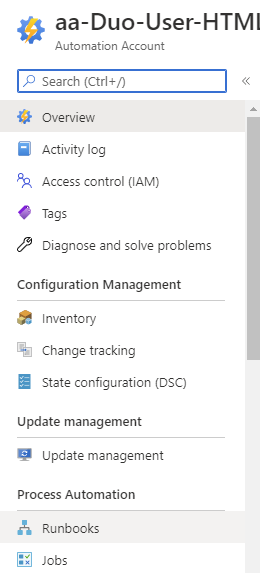
With all the components and permissions created and configured, the last step is to create the runbook and put the code in that will build the report and use the SendGrid API to send the email report. From within the Automation Account, navigate to the Runbooks blade:
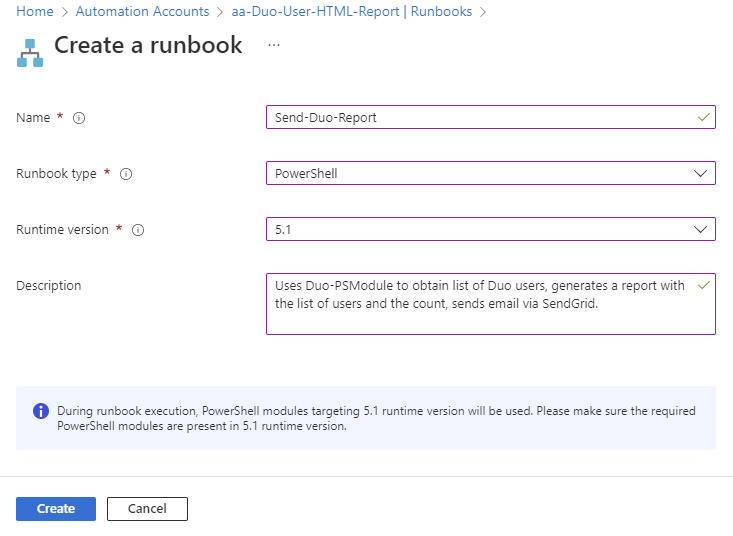
Click on Create a runbook:
Fill in the required fields:
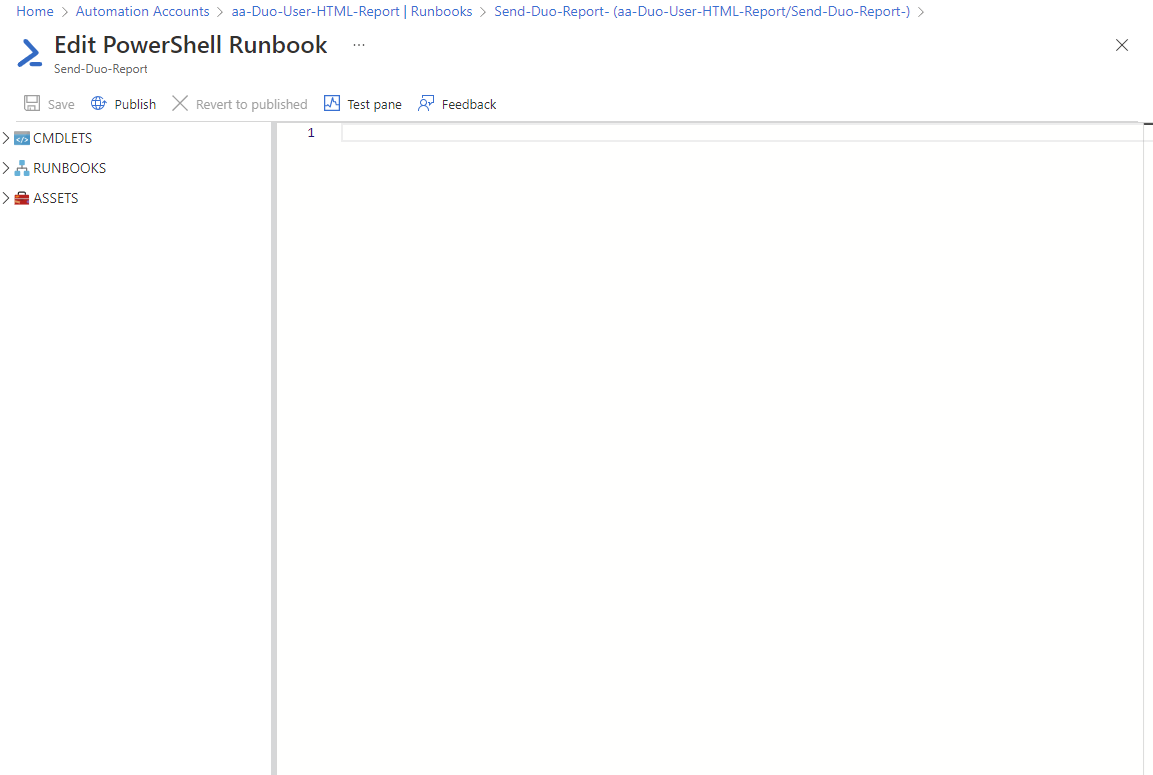
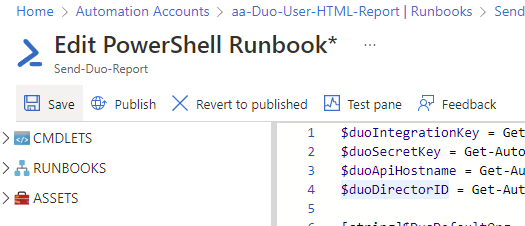
The following PowerShell Runbook will be displayed where we can paste the PowerShell script to be executed:
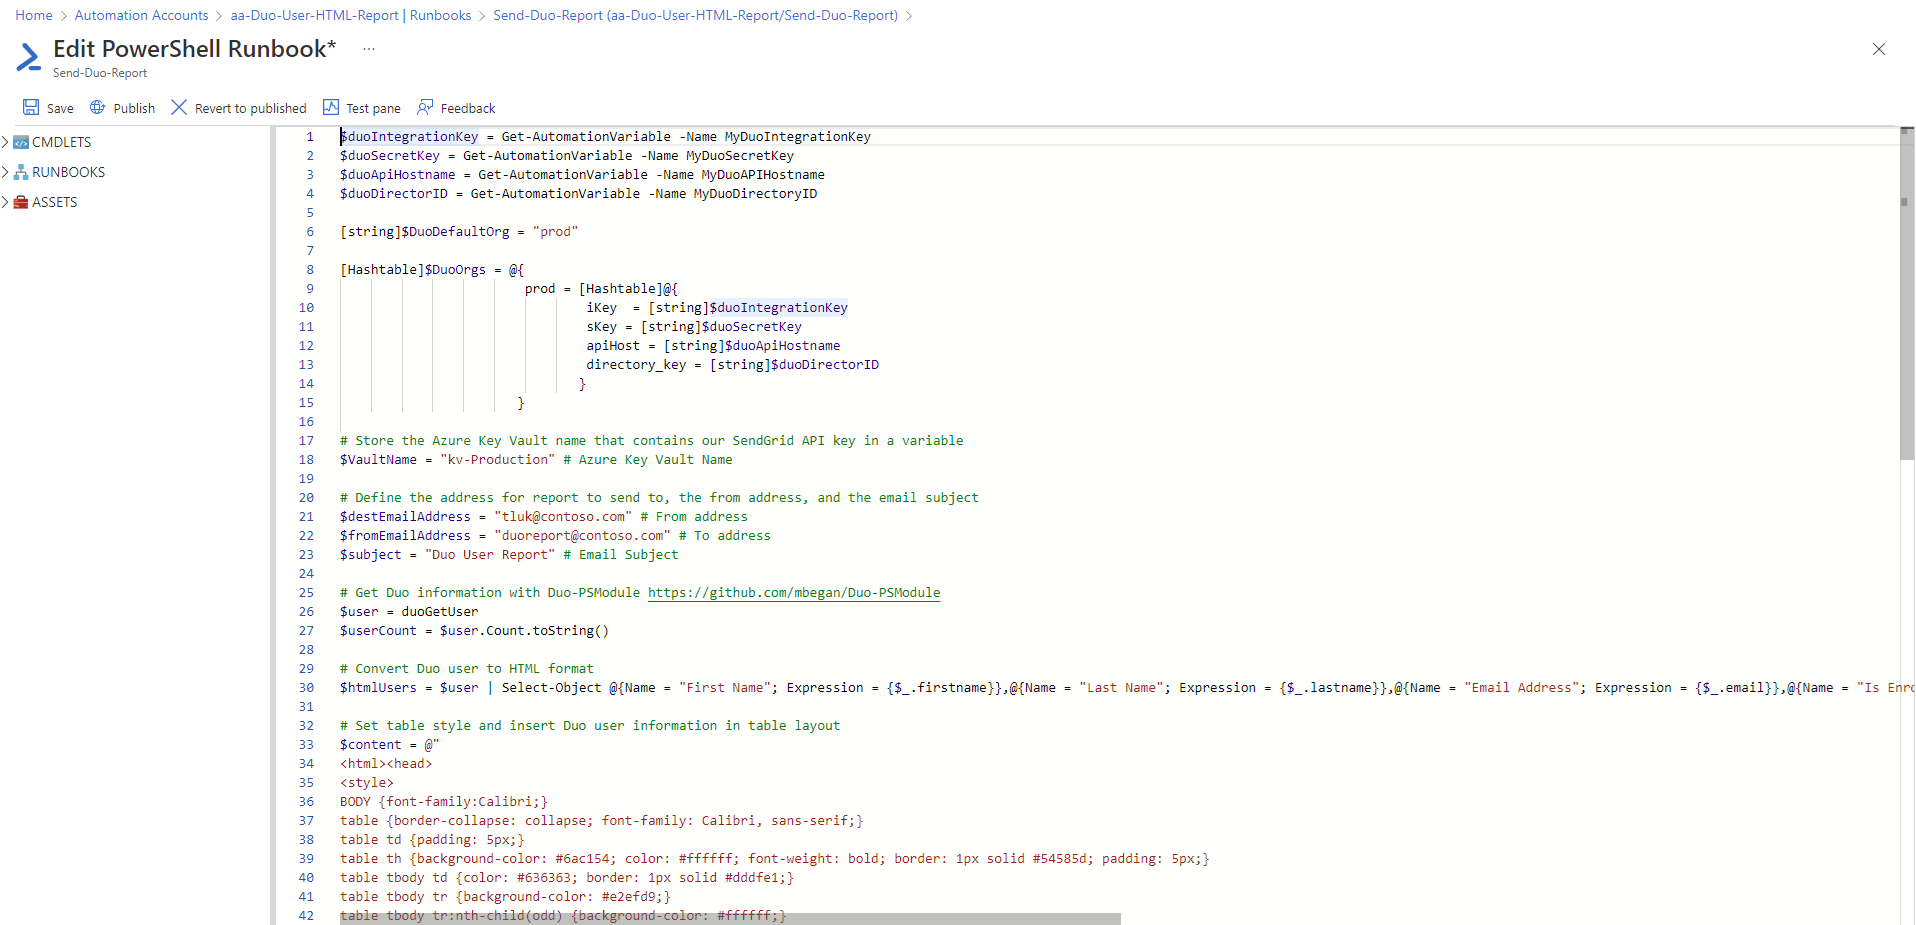
The script I will be using to generate and email the report can be found here: https://github.com/terenceluk/Azure/blob/main/Automation%20Runbook/Email-Duo-User-Count-and-List.ps1
Customize the following variables:
$VaultName = “kv-Production” # Azure Key Vault Name
$destEmailAddress = “tluk@contoso.com” # From address
$fromEmailAddress = “duoreport@contoso.com” # To address
$subject = “Duo User Report” # Email Subject
<h2>Client: Contoso Limited</h2>
Proceed to paste the code into the runbook:
Proceed to click Save:
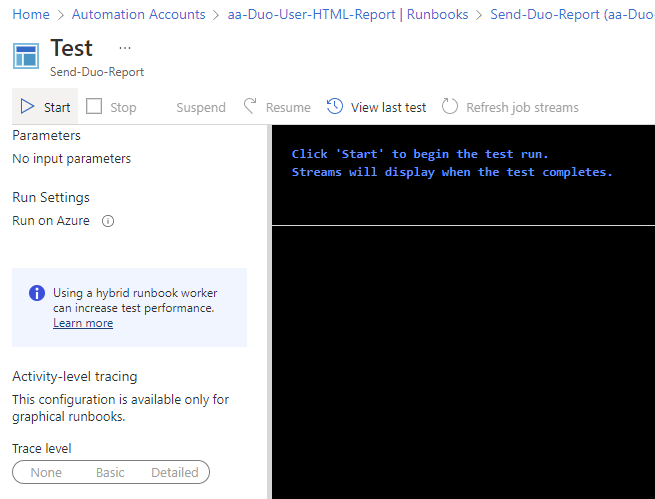
Before publishing the Runbook, click on the Test pane button to bring up the test window, then click on the Start button to test the runbook:
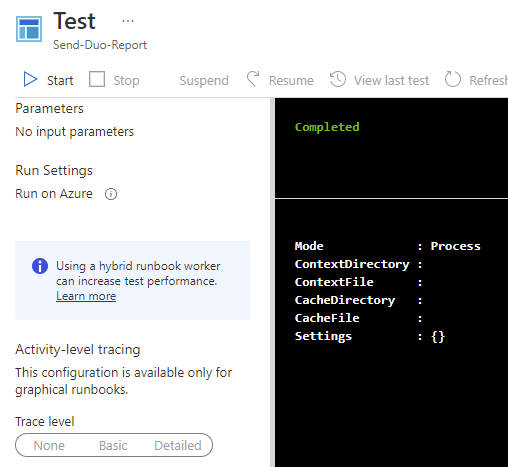
Confirm that the test successfully completes:
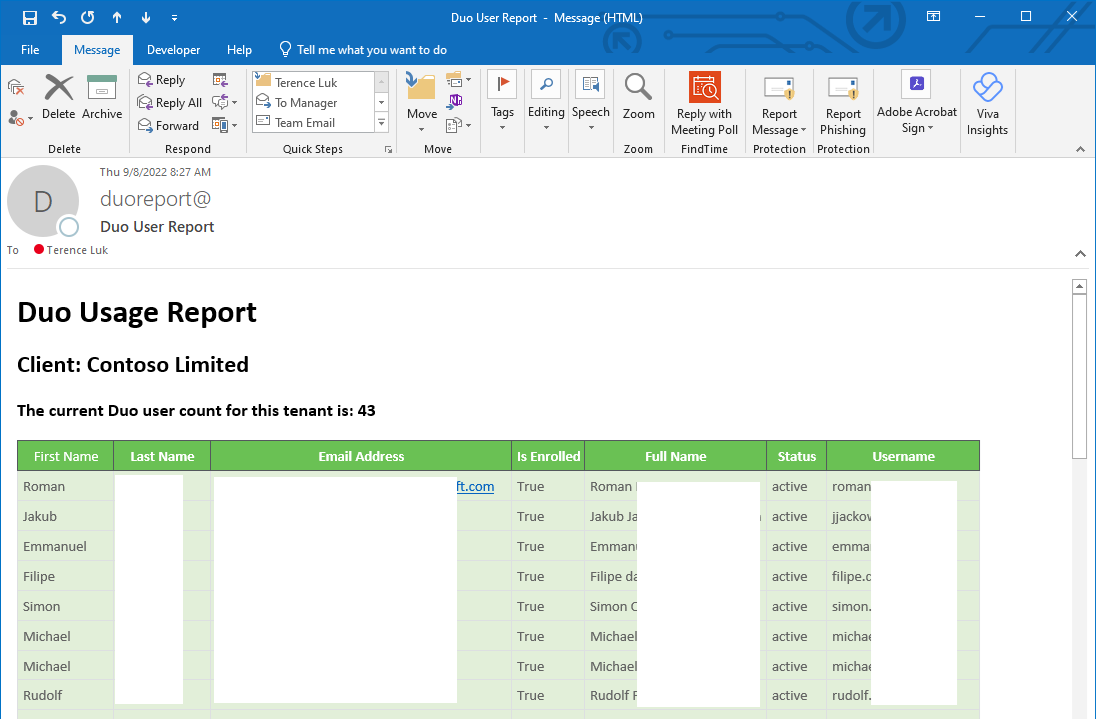
Verify that the email sent contains the expected report as such:
Proceed to publish the report once we’ve confirmed that the report is delivered:
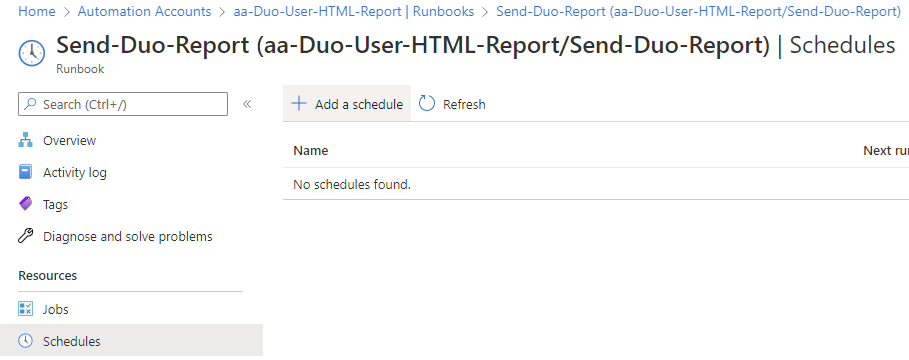
The last step is to schedule this runbook according to when the report should be ran so proceed to click on the Schedules blade and then Add a schedule:
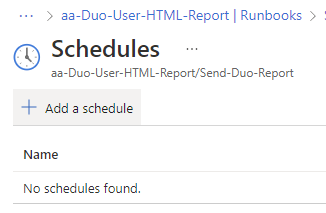
Click on Link a schedule to your runbook:
Click on Add a Schedule:
Configure the desired schedule (the settings in the screenshot is configured to run on the last day of the month):
The schedules pane should now display the configured schedule and its next run time:
That’s it. Hope this helps anyone who might be looking for information on how to configure the various components demonstrated in this post.

