As a following up to my previous post:
Creating a Logic App to process Defender for Storage malware scan results published by Event Grid
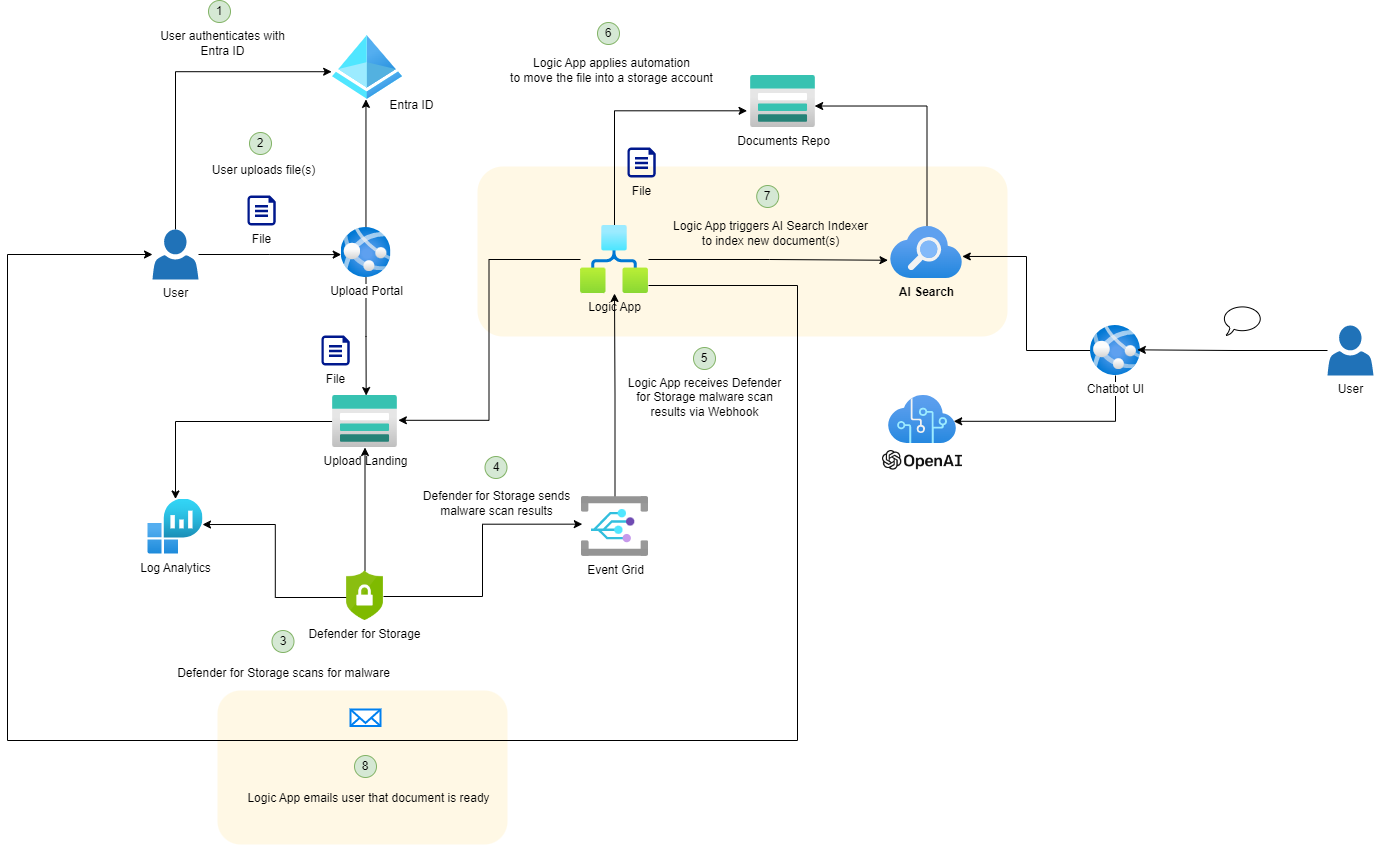
This post serves to be the last of the series where I will demonstrate how a Logic App can be used to trigger an Azure AI Search Service Indexer as shown in the diagram below:
With the copying of the blob from source to target configured, the next step is to trigger the AI Search Service Indexer to start indexing the storage account so the new document can be indexed. Depending on the purpose of the documents, the indexer may be configured to run on a hourly, daily, weekly, or some other schedule that has been communicated to the users and if that’s the case, then we won’t need to trigger the indexer immediately. For the purpose of this example, we’re going to assume that documents that get uploaded are rare and the indexer does not run on a schedule so the new documents need to get immediately indexed and searchable. Let’s also assume that only one person uploads the documents because if there are multiple users uploading at the same time then several index run requests can be requested and it would be difficult to identify which request completed for which Logic App execution (I’ve tried to see if there was a unique ID for the indexer execution that I could use but there did not appear to be one).
We’ll be using the REST API of the AI Search to run and get the status of the index run.
The documentation for the AI Search REST API can be found here:
How to reset and run indexers
https://learn.microsoft.com/en-us/azure/search/search-howto-run-reset-indexers?tabs=reset-indexer-rest#how-to-reset-and-run-indexers
The results from getting the status is described here:
Monitor using Get Indexer Status (REST API)
https://learn.microsoft.com/en-us/azure/search/search-howto-monitor-indexers#monitor-using-get-indexer-status-rest-api
The status API call is:
GET /indexers/[indexer name]/status?api-version=[api-version]
The run API call is:
POST /indexers/[indexer name]/run?api-version=[api-version]
We can use Postman to test these calls directly:
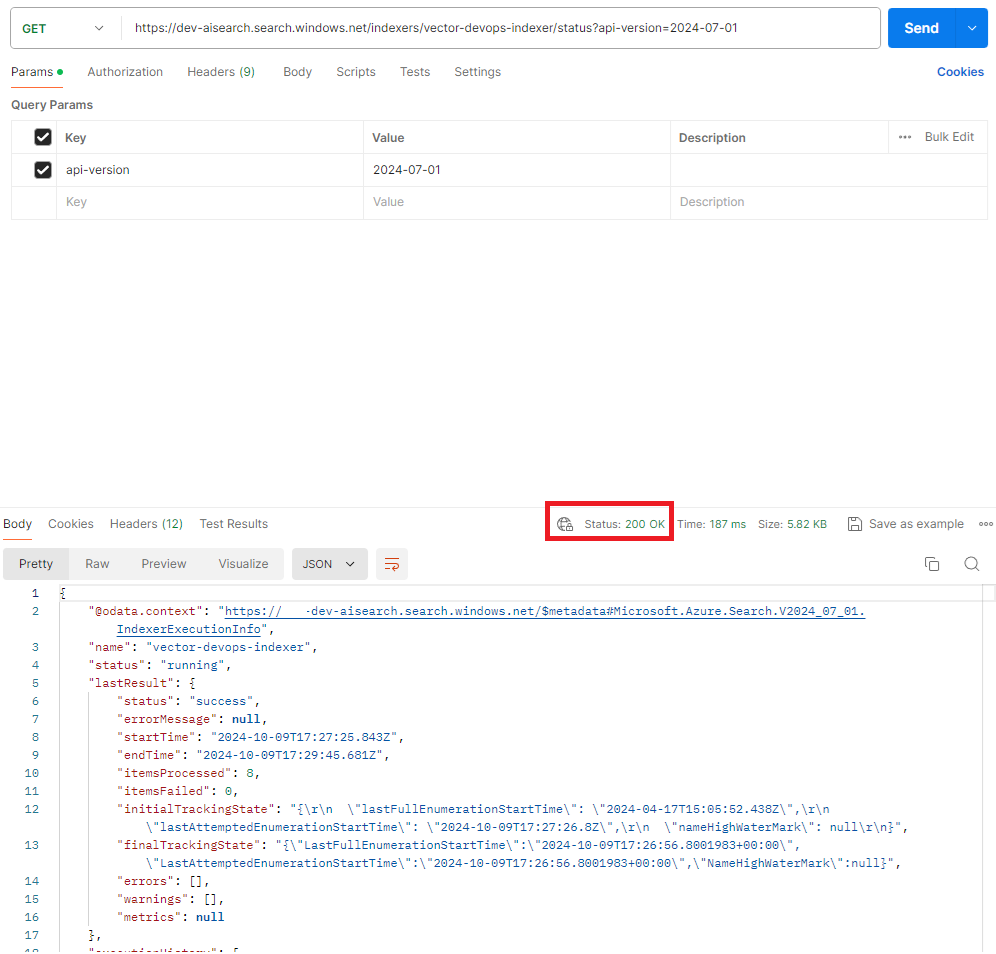
Get Status
Note there are two different status values. The top level status is for the indexer itself. An indexer status of running means the indexer is set up correctly and available to run, but not that it’s currently running.
Each run of the indexer also has its own status that indicates whether that specific execution is ongoing (running), or already completed with a success, transientFailure, or persistentFailure status.
When an indexer is reset to refresh its change tracking state, a separate execution history entry is added with a Reset status.
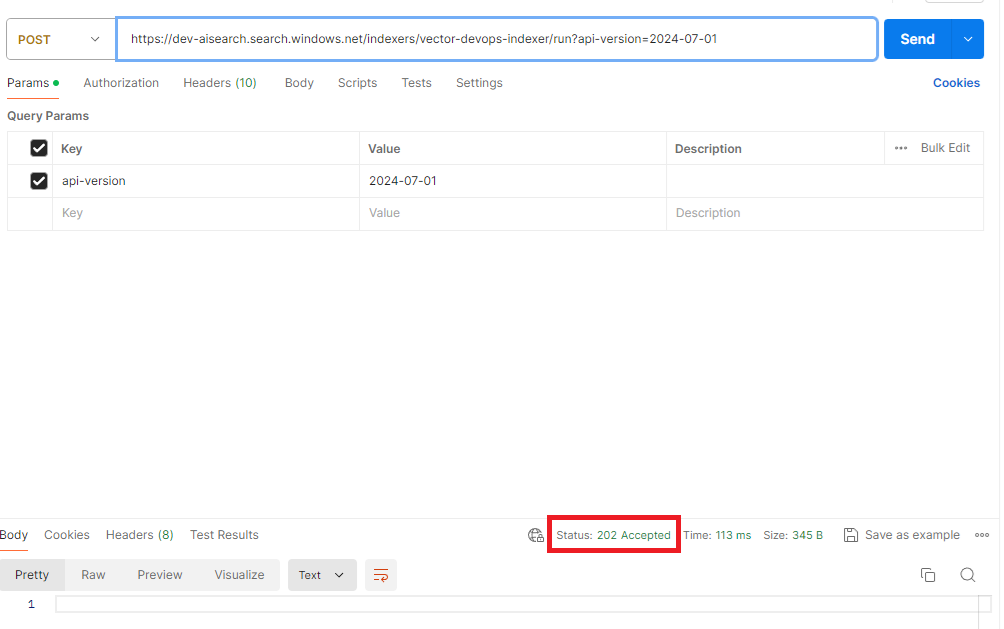
Run Indexer
A 202 Accepted is returned if the request is accepted.
**Don’t forget to include:
api-key: <ai search admin key>
Content-Type: application/json
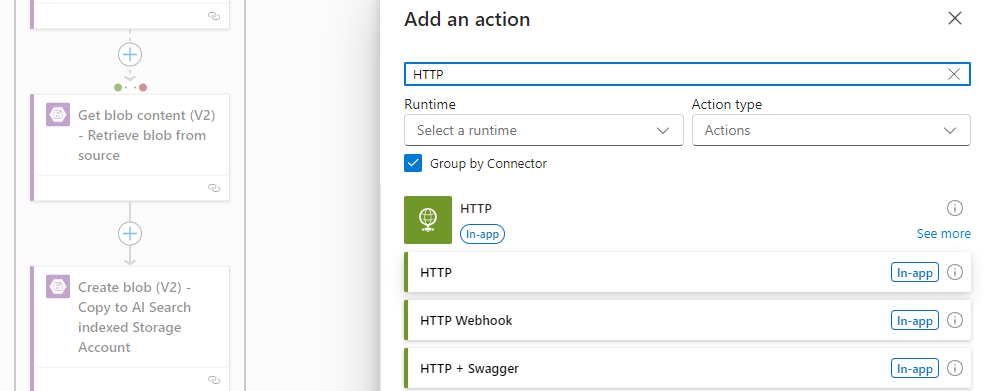
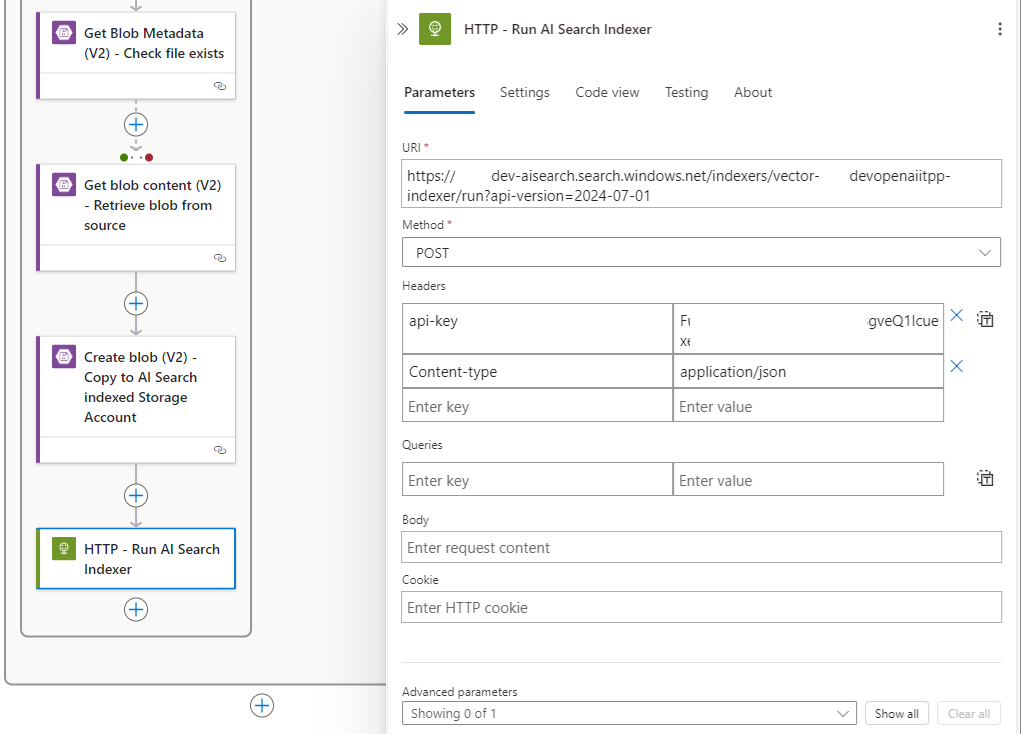
Proceed to create an HTTP action to call the Azure AI Search REST API:
Fill in the appropriate fields for the REST API call. Note that we should really be parameterizing values such as the API version and AI Search URI, and also storing the api-key in an Azure KeyVault but we’ll manually put them in here for the purpose of this example:
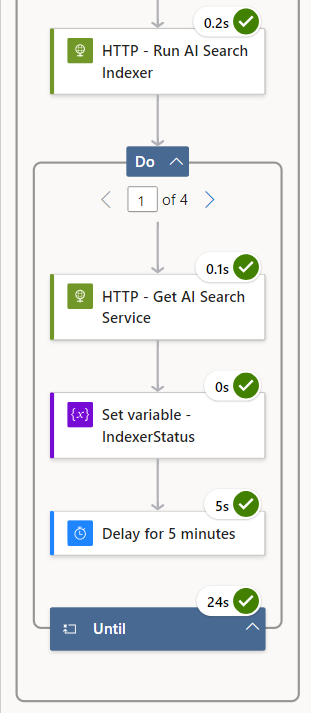
Now that we’ve triggered the AI Search Indexer to run, the following actions need to continuously check the indexer’s status until it is complete before sending the user a notification that the uploaded file has been indexed and searchable by AI Service and therefore the data would be available via RAG. To do this, we’ll need a Until loop condition, a HTTP to get the status of the indexer, a variable to store the status, a Delay for x amount of minutes, and finally a condition to break out of the Until loop.
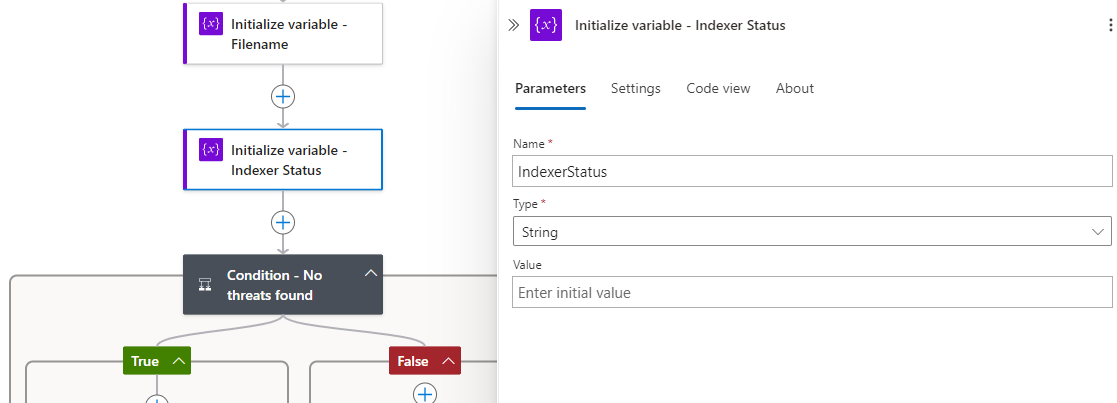
Variables cannot be initialized in loops and conditions so we’ll need to navigate up to create a variable to store the status of the indexer as such:
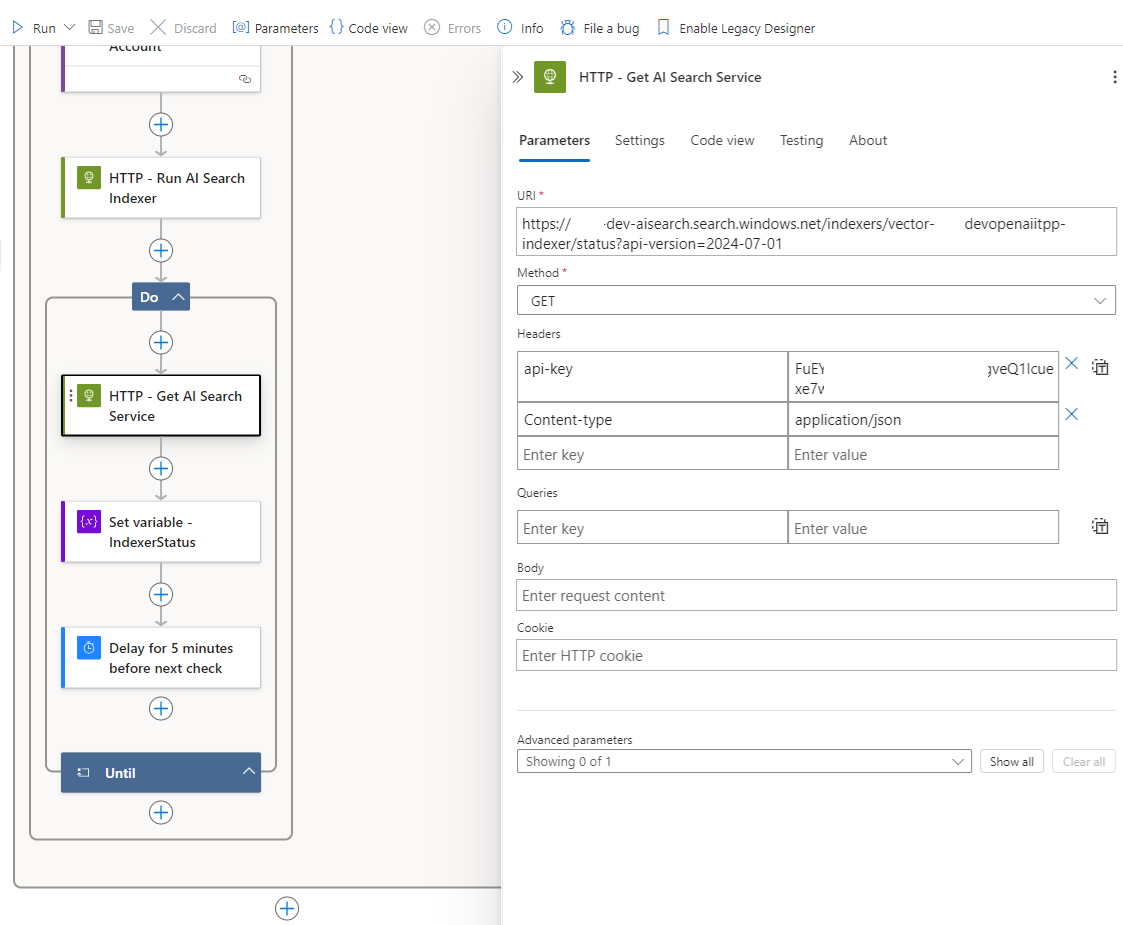
Next, configure the HTTP REST API call to get the status of the AI Search Indexer:
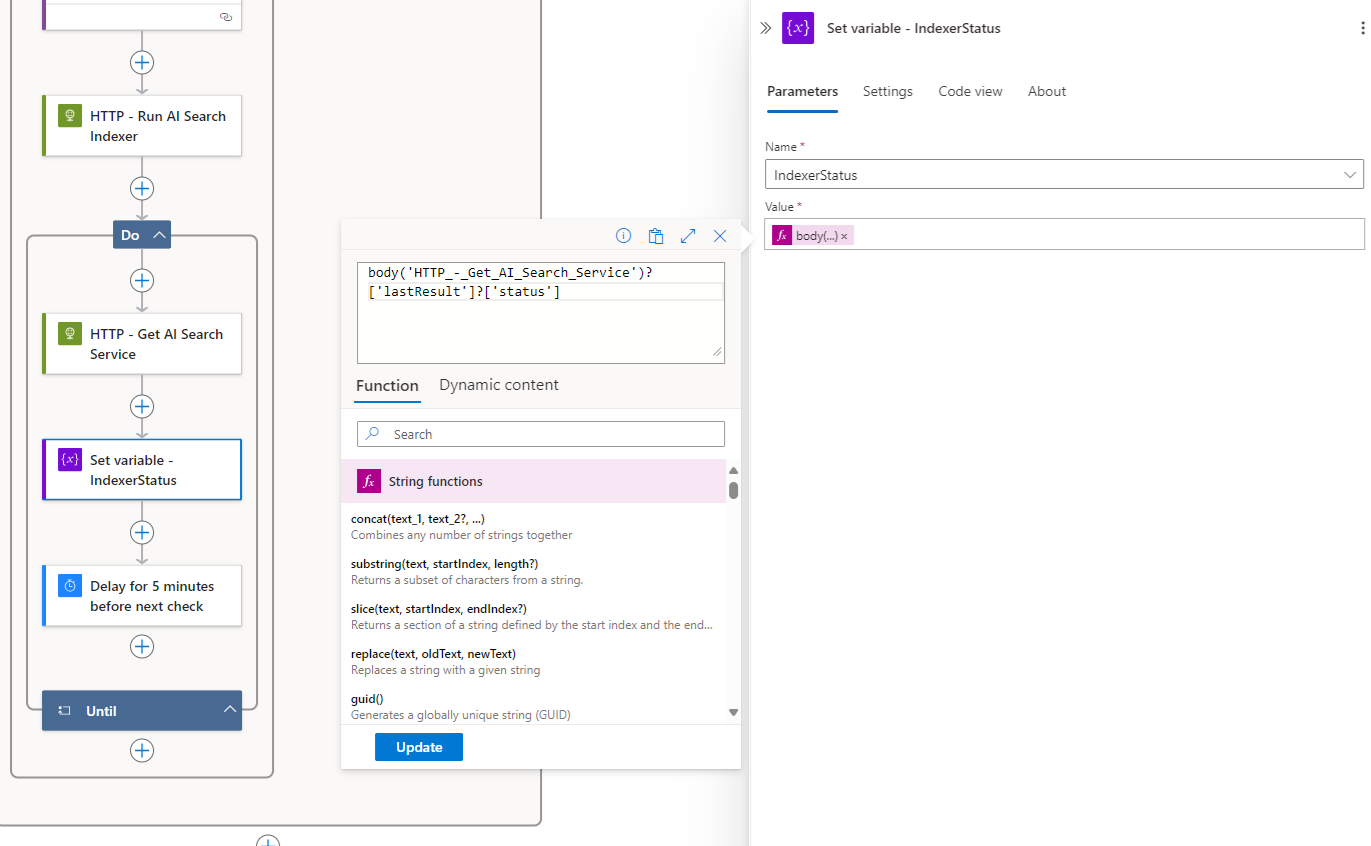
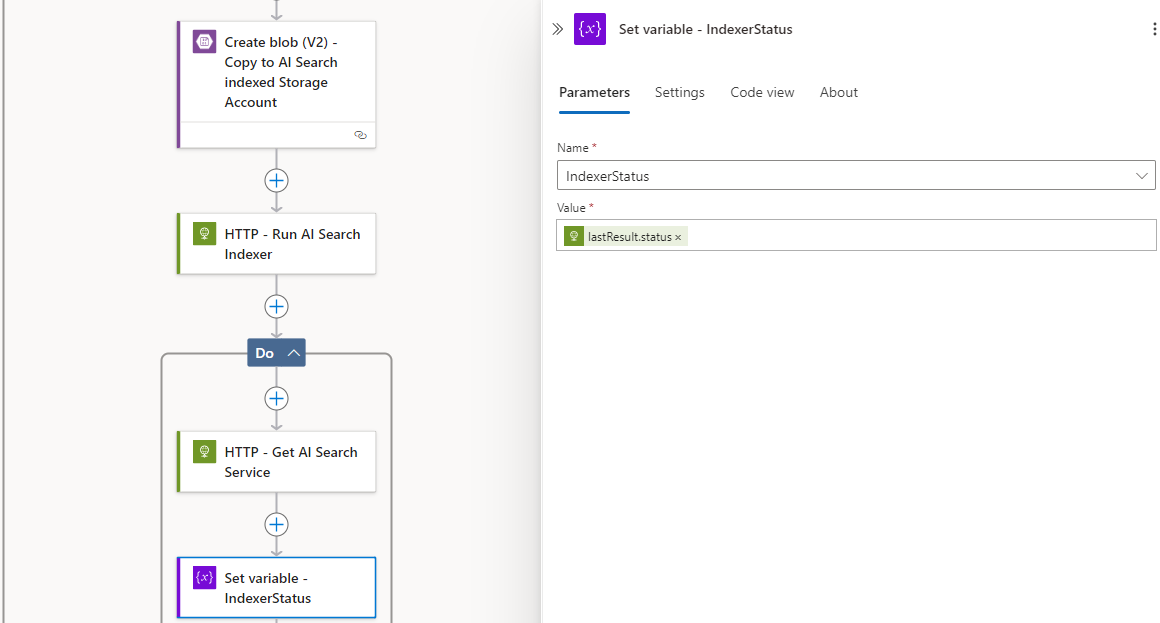
Proceed to set the IndexerStatus variable by using the following string function to check the status nested within the lastResult block (we do not want the first status as that represents the indexer is set up correctly and able to run):
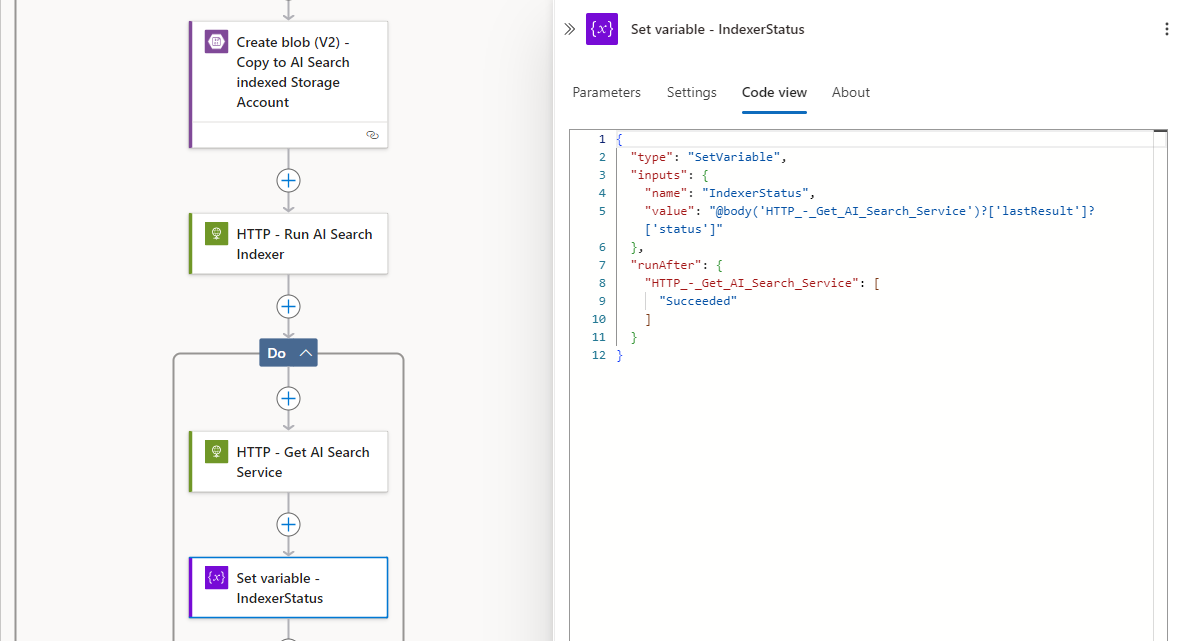
Note that if you save the Logic App and navigate back into the Set variable – IndexerStatus the String function will be displayed as a green HTTP icon instead of the purple fx:
The Code view should still display the string function:
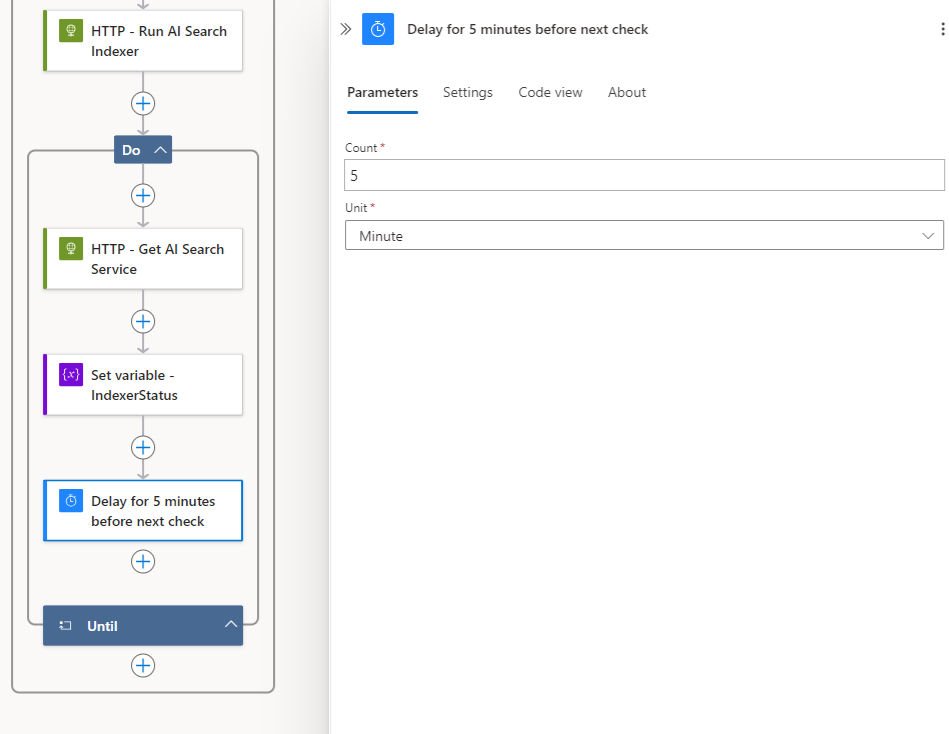
We’ll then add a 5 minute delay so we don’t keep sending get requests to the AI Search:
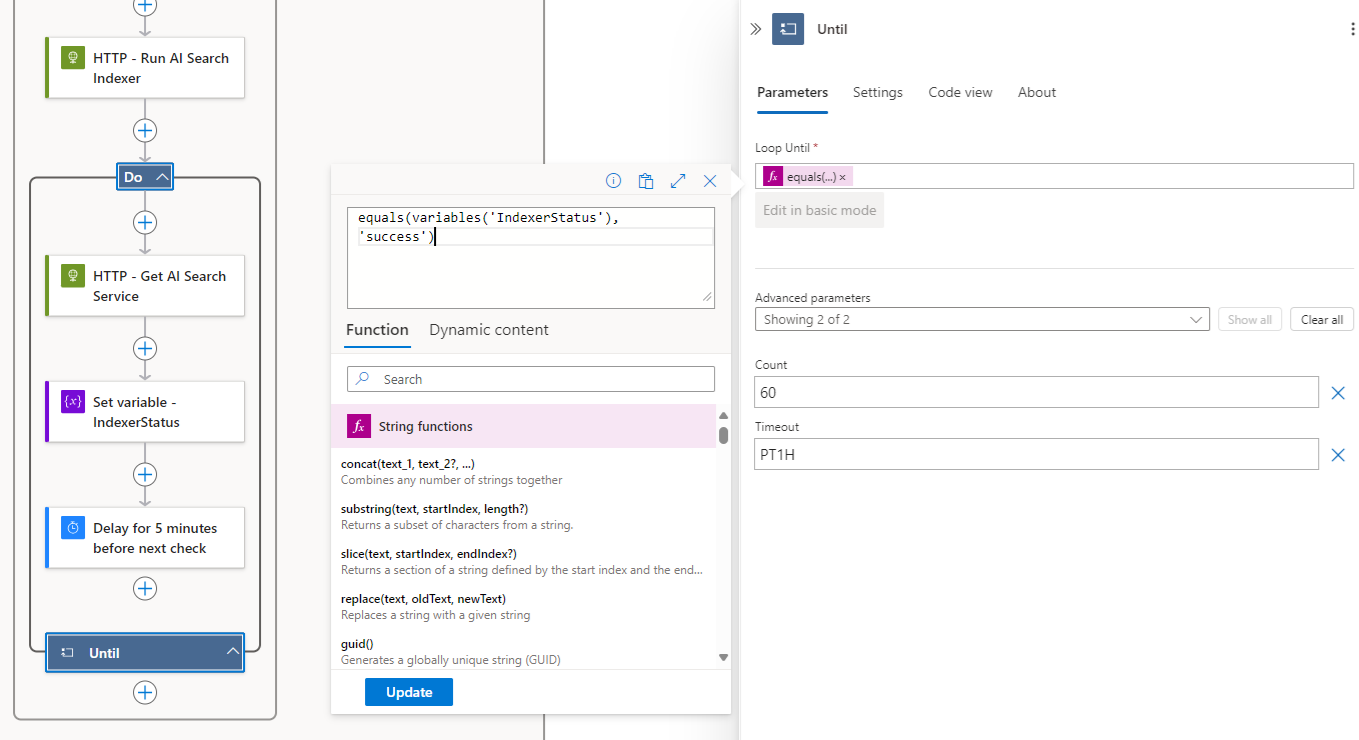
Lastly, we’re going to continue to loop until the IndexerStatus variable is equal to the string success:
equals(variables(‘IndexerStatus’), ‘success’)
I would suggest to reset the indexer this Logic App will run to test the run. Here is what a run could look like:
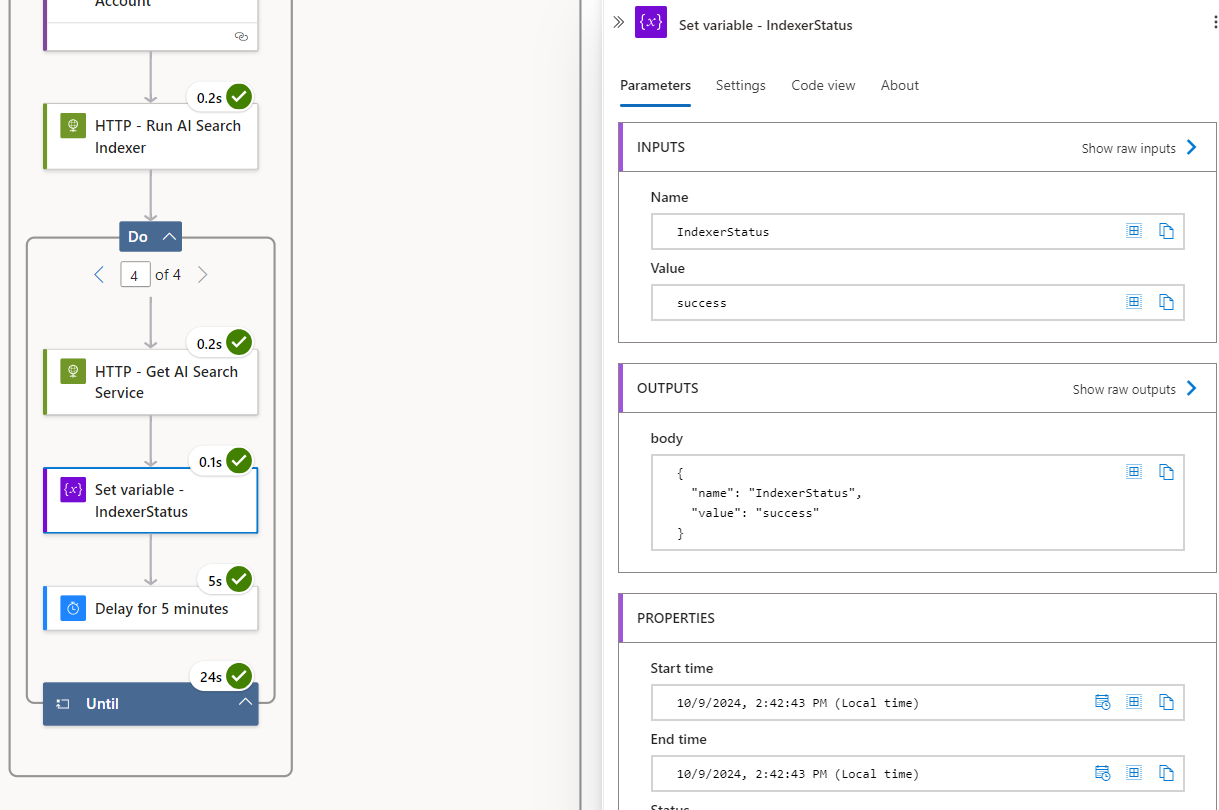
Note that this run iterated 4 times through the Until loop:
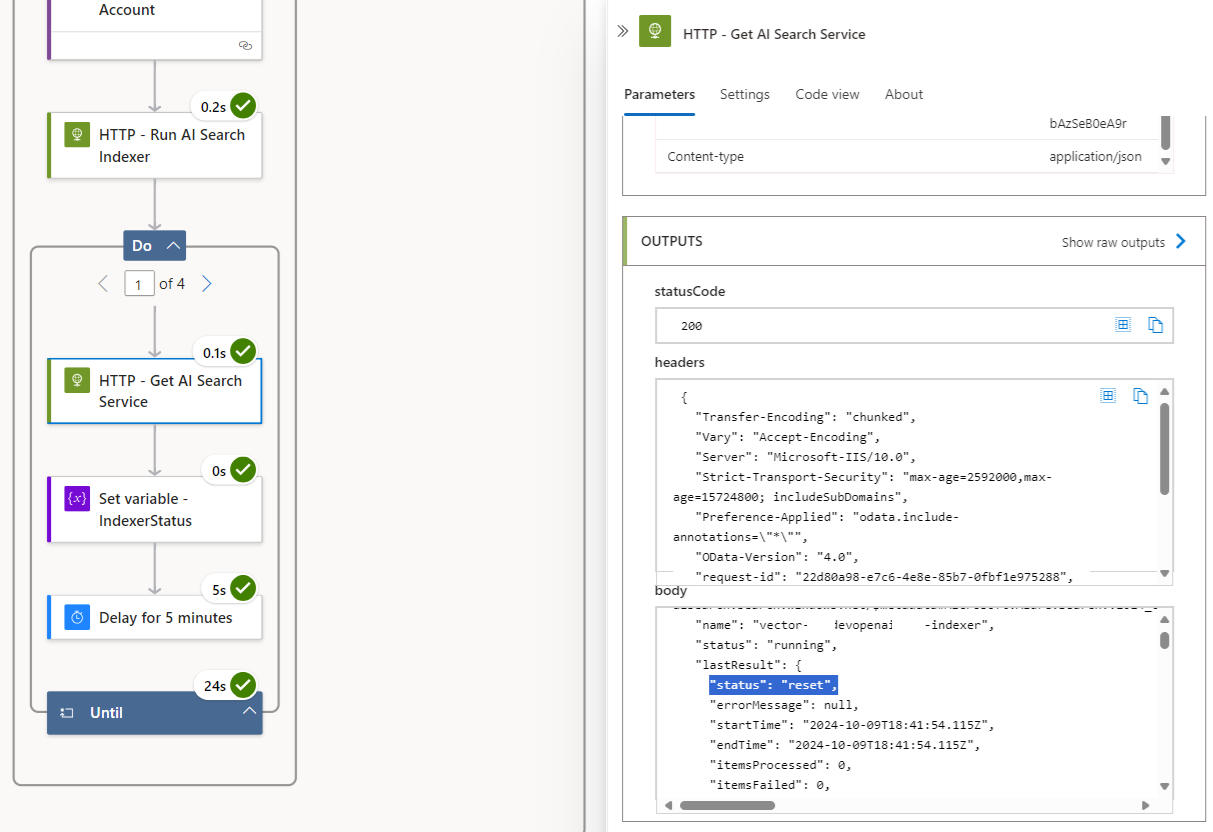
You can see the first loop’s status was reset:
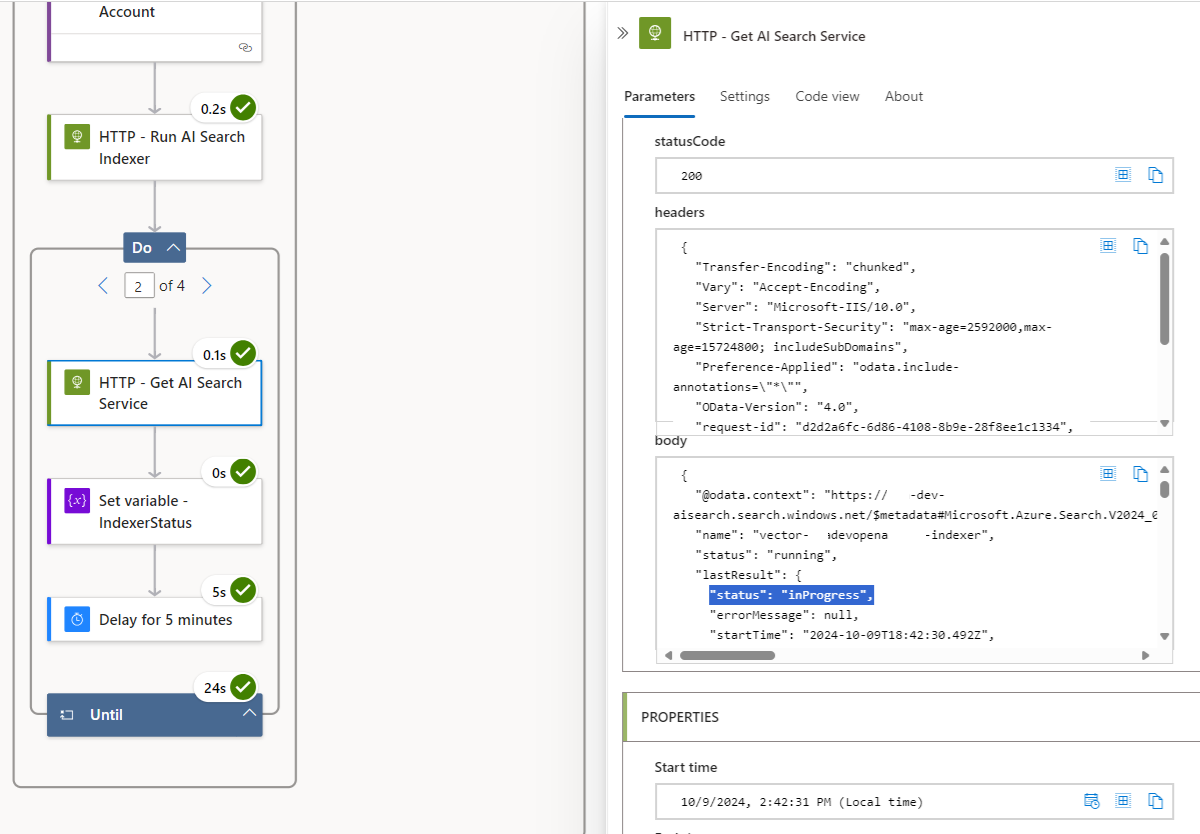
The second loop was inProgress:
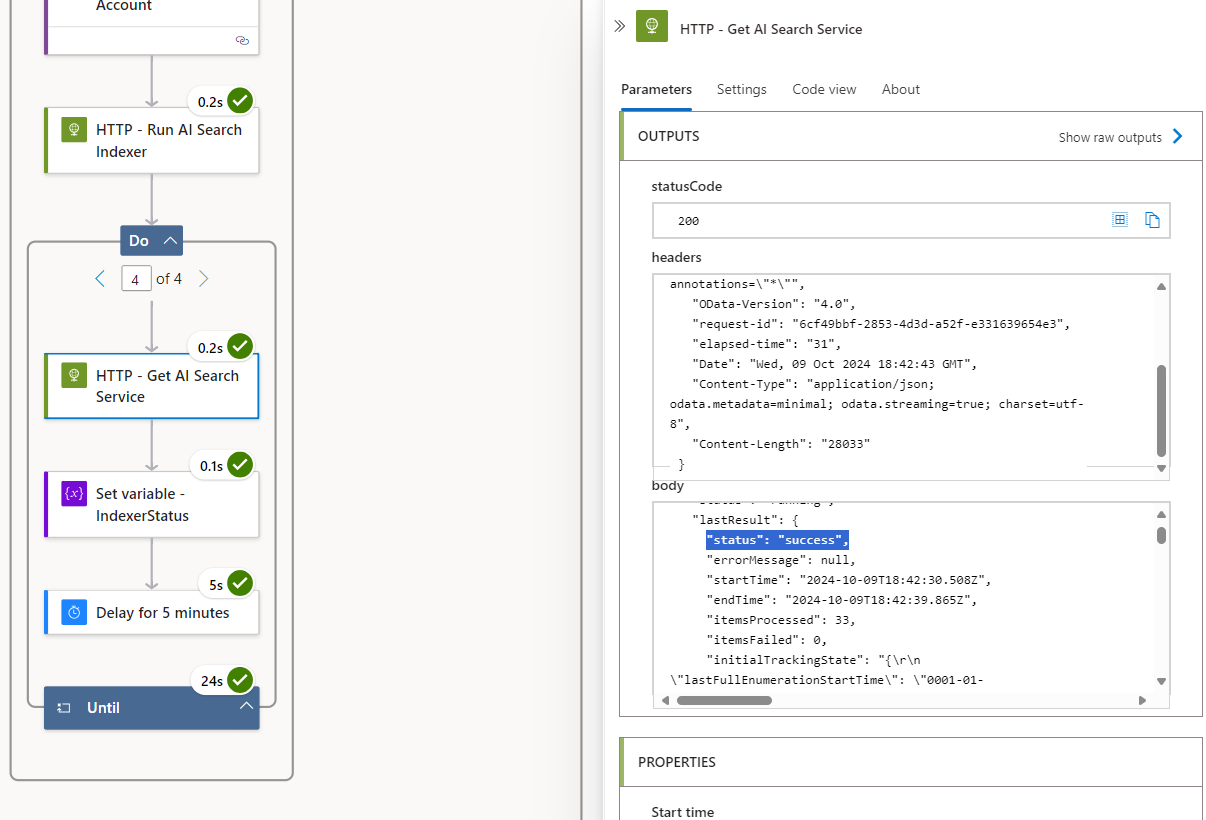
Loop 3 was also inProgress and loop 4 finally changed to success:
The variable IndexerStatus was set to success:
Which then terminated the loop.
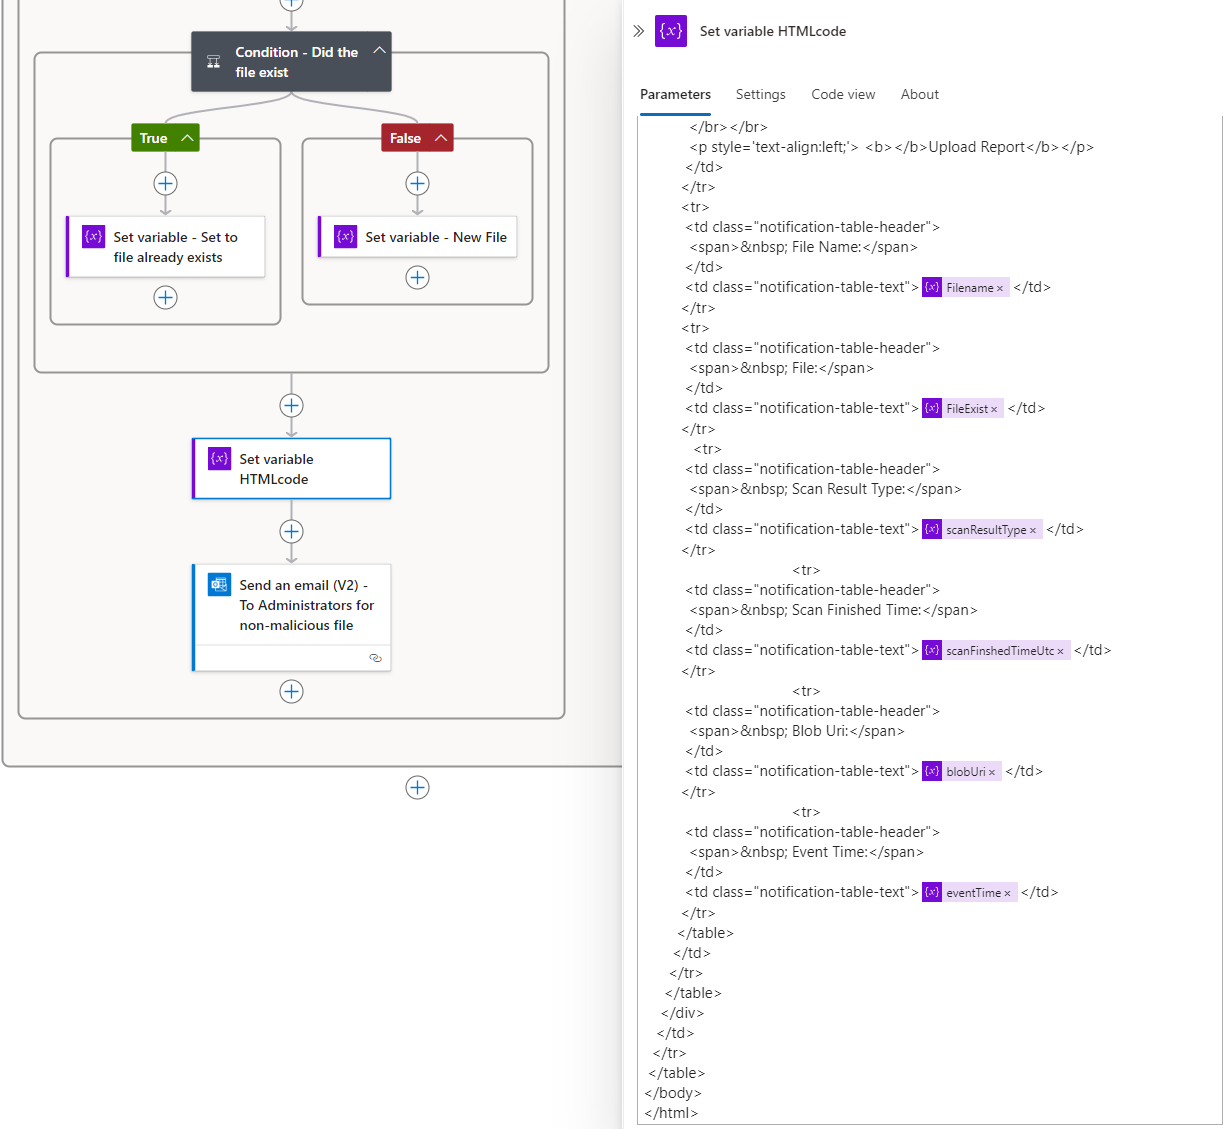
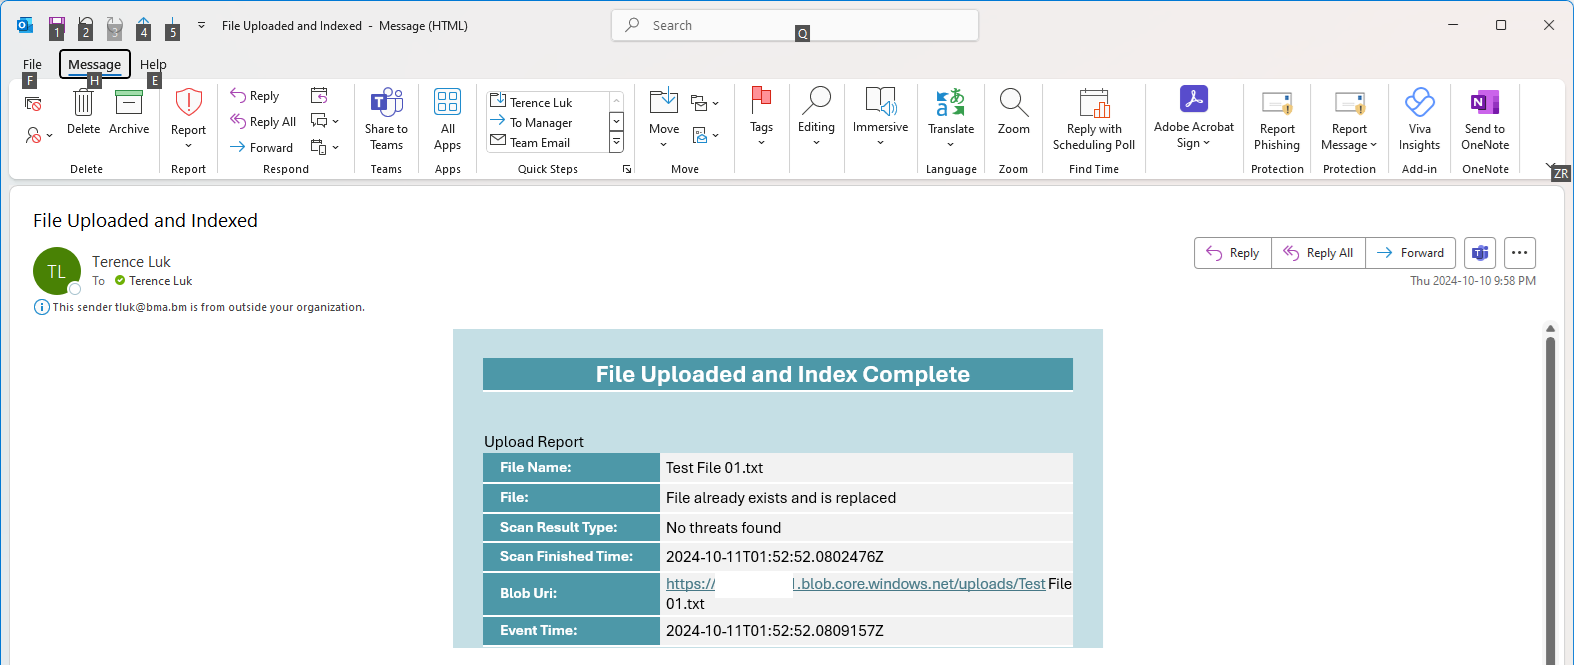
Now that we’ve completed the logic to handle the duration it would take for the indexer run to finish, we can proceed to finish the Logic App configuration with the email notification as we did for the branch handling malicious files detected.
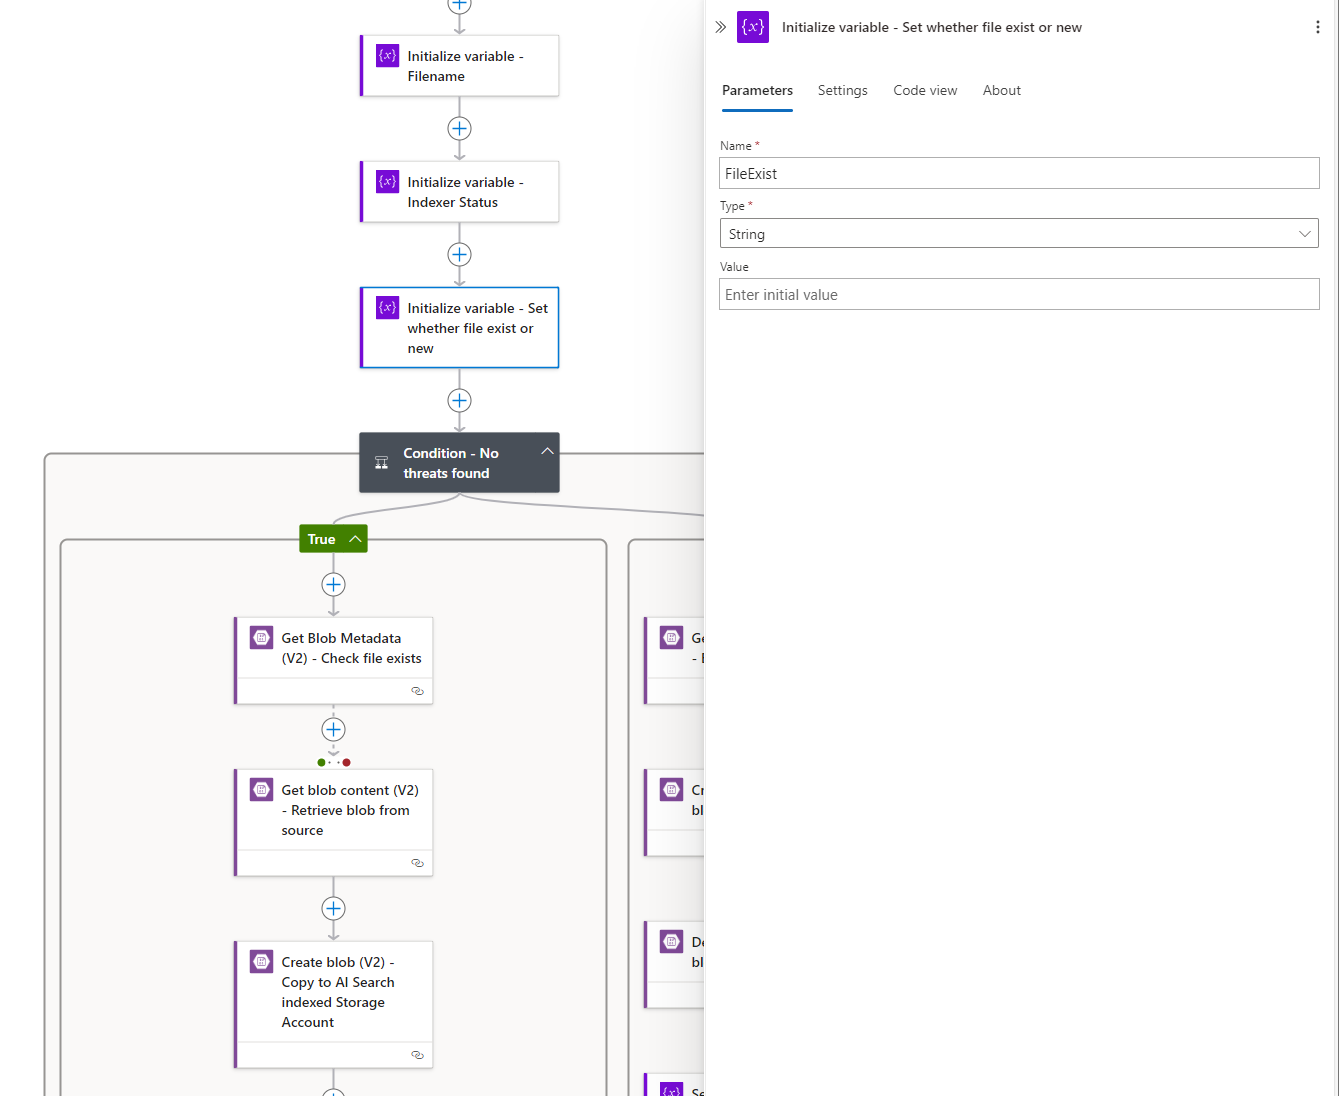
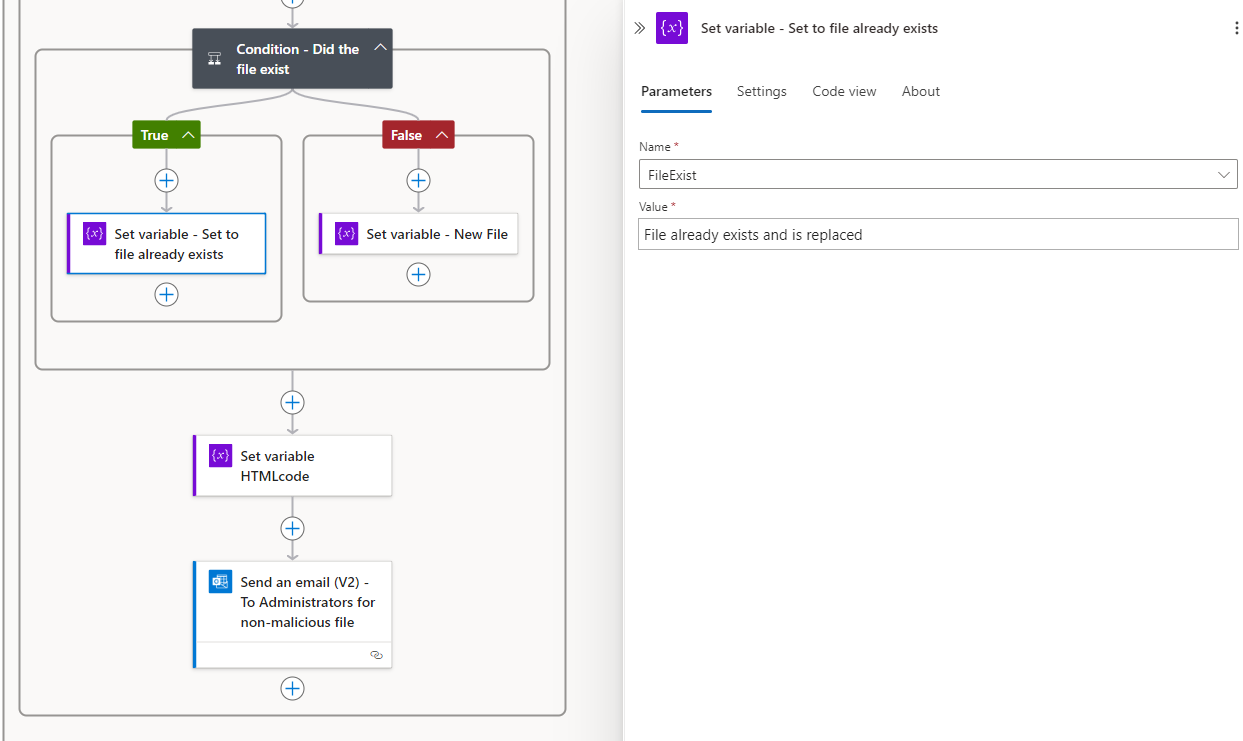
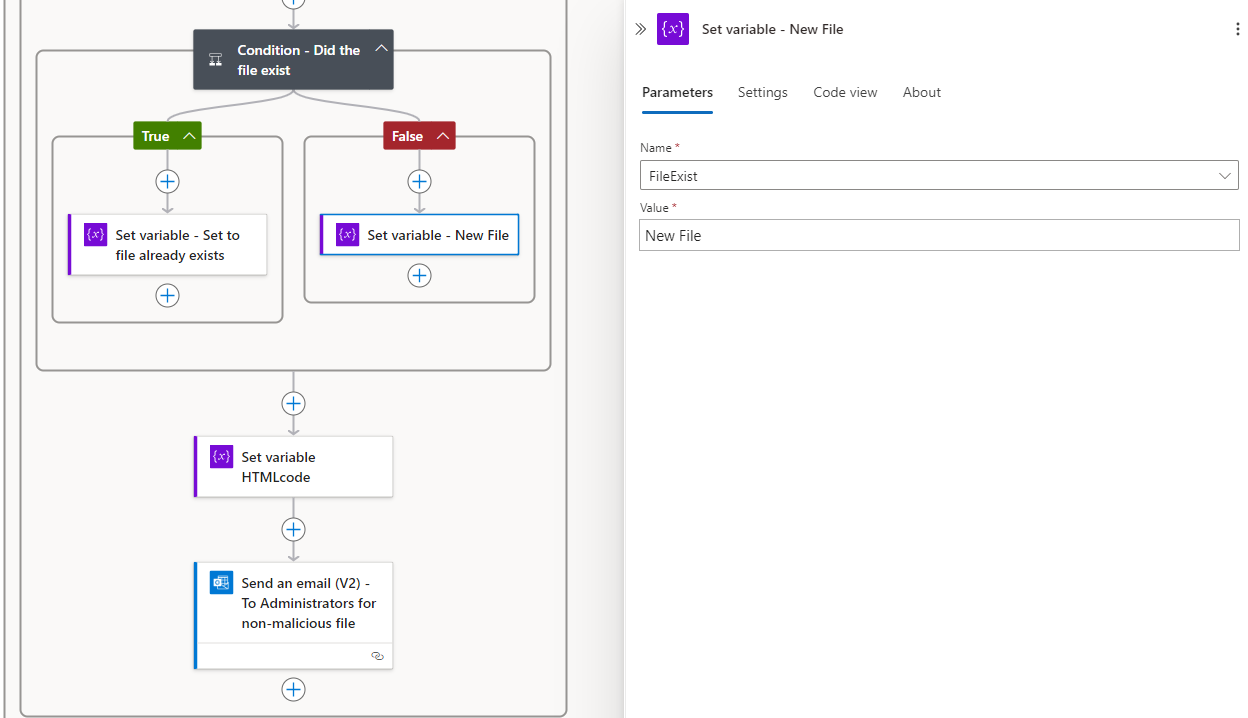
An extra field I wanted to include is if the file uploaded already exists in the storage account that will be indexed by the AI Search so we’ll need to create a new variable to store the result that will be used as output. Note that you cannot initialize variables in Condition actions so we’ll scroll up out of the Condition actions to initialize the variable:
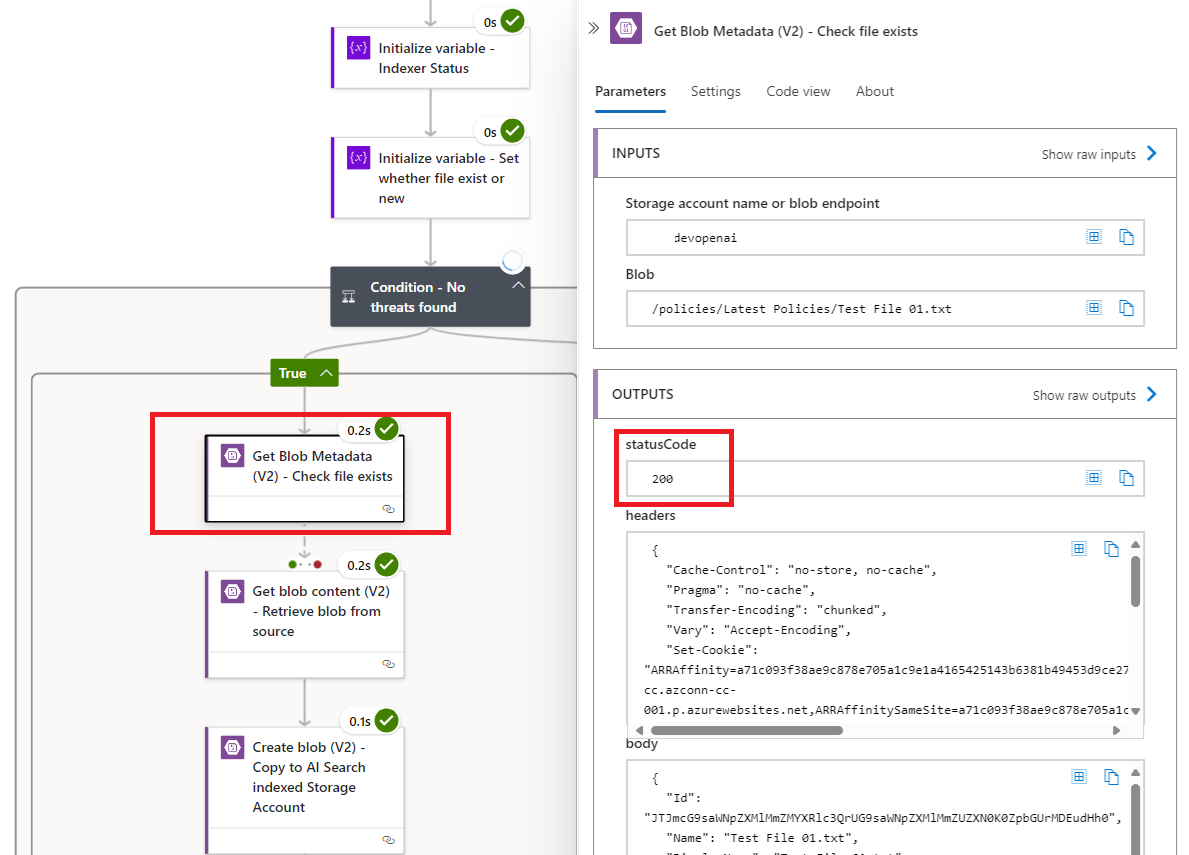
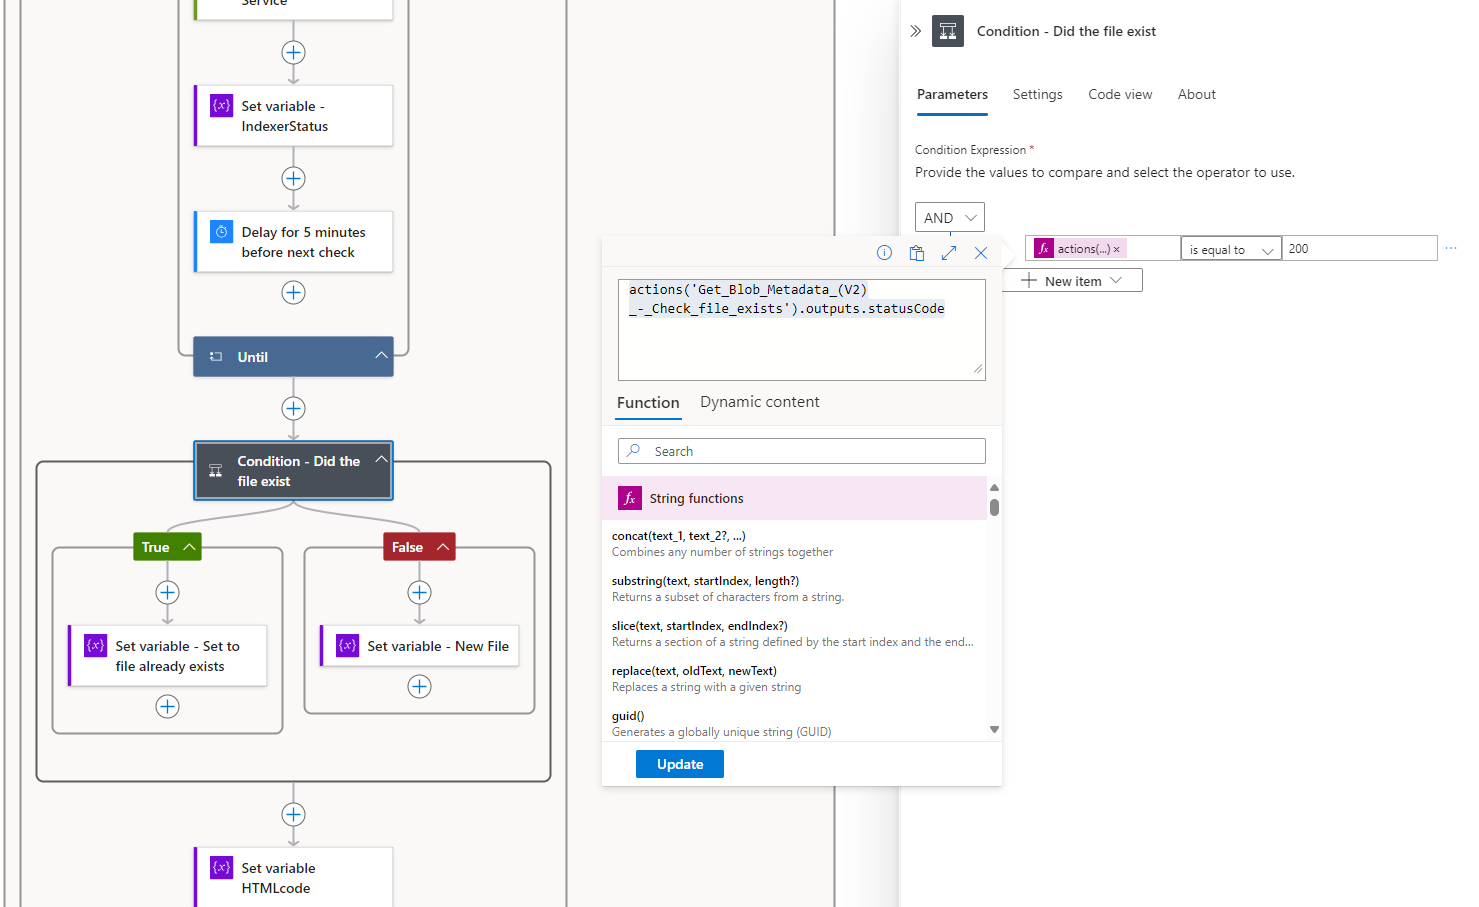
Next, we’ll add a Condition action to determine whether the Get Blob Metadata (V2) – Check file exists action succeeded (file exists):
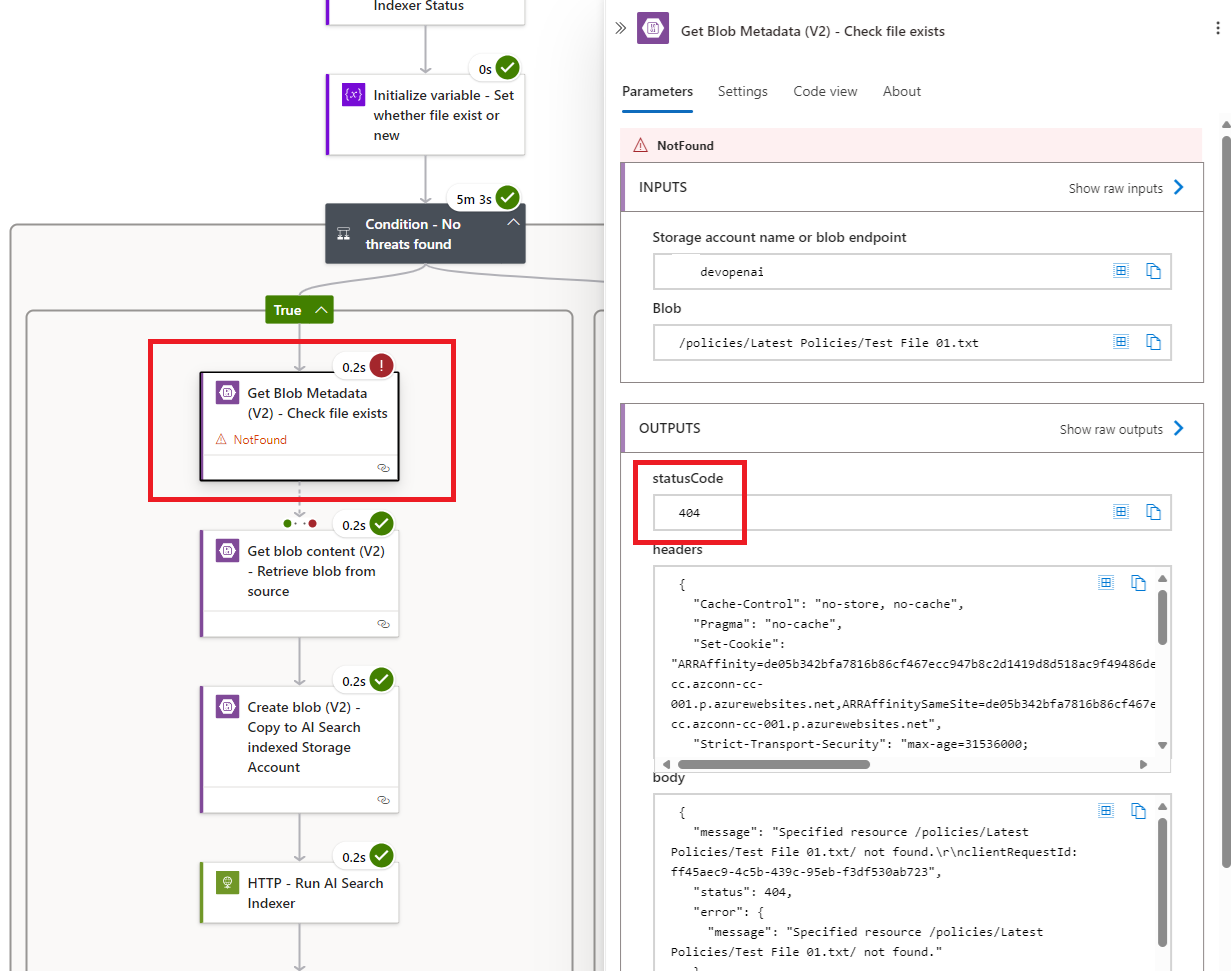
… or failed (file does not exist):
There isn’t a way to get the status code in the predefined dynamic content so you’ll need to use the following function:

