In this post, I would like to demonstrate the following using an Azure Function App and Logic App.
Function App:
- Download a CSV file from a URL
- Count the amount of records in the table
- Convert the CSV data into a table in HTML format
- Return a HTML formatted email for delivery
Logic App:
- Set up a recurring Logic App that runs at the end of the month
- Executes the Function App to retrieve the HTML formatted email report
- Download the CSV file from a URL
- Send an email with the HTML formatted email report with the CSV as the attachment
I will use a device list downloaded from a Cylance tenant to demonstrate this. For those who are not familiar with Cylance, it is a cyber threat detection software for endpoints such as Windows and Mac operating systems. It is possible to retrieve reports via a URL with a unique token that belongs to an organization’s tenant. Here is what the portal with the URLs look like:
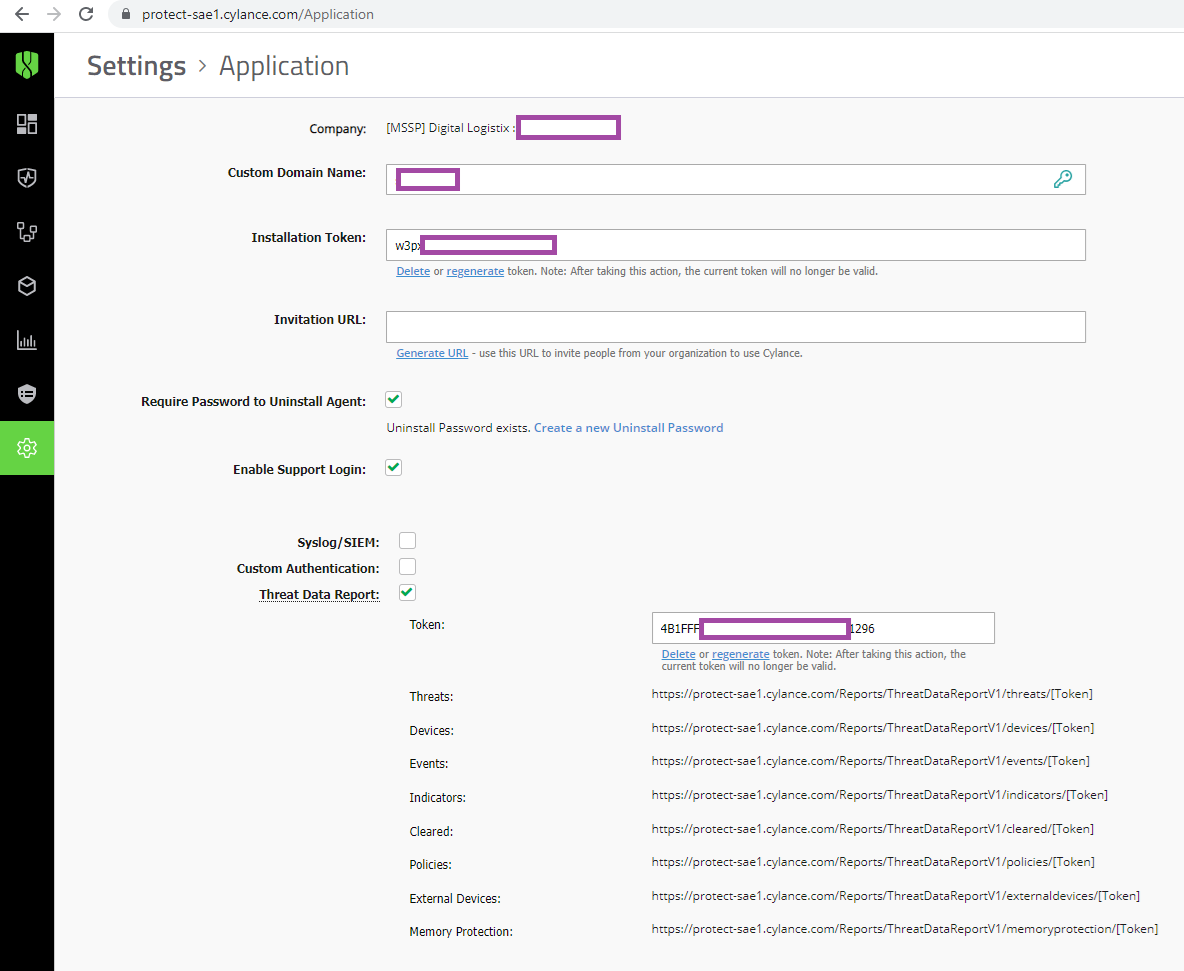
We’ll be using the Devices URL with the unique token to retrieve our report:
https://protect-sae1.cylance.com/Reports/ThreatDataReportV1/devices/4B1FFFxxxxxxxxxxx296
The downloaded report will look as such:
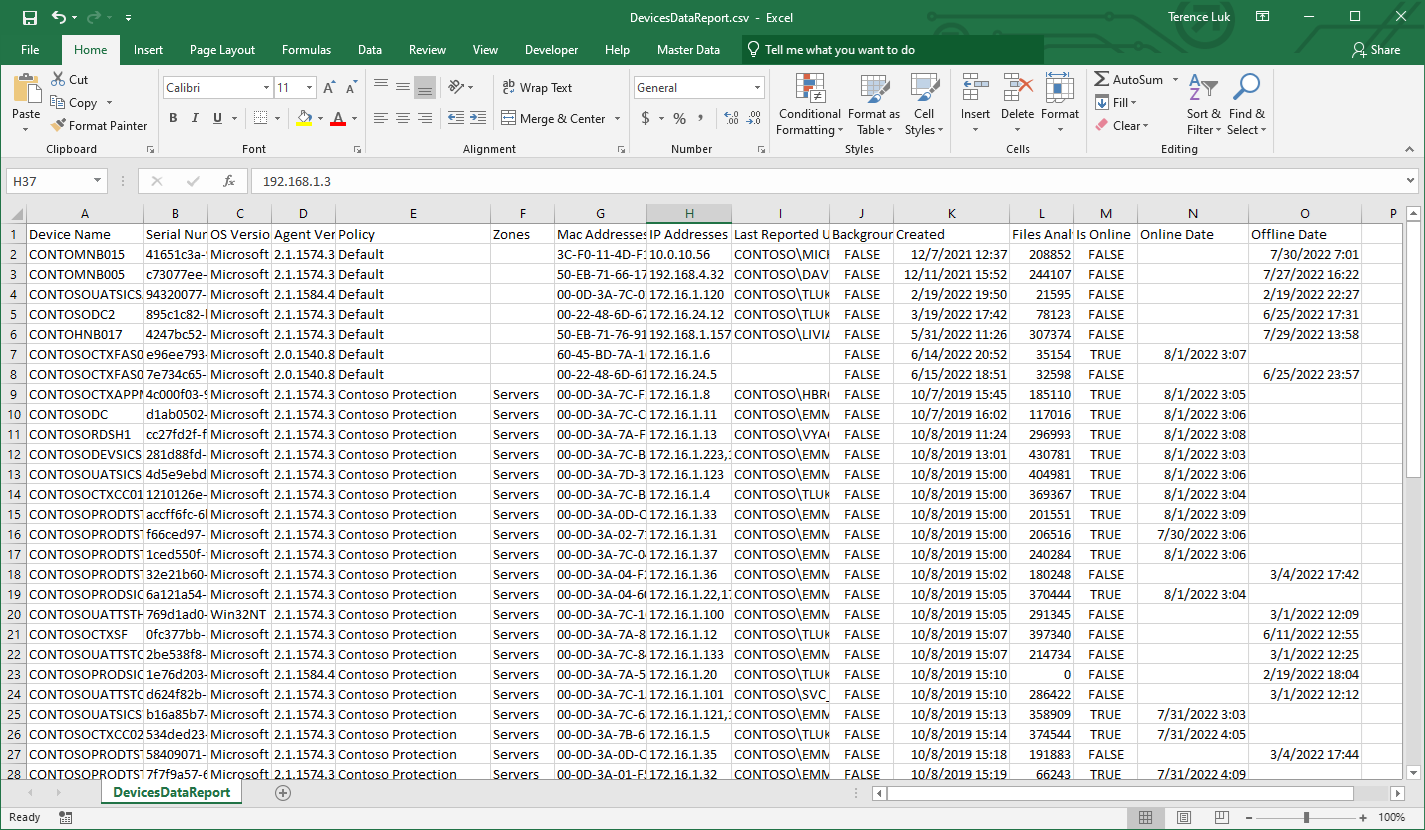
Step #1 – Create a Function App that will retrieve Cylance Device List and generate and return a HTML email report
Begin by creating a Function App that will retrieve Cylance Device List and return it in HTML format. This Function App collects the data that will in turn be call by a Logic App to generate an email and send the report off to an email address.

Proceed to create a Function App with the following parameters:
Publish: Code
Runtime stack: PowerShell Core
Version: 7.2
Operating System: Windows
Configure the rest of the parameters as required by the environment.
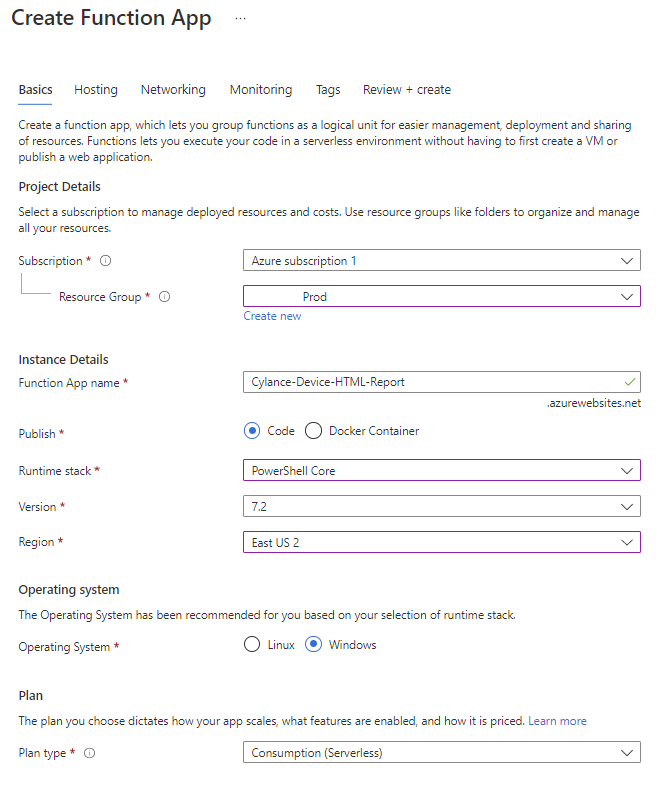

With the Function App created, proceed to create the function trigger:
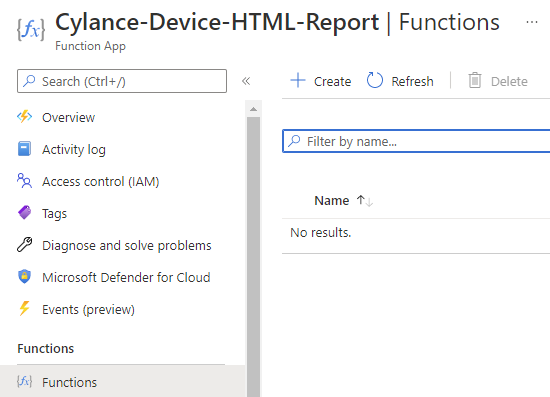
Select HTTP trigger as the template and provide a meaningful name:
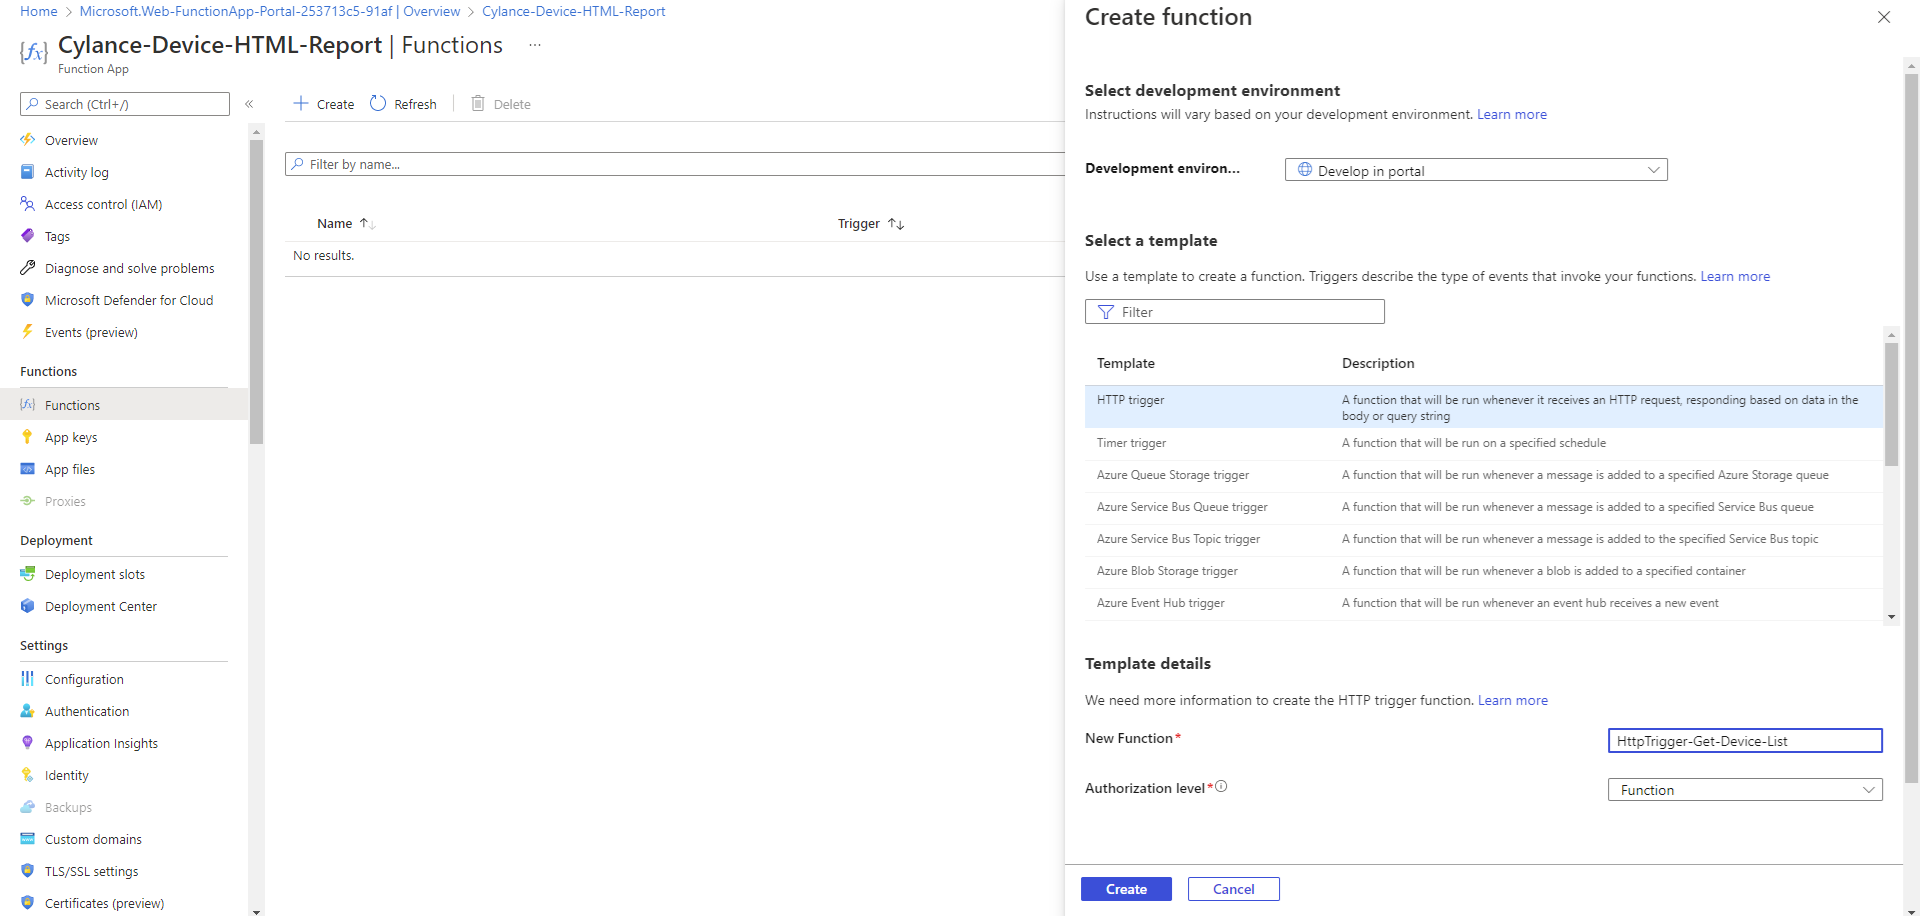
With the trigger created, navigate to Code + Test and paste the following code into run.ps1:
https://github.com/terenceluk/Azure/blob/main/Function%20App/Get-CylanceDeviceReport.ps1
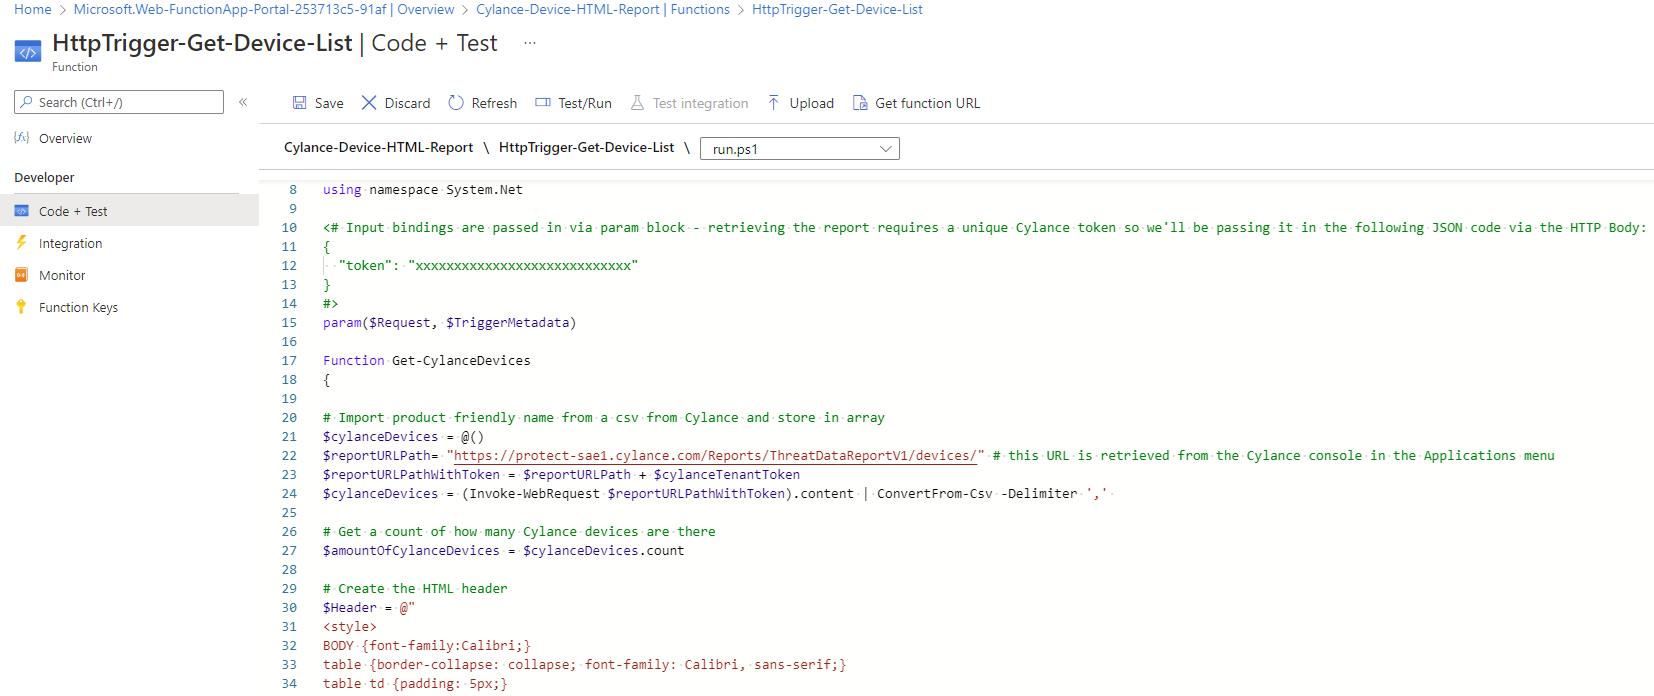
The following are changes you’ll need to apply to the code:
The client name:

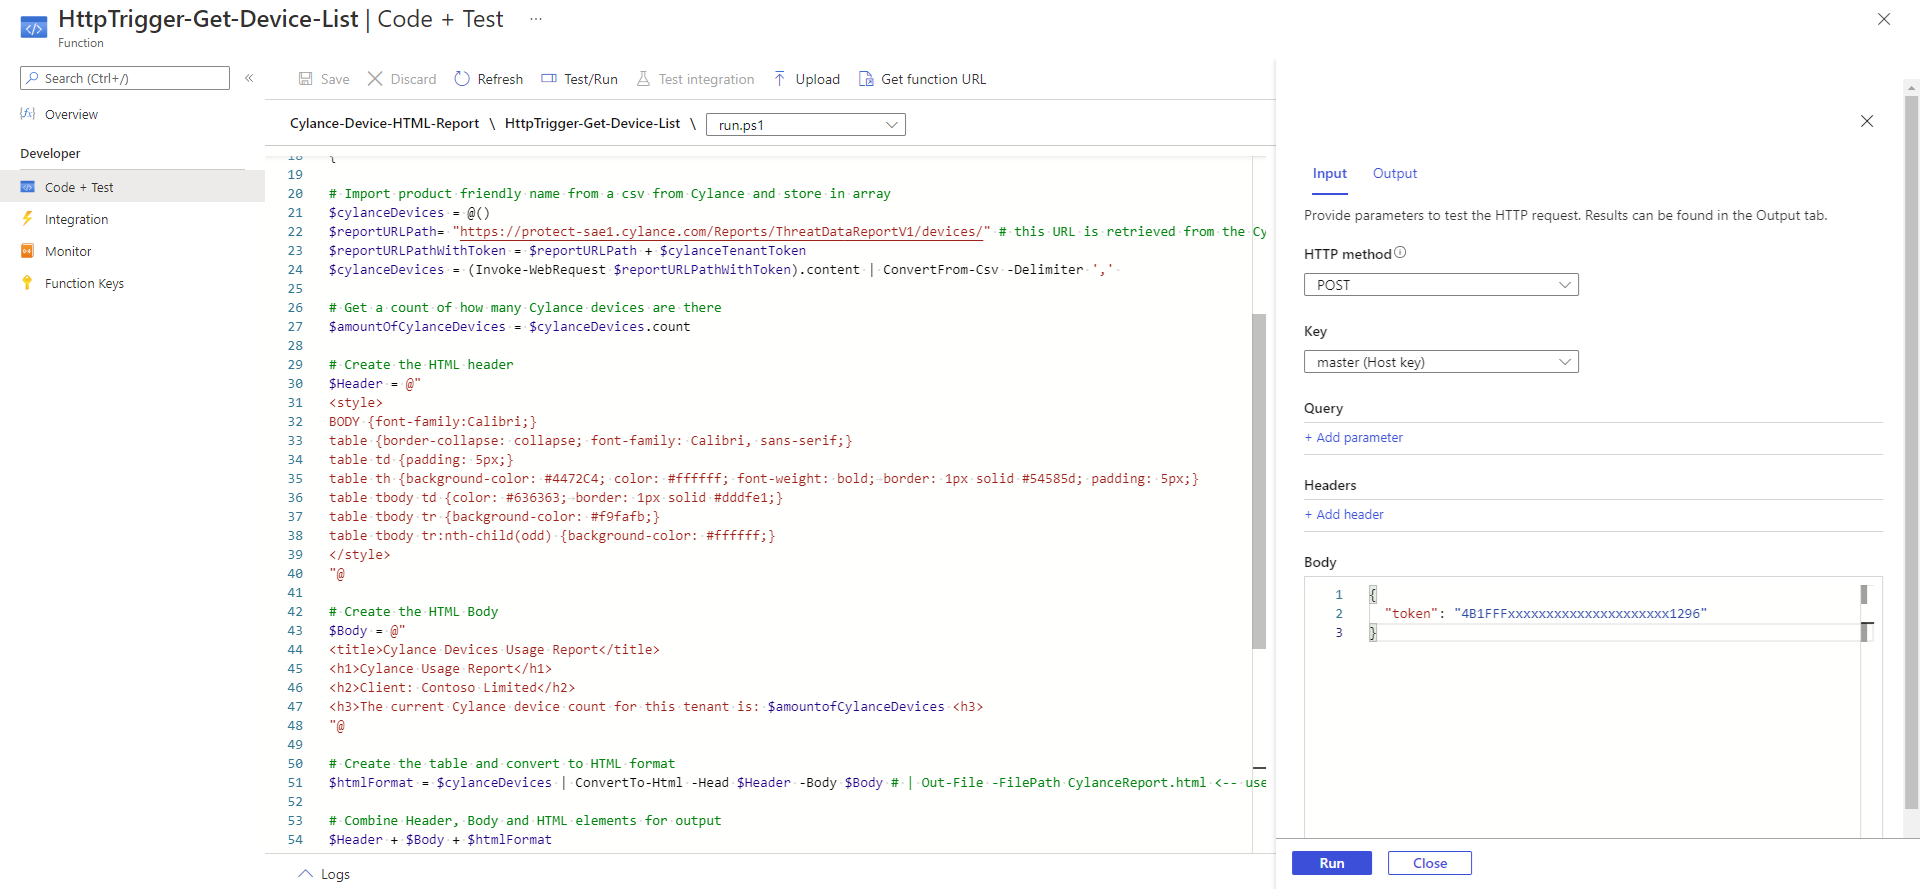
With the function app code in place, proceed to use the Test/Run feature to test it. Note that the function app expects the tenant ID to be passed to it so the Body of the test should include the following:
{
“token”: “xxxxxxxxxxxxxxxxxxxxxxxxxx”
}
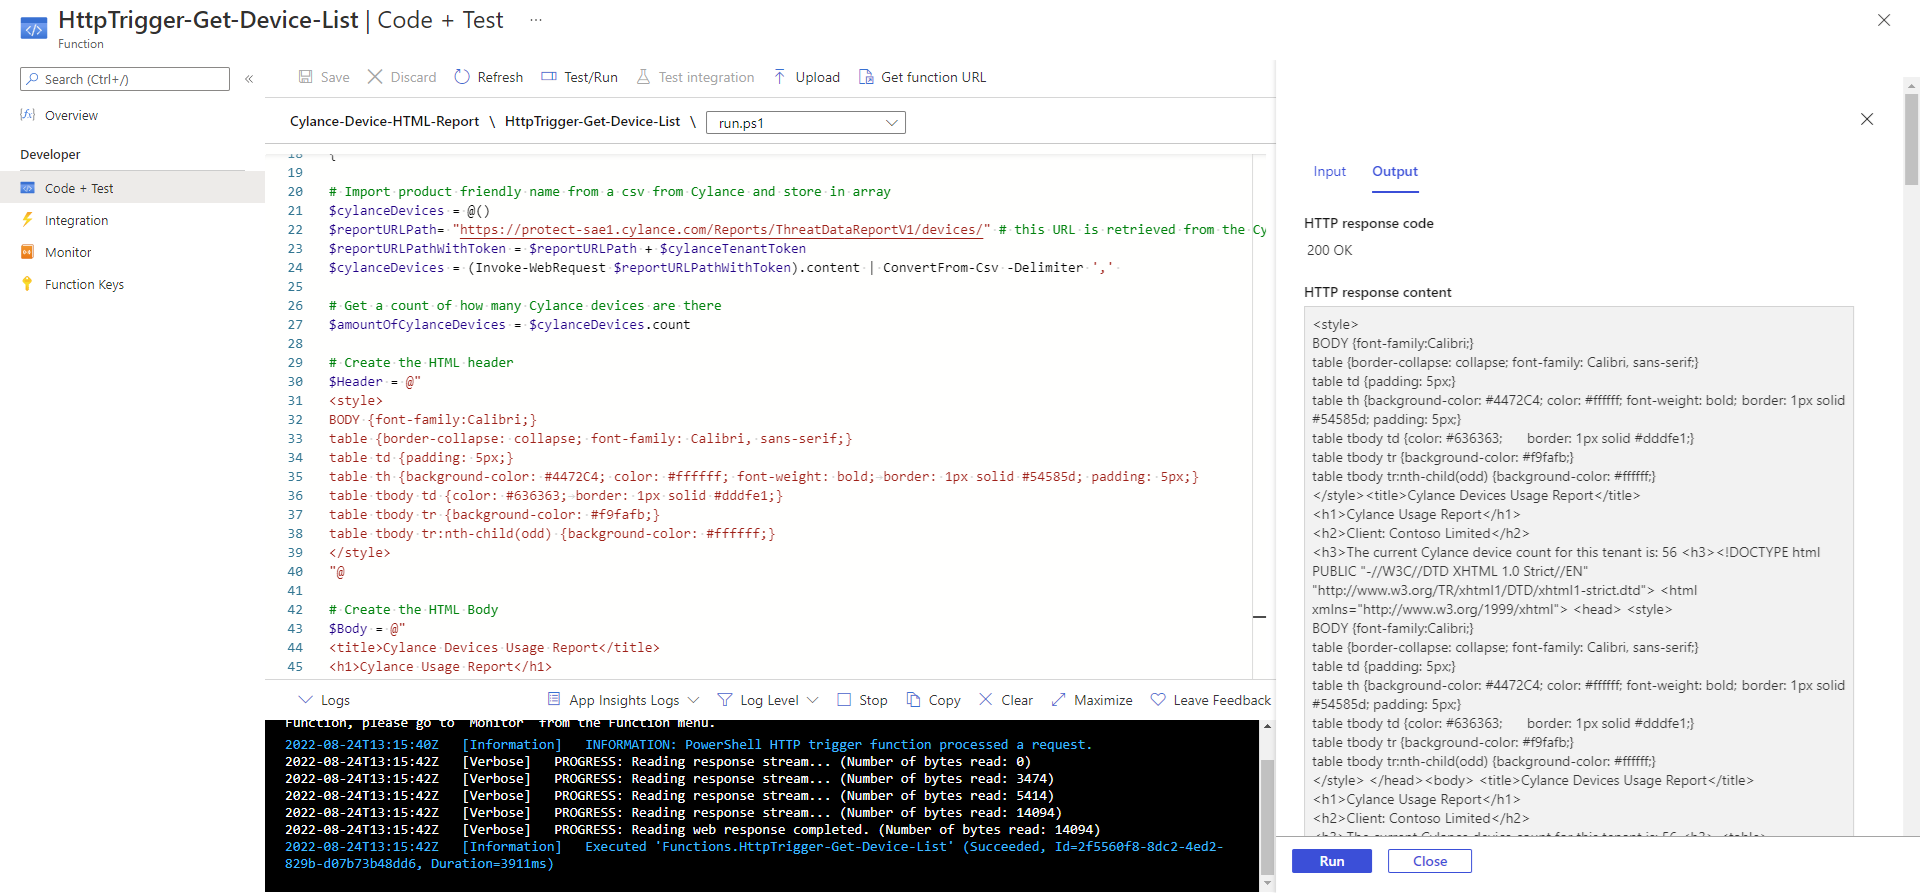
Confirm the HTTP response code of 200 OK and the HTTP response content results:
Step #2 – Create a Logic App that is scheduled and will download the device list CSV file, call the Azure Function App to retrieve the device list report and then send it out with the CSV as an attachment
With the Azure Function App created and tested, proceed to create the Logic App that will be scheduled, download the device list CSV file, call the Function App for the HTML device list report and then email it out.

Navigate to the Logic app designer blade and begin to configure the steps for the Logic App. The following are the steps we’ll be configuring:
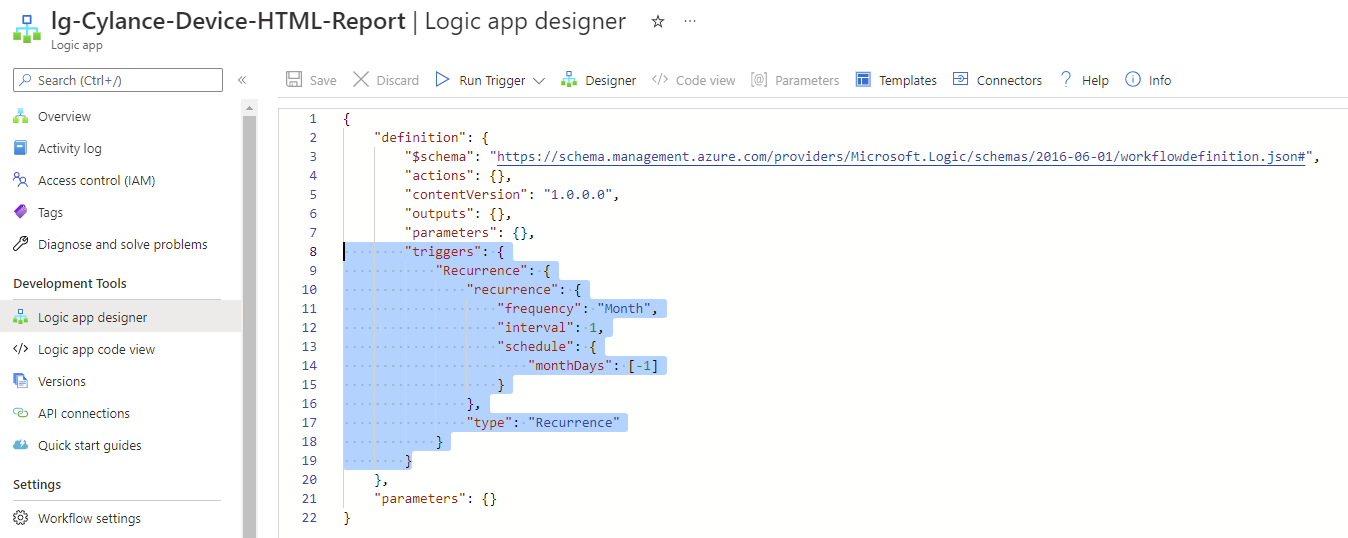
The first is the Recurrence step that will schedule this logic app to run on the last day of each month:
**Note that the GUI doesn’t provide the required controls so we’ll be using the JSON code provided in this document for the configuration: https://docs.microsoft.com/en-us/azure/logic-apps/concepts-schedule-automated-recurring-tasks-workflows#run-once-at-last-day-of-the-month
Click on Code View:

Then edit the triggers section:
},
“recurrence”: {
“frequency”: “Month”,
“interval”: 1,
“schedule”: {
“monthDays”: [-1]
}
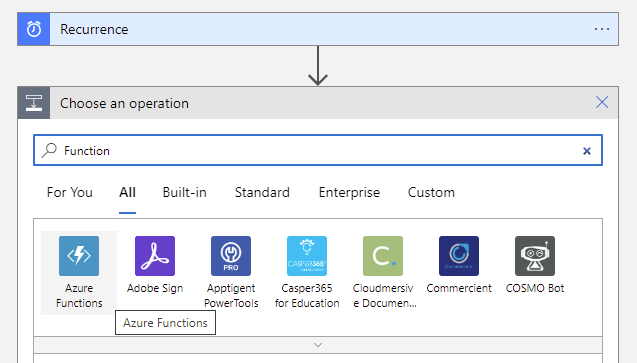
Create an additional step by clicking on the + button and select Add an action then type in Function:
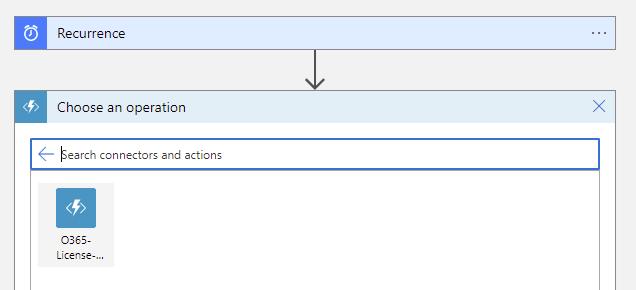
Select the Function App that was created:
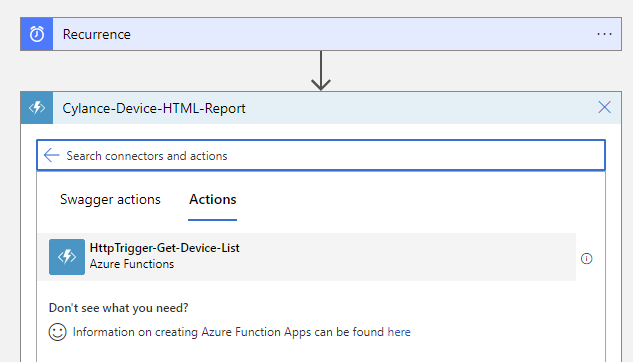
Select the trigger that was created:
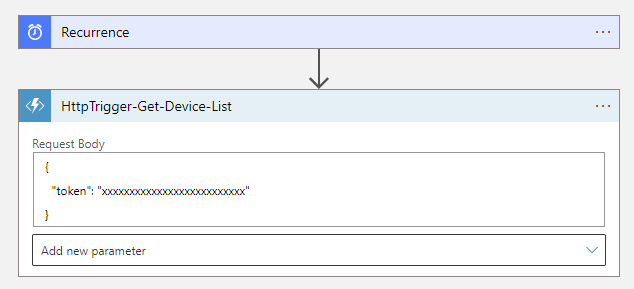
Place the body containing the tenant ID into the Request Body:
{
“token”: “xxxxxxxxxxxxxxxxxxxxxxxxxx”
}
Proceed to create two additional steps:
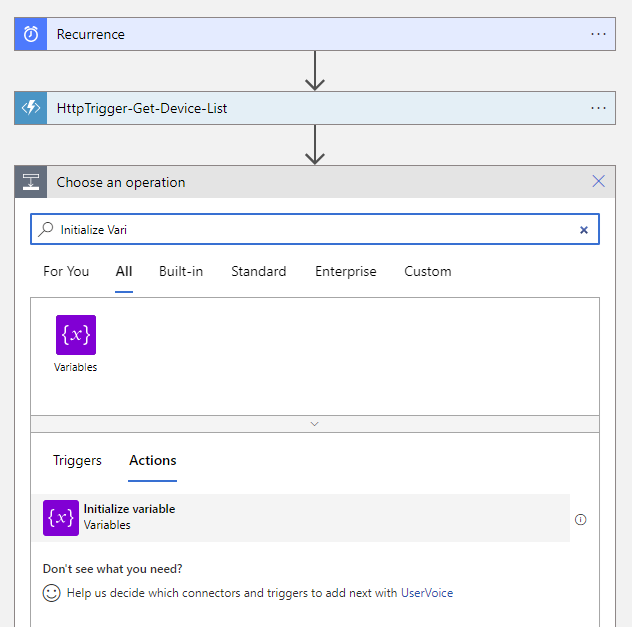
- Initialize variable
- Set variable
These two steps will place the retrieved HTML report into the body of the email:
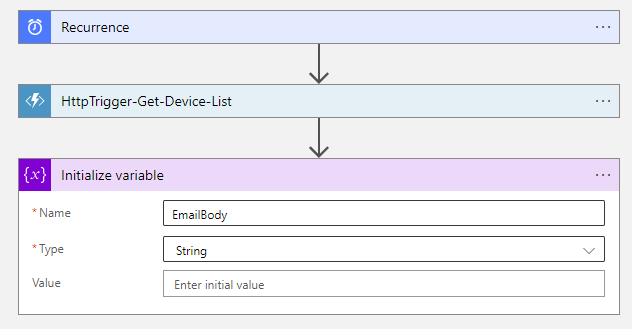
Initialize variable
Name: EmailBody
Type: String
Value: <leave blank>
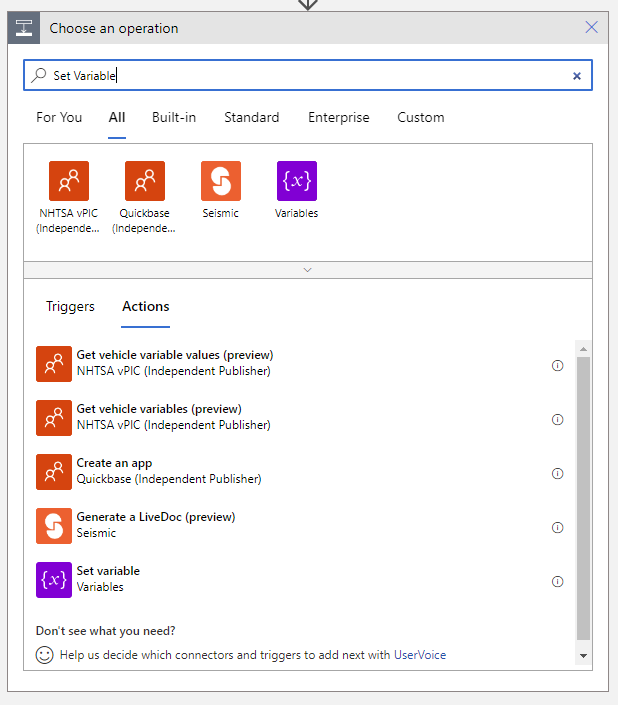
Set variable
Name: EmailBody
Value: Select the Body
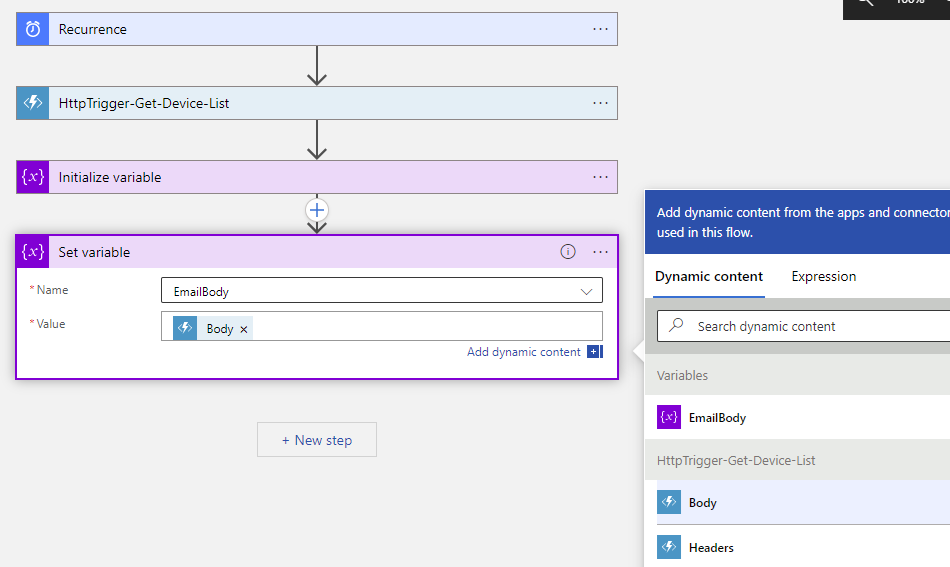
Continue to create the HTTP step to download the device list so we can attach the CSV file as an attachment:
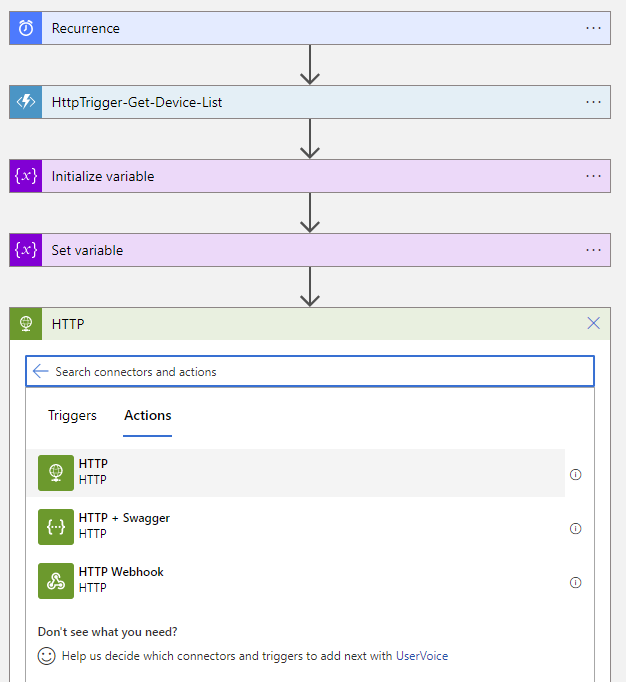
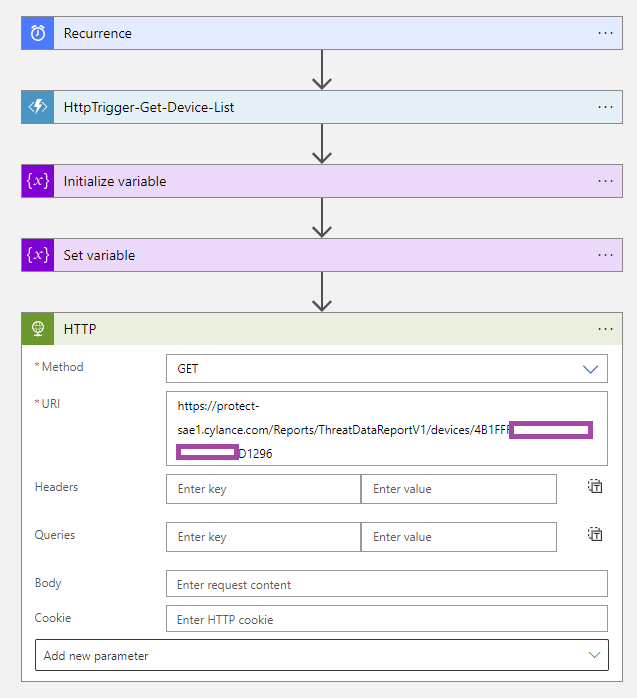
Configure the following parameters:
Method: GET
URI: Place the URL with the token to download the device list
**Note that I have hardcoded the token into the URI. It is possible to declare this as a variable and pass it into here as well.
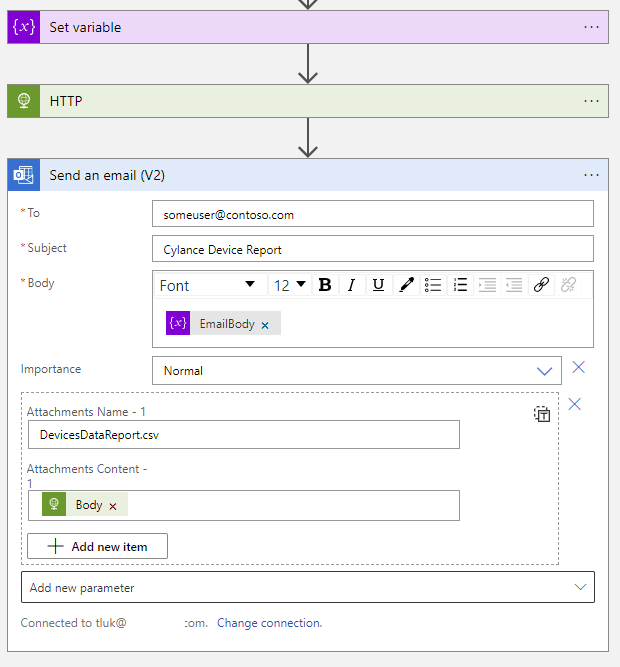
Add the last step that will email this report to the email address required:
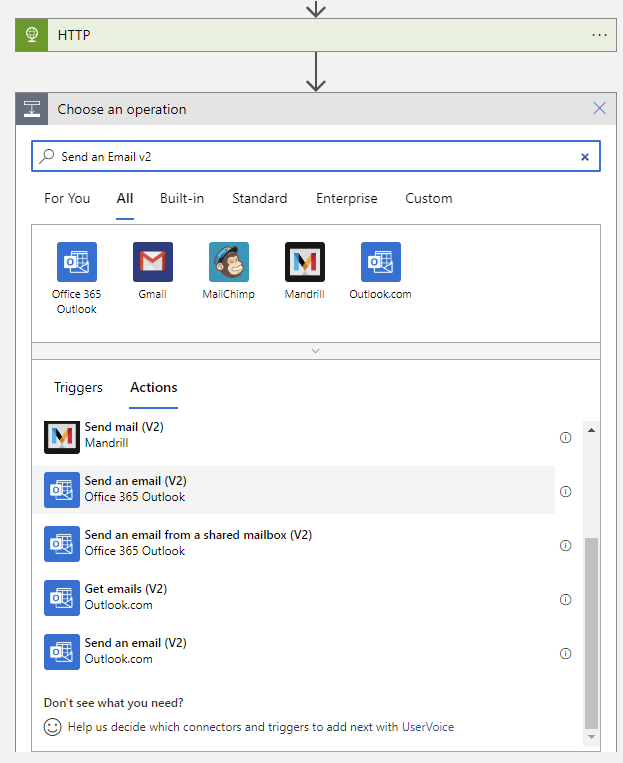
Note that we are placing the EmailBody variable we created from the Function App output into the Body, and attaching the Body from the HTTP step as an attachment. The Attachments Name can be any name you prefer.
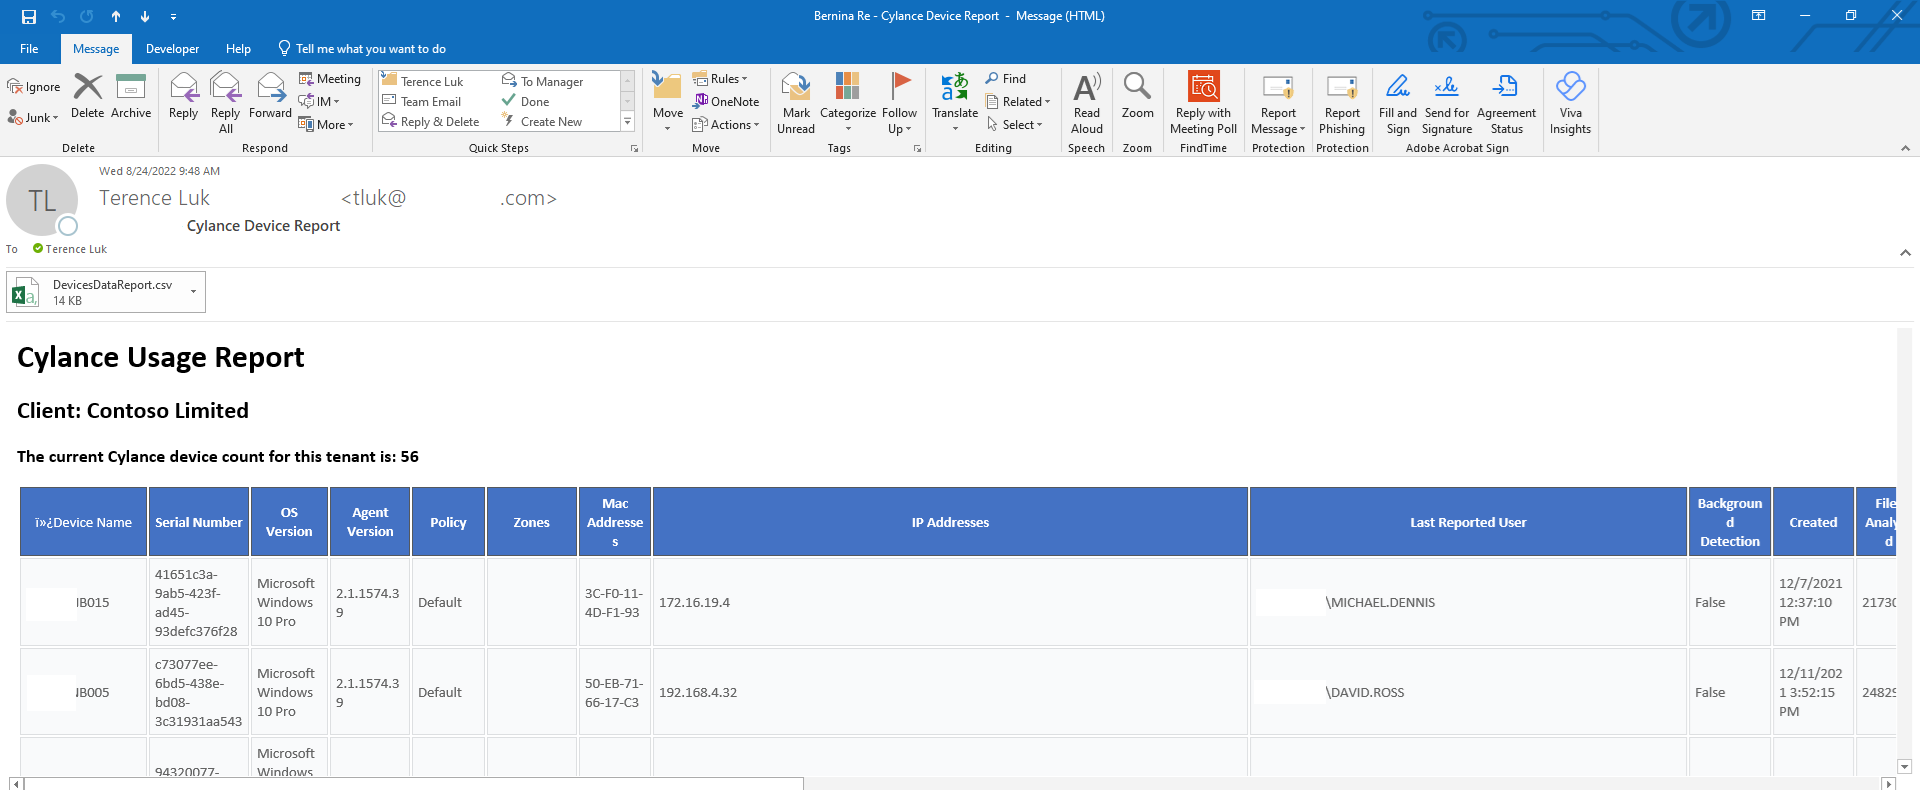
Proceed to use the Run Trigger feature to execute the Logic App and confirm that the report is generated and sent:
I hope this helps anyone who may be looking for instructions on how to configure automated reports.
